When your stubborn little girl insists on being a dessert for Halloween, you do what every crazy mother does– DIY everything by hand, of course! With a bit of browsing on Pinterest to get a few costume ideas, I finally came up with my own sweet treat, perfect enough for my cupcake-loving little girl!
Check out Zoë’s Halloween costume last year!
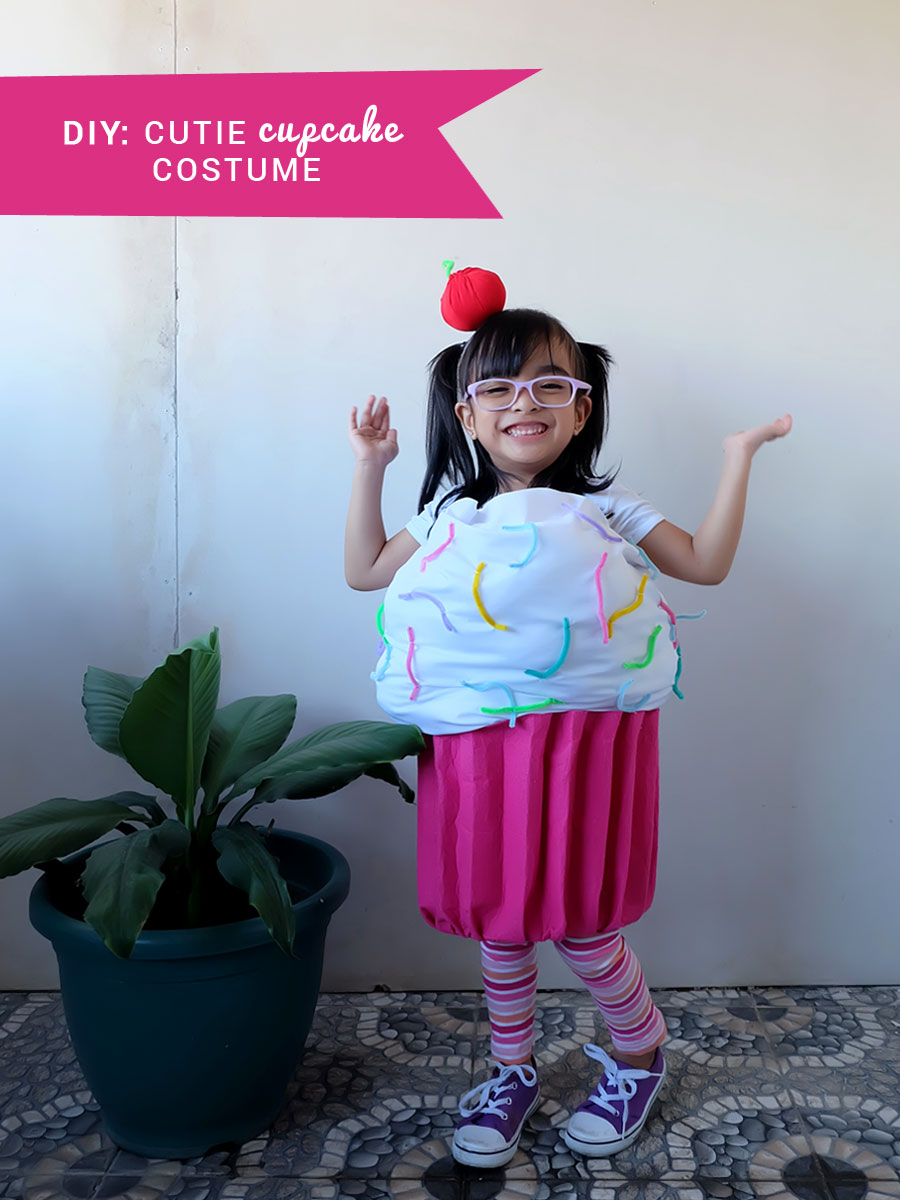 No tricks, just treats! This cupcake costume was such a hit, that I decided to share a tutorial on how I made everything from scratch. A little warning: this is a rather lengthy and picture-heavy post. Measurements are also estimates, following my daughter’s body size and shape.
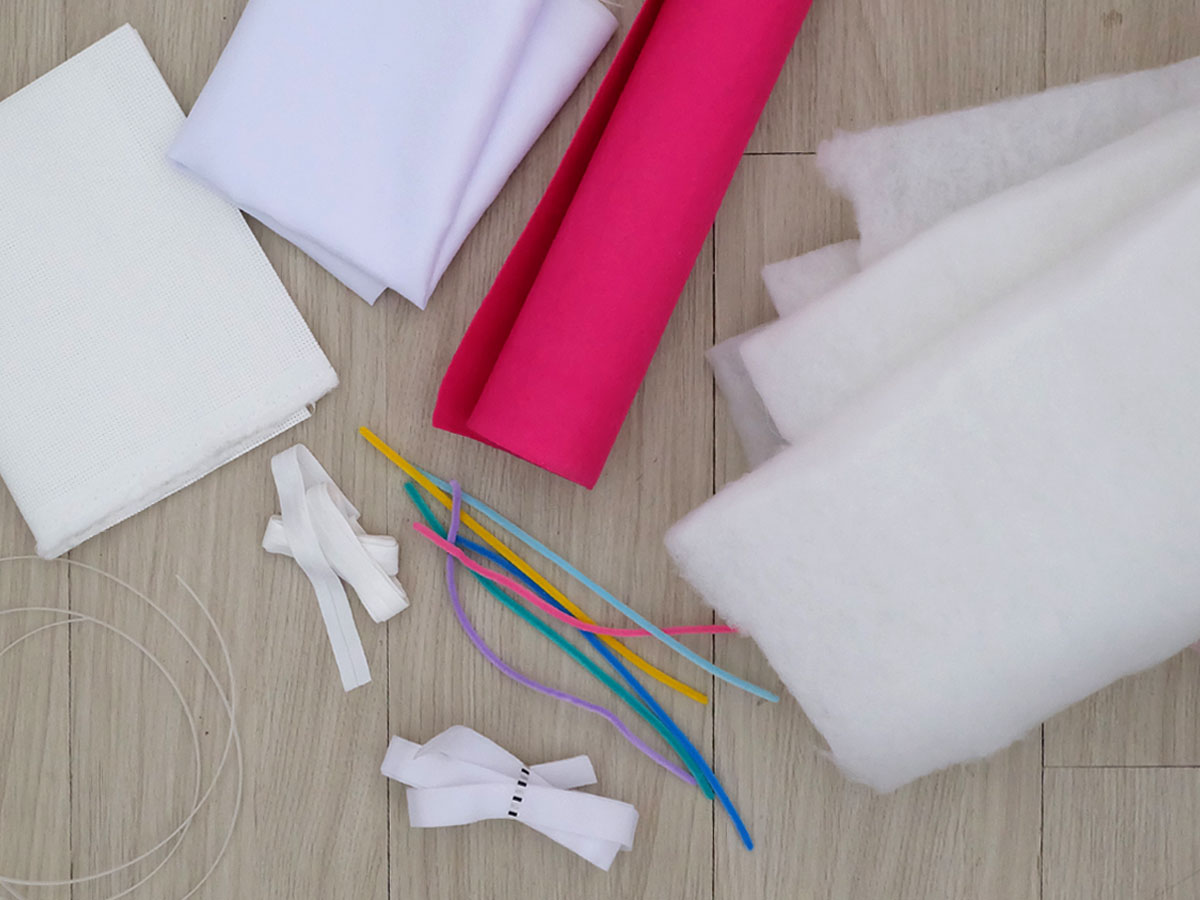
Materials Used:
- Aida Cloth (fabric used for cross-stitch embroidery)
- Plain white fabric
- Felt (to make the cupcake wrapper)
- Fiber fill
- Coloured pipe cleaners
- Velcro
- Elastic
- Plastic boning
- Glue gun + stick
- Needle and thread
- Plastic Headband
- Red cloth
To Make The Cupcake Base:
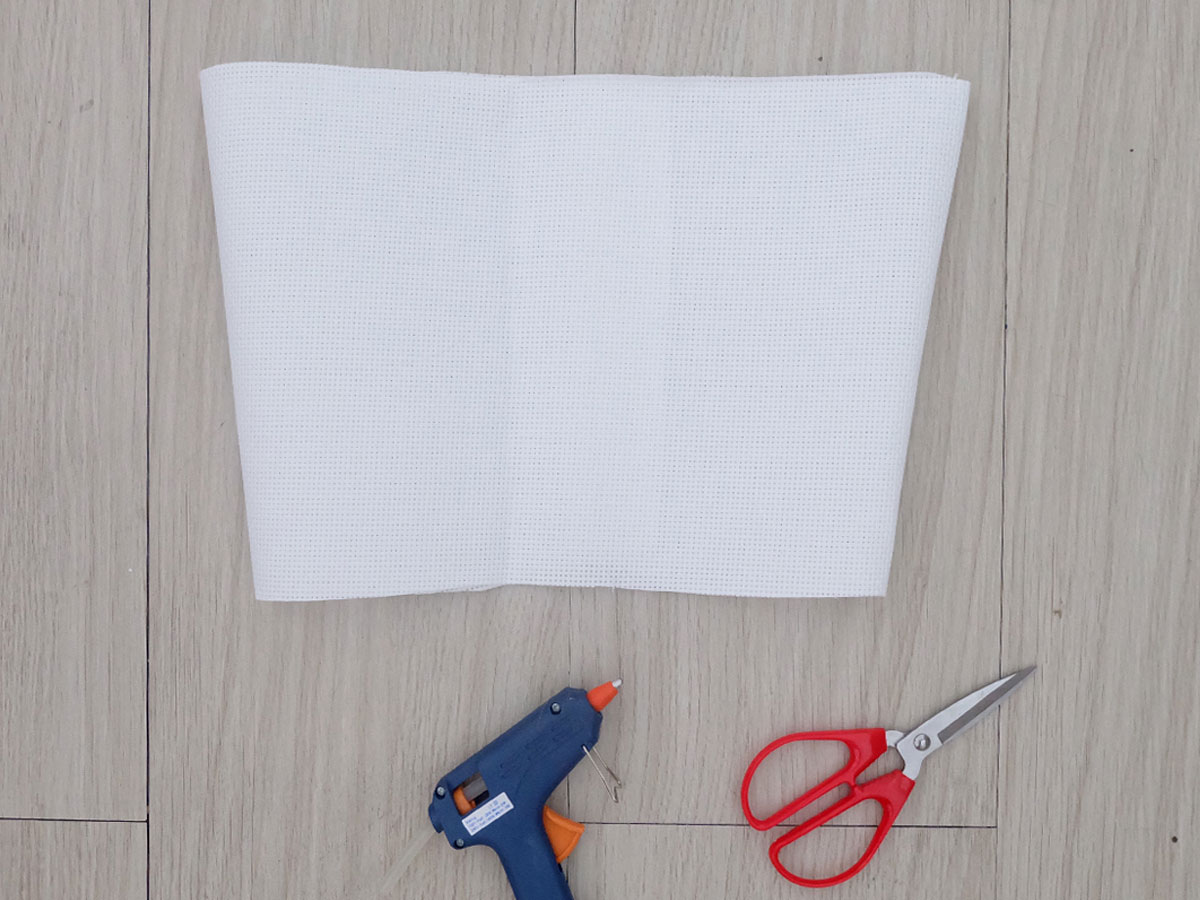
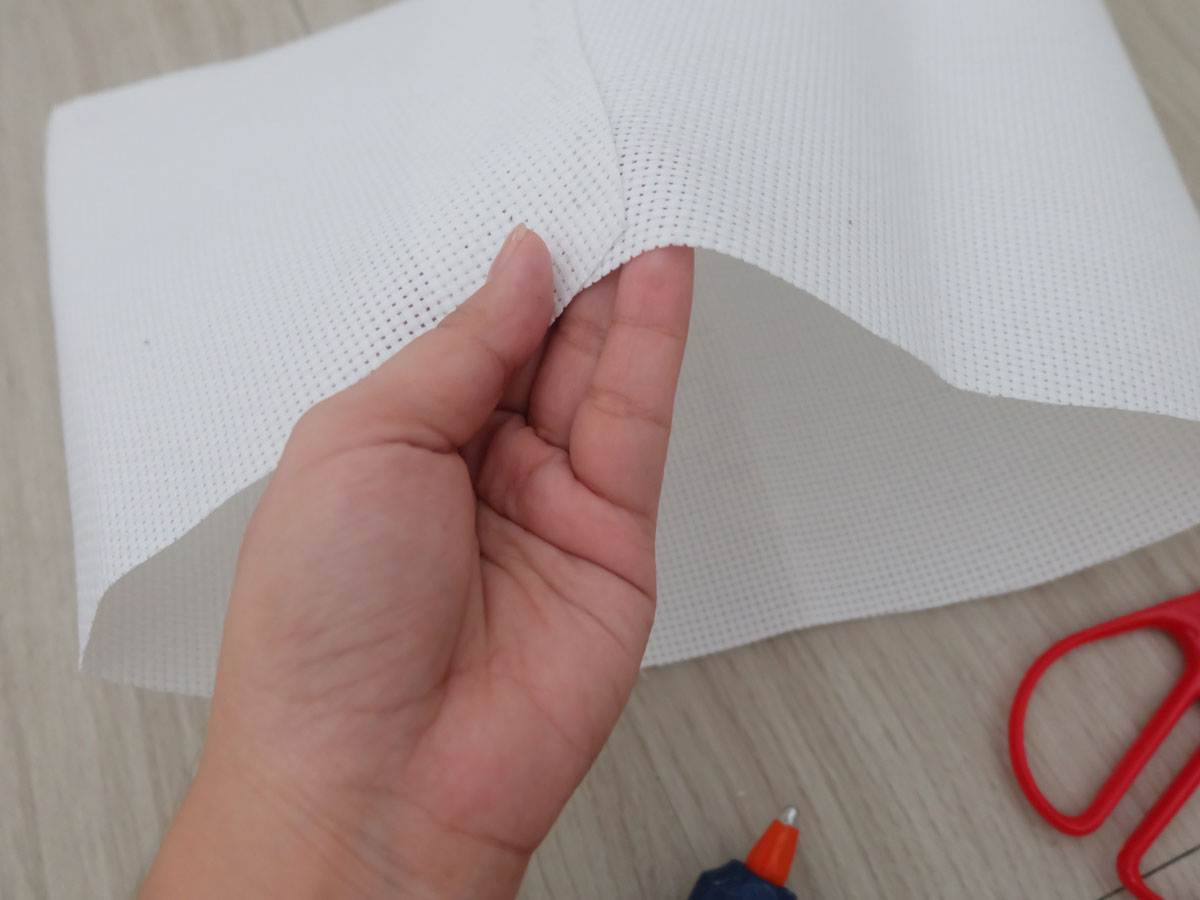
To start off, I took the Aida cloth and cut it up to make the base of the cupcake. For the measurements, I basically just wrapped it around Zoë’s waist, making sure to leave plenty of room for her to be able to move around freely. I made the circumference of the top part slightly bigger than the circumference of to bottom, giving it a more realistic cupcake look. I then glued the ends together using a glue gun.
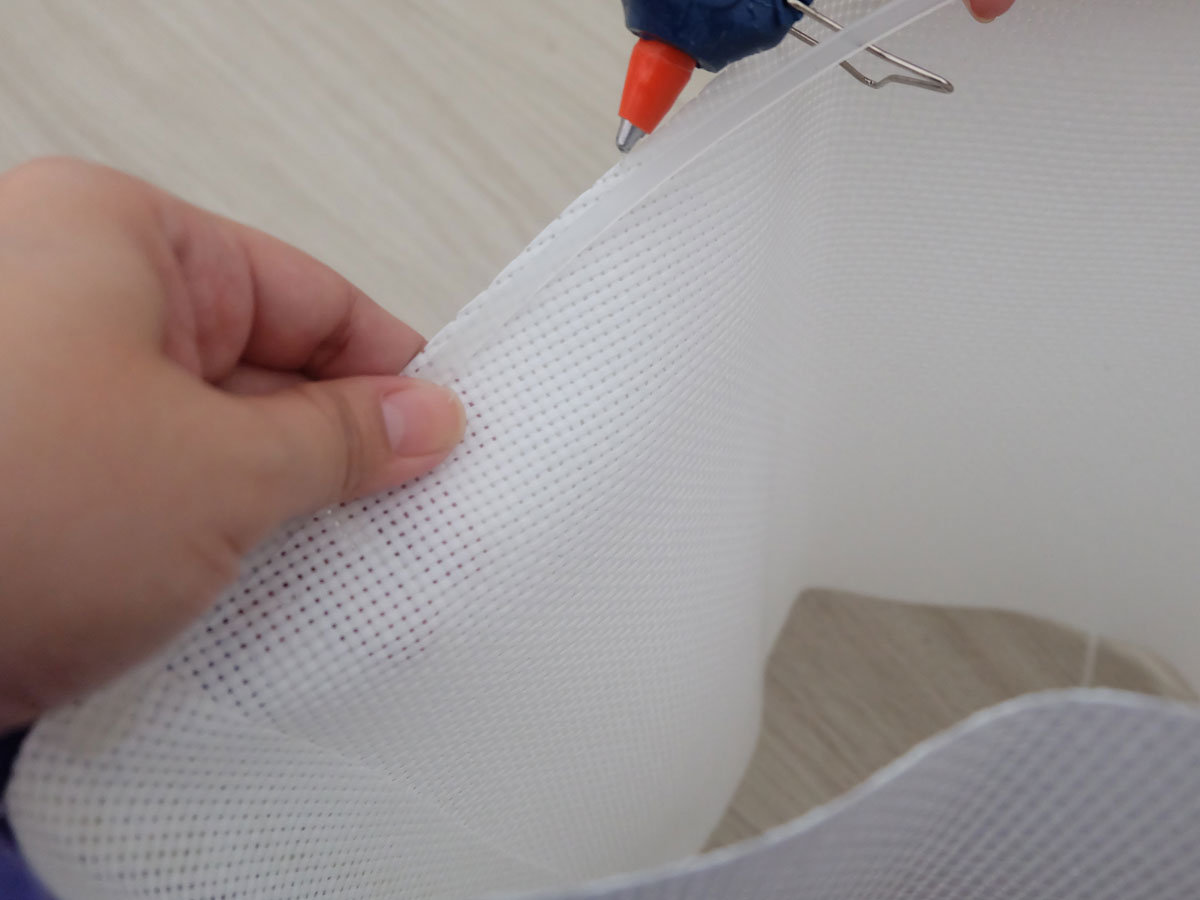 Taking the plastic boning, I glued it around the interior of the cupcake base. One around the top part of the cupcake, and another one around the bottom. The boning helps keep the cupcake’s shape.
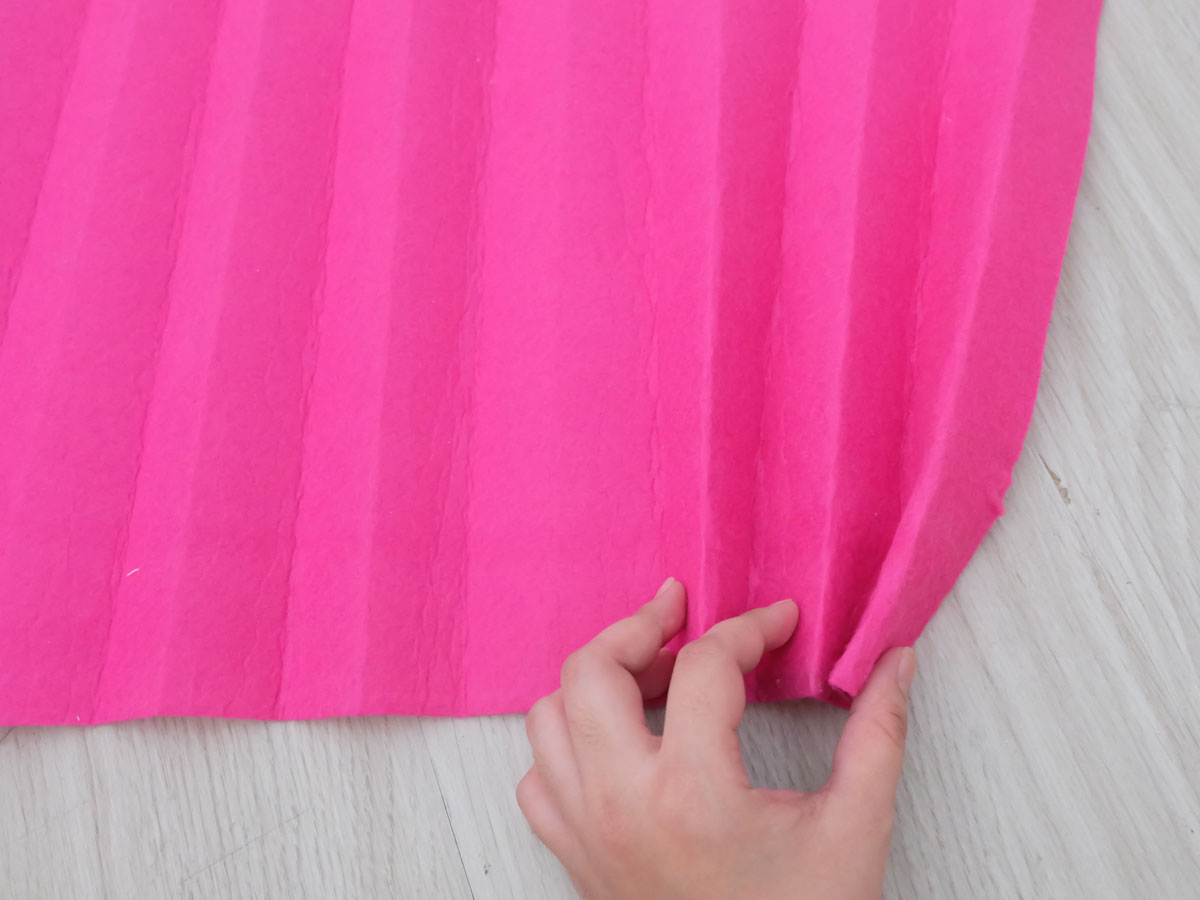
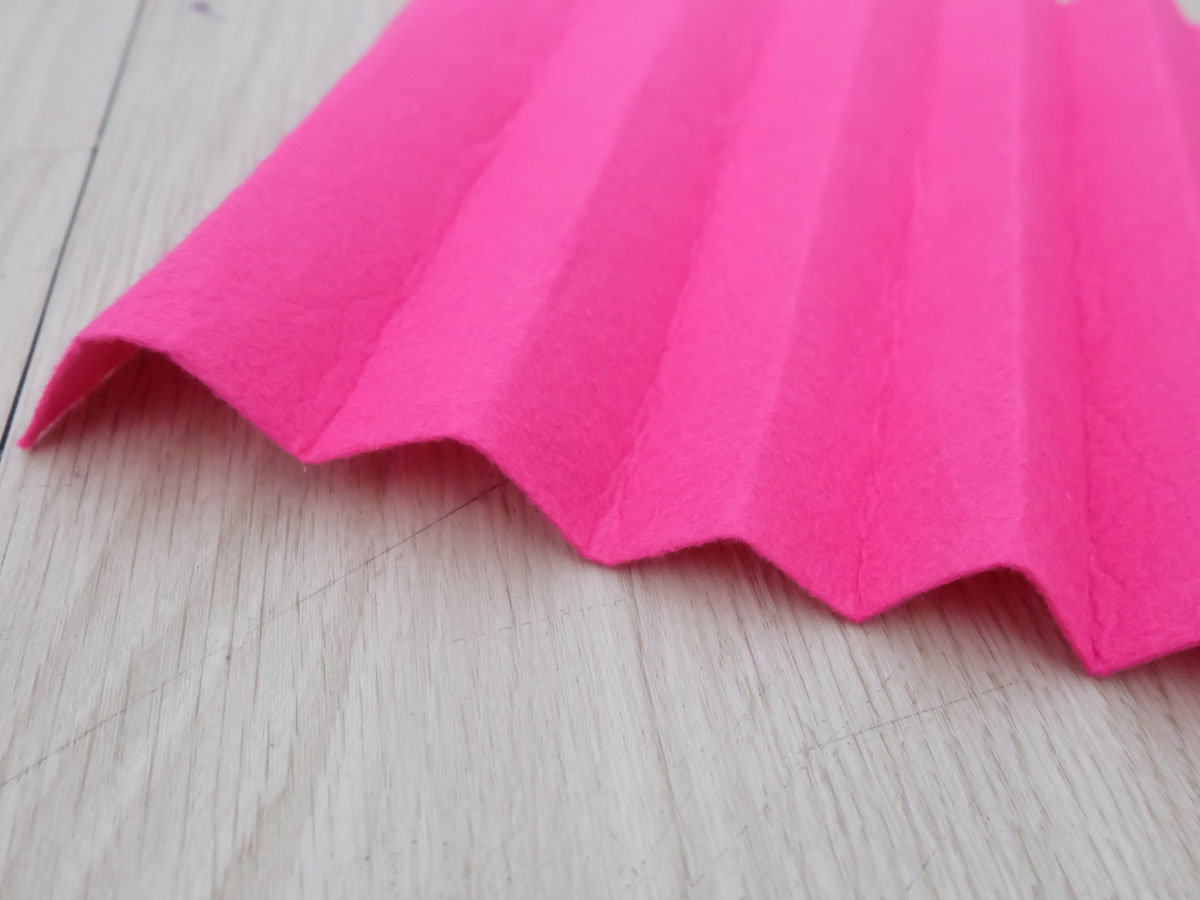
For the actual cupcake wrappers, I took the pink felt and cut it down to size. I made sure the height covered the height of the cupcake base, adding about 5 inches extra to the measurement. I then folded the felt accordion-style, about 2 inches per fold.
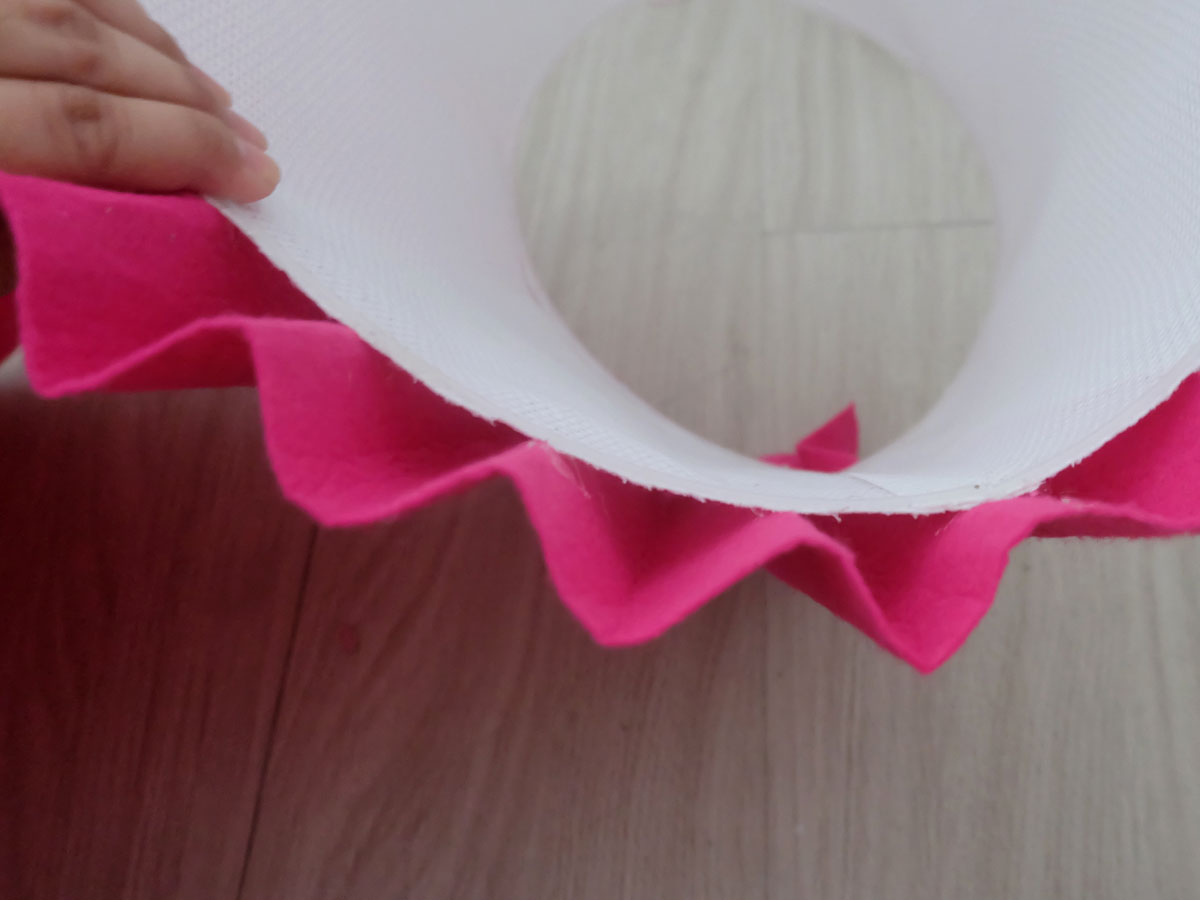
Once the felt was ready, I glued it around the cupcake base, overlapping the felt about an inch over the top part of the base and around 4 inches at the bottom.
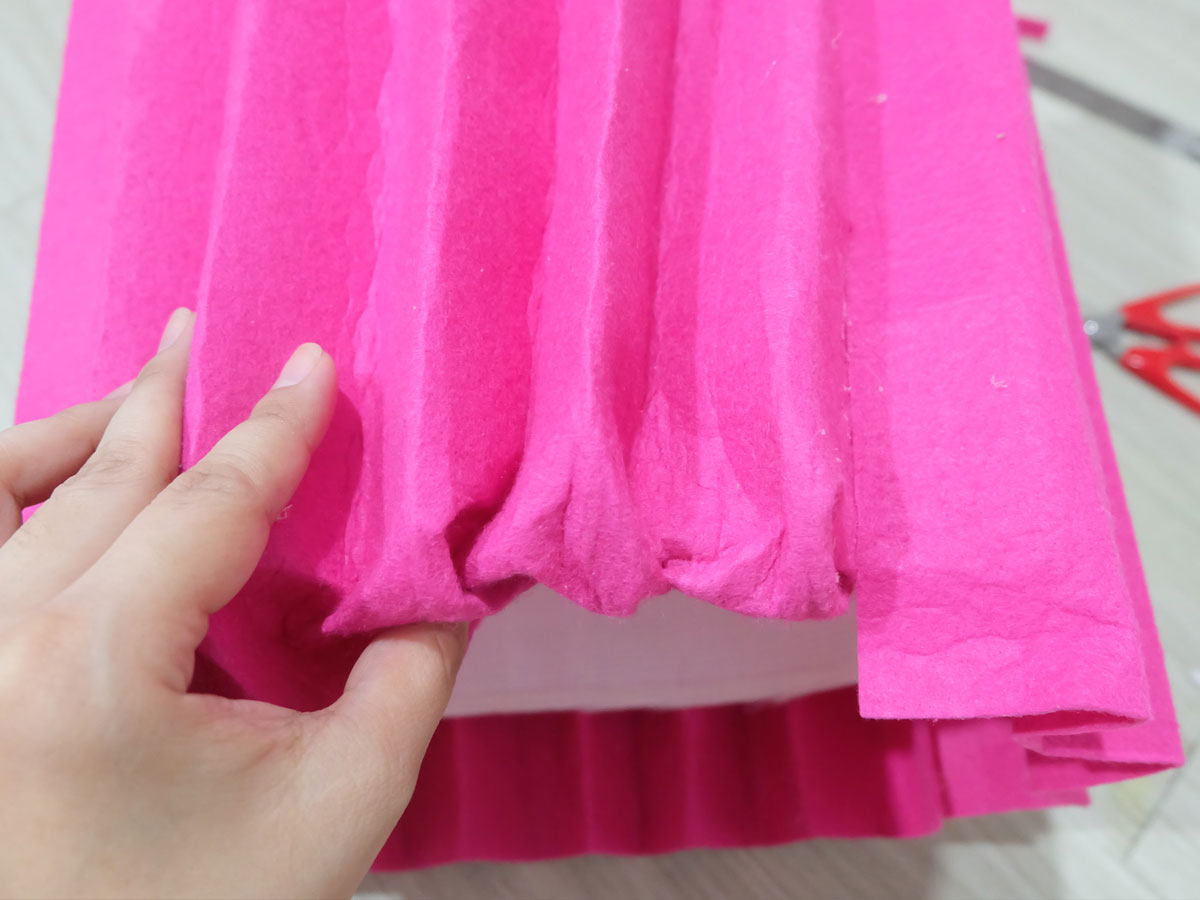
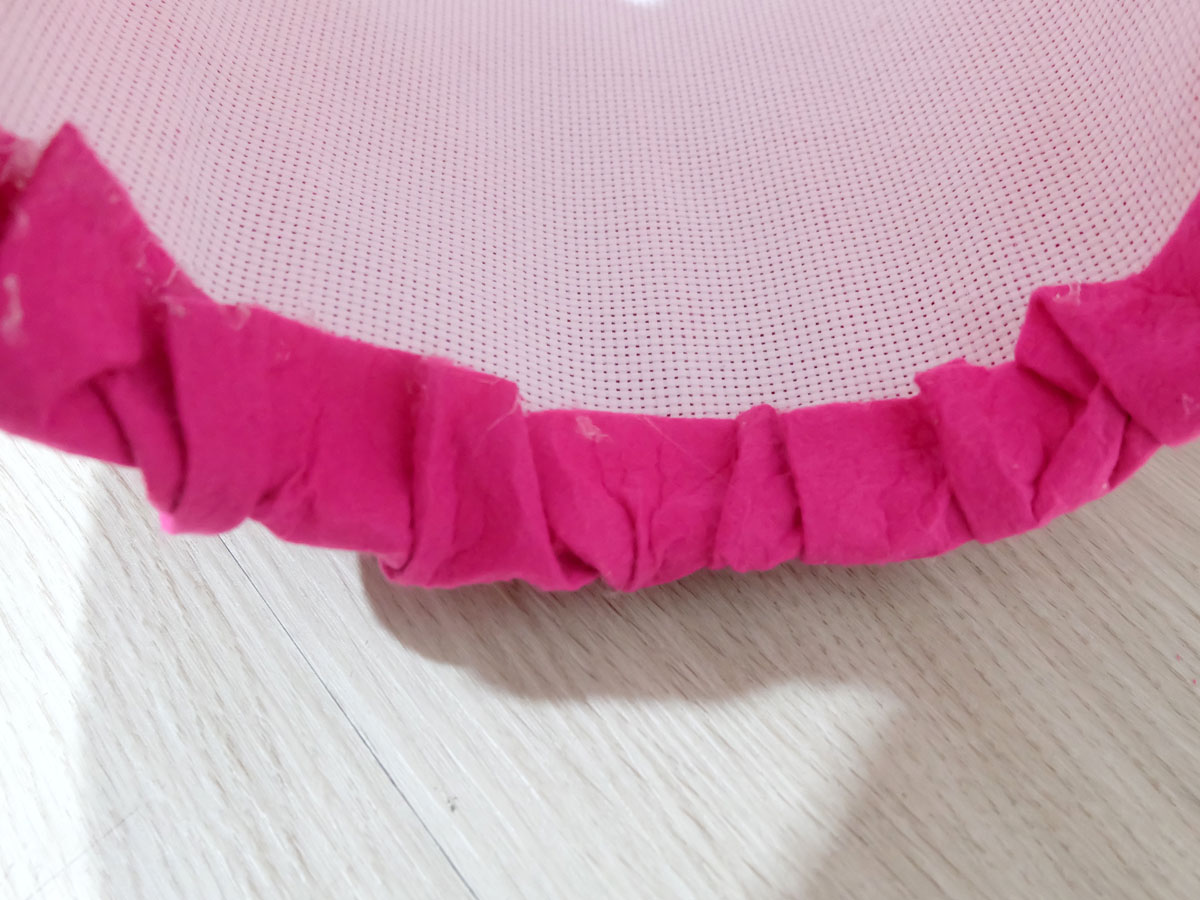 Once I finished glueing the felt wrapper around the cupcake base, I then took the extra felt on the bottom and tucked it inside, glueing it to the interior of the base.
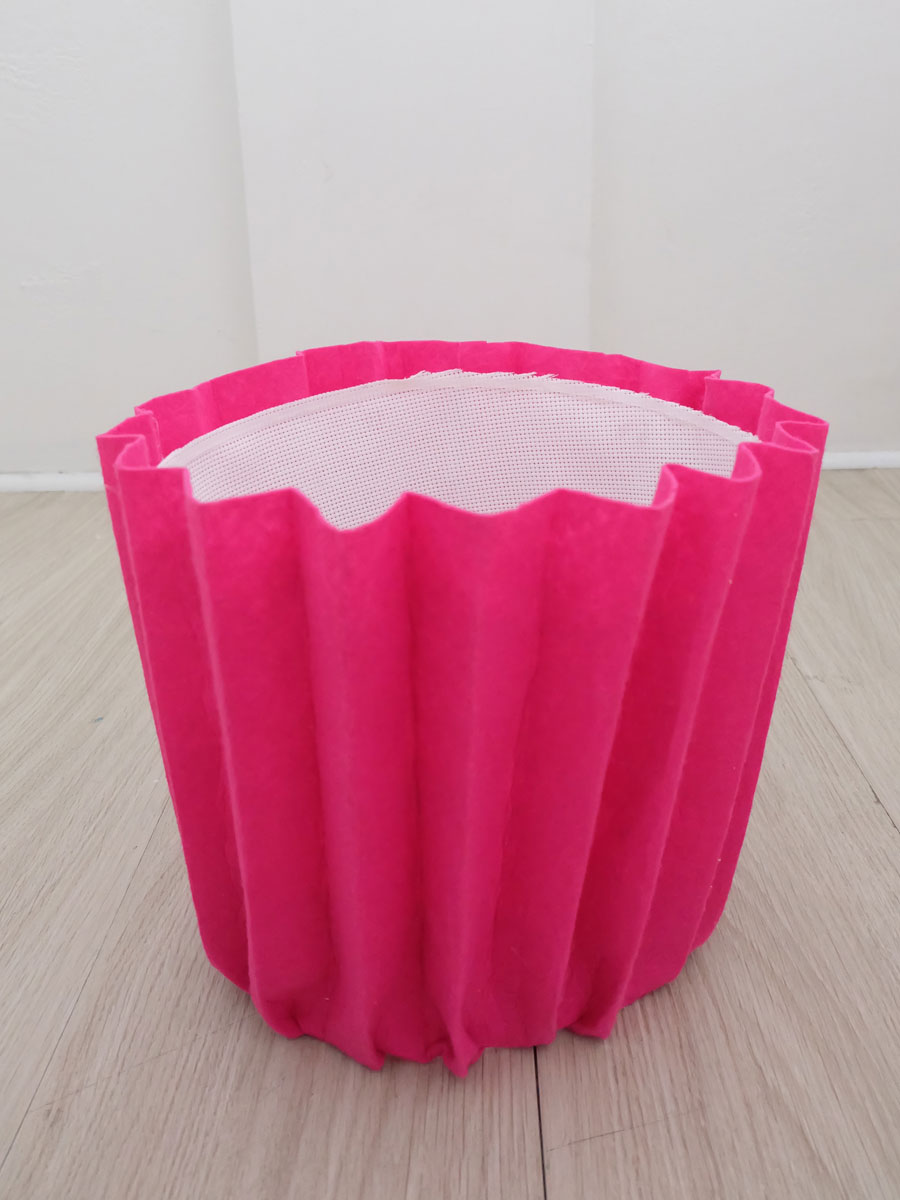
The finished cupcake base should look like this.
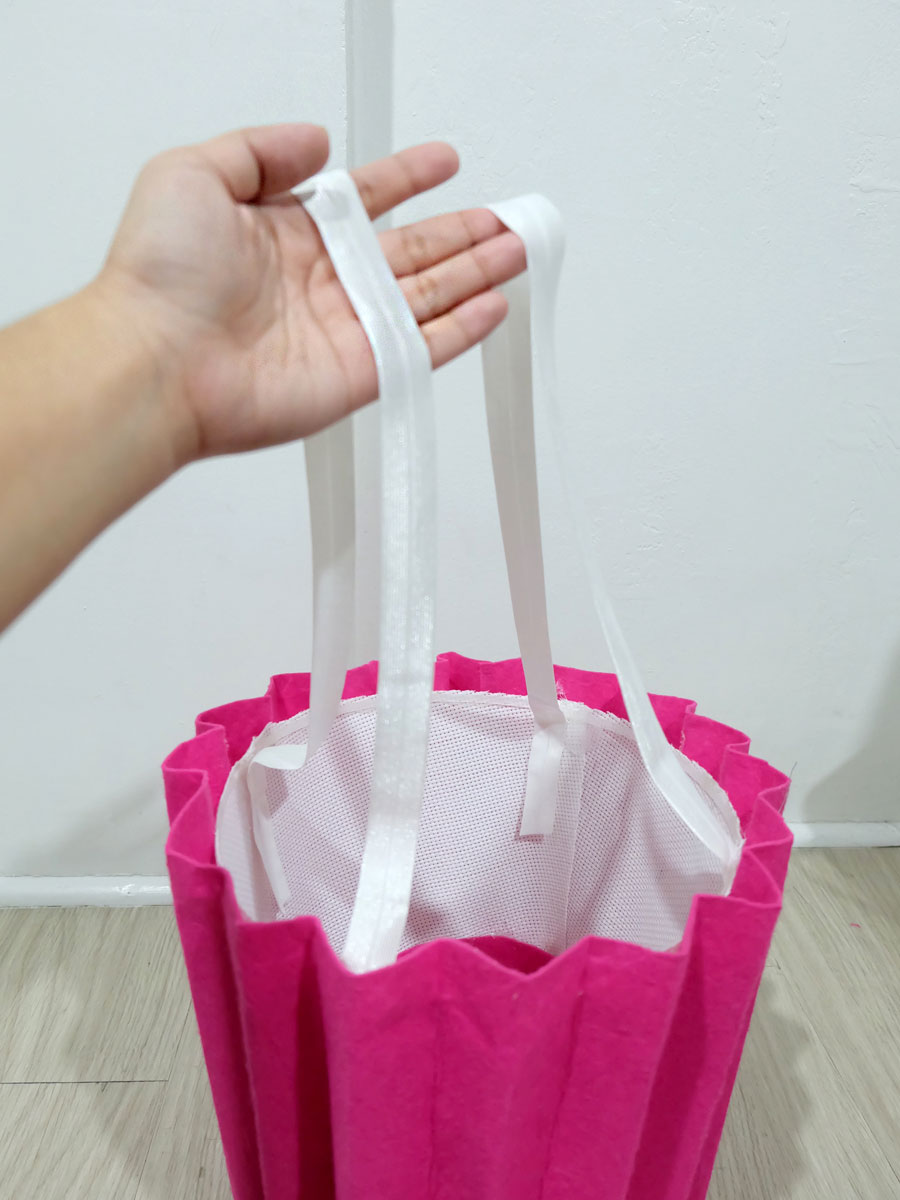 To complete the cupcake base, I sewed on 2 elastics, long enough for it to be crossed over the shoulder when worn.
The cupcake base is done!
To Make the Frosting:
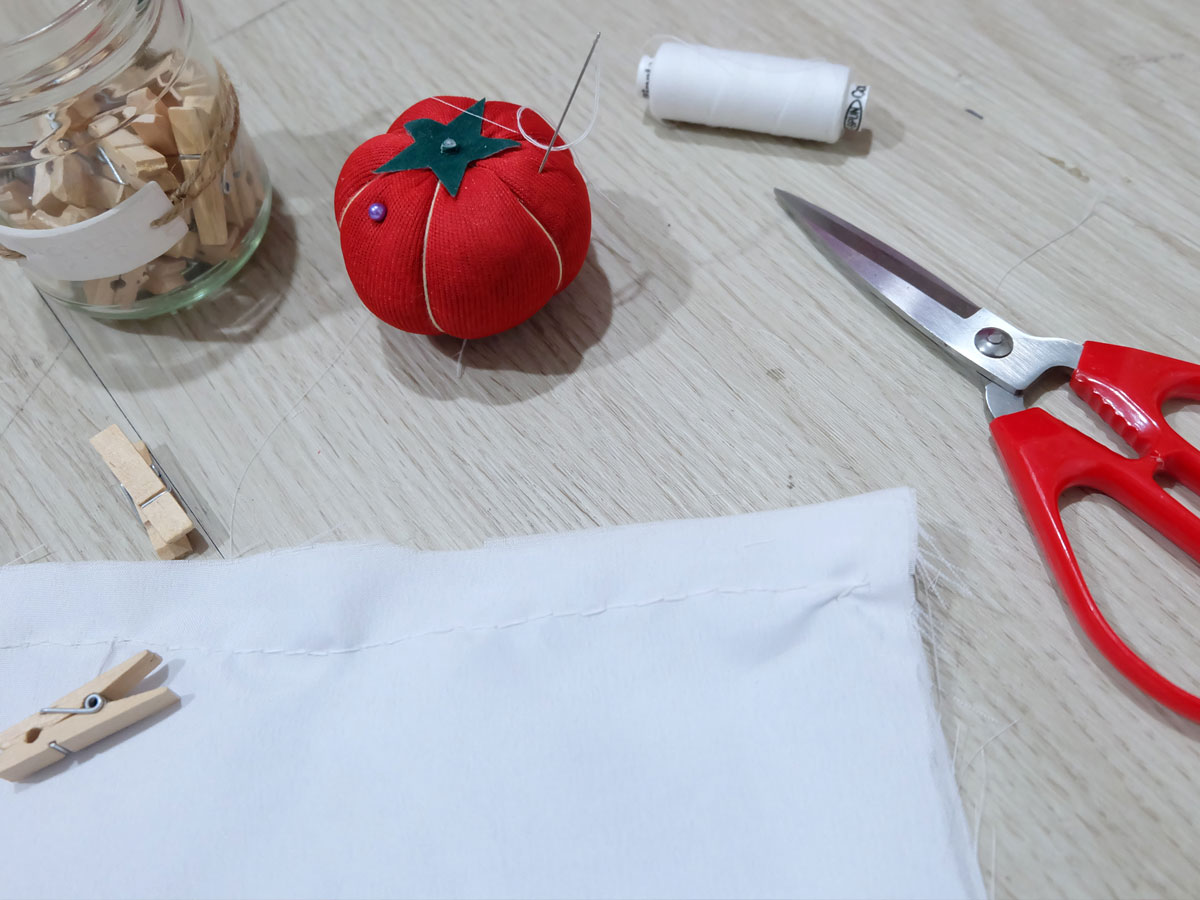
For the frosting, I sewed the white fabric similarly to how you would make an extra long pillow.
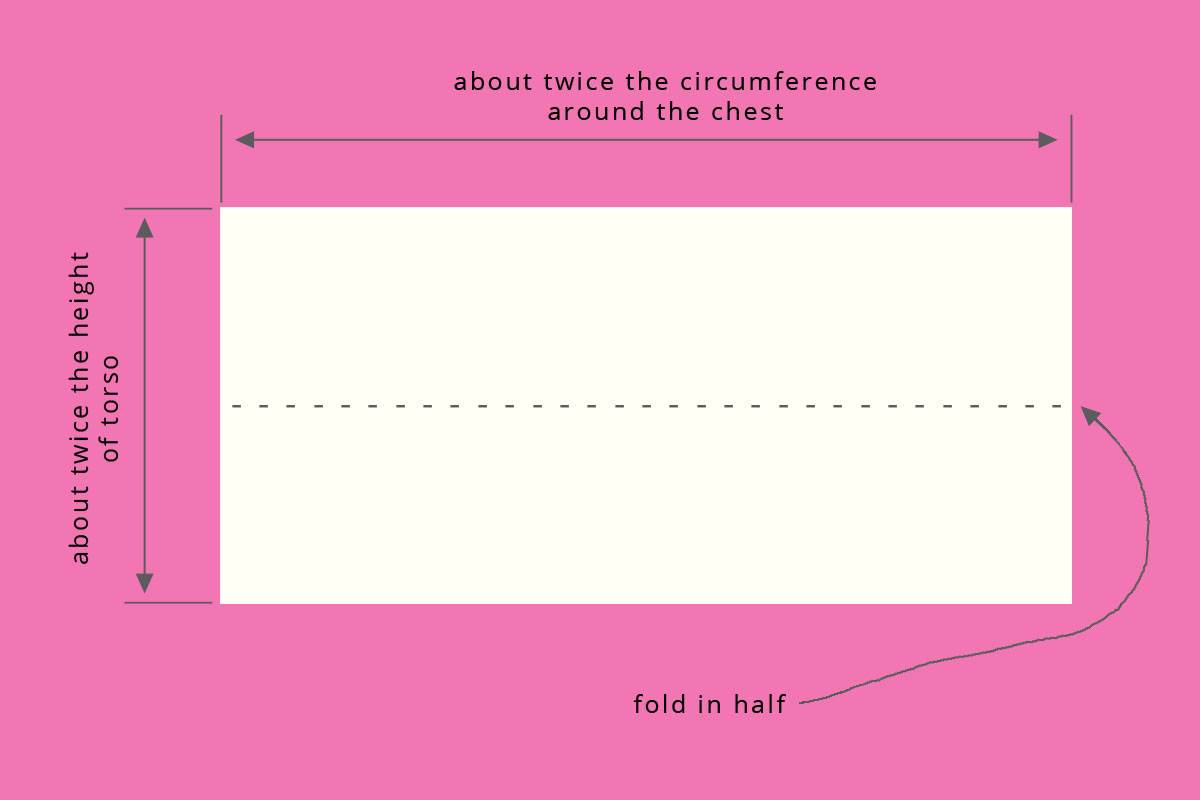 I cut the length of the fabric, measuring about twice around Zoë’s chest. For the height, I measured about twice the height of Zoë’s torso. All measurements, estimates, because the frosting need not be exact, just big and flowy enough to be filled with fiber fill.
I folded the fabric in half across its height, with the right sides facing inward, pinning it to keep in place. I then stitched along the edges, leaving about four inches opening.
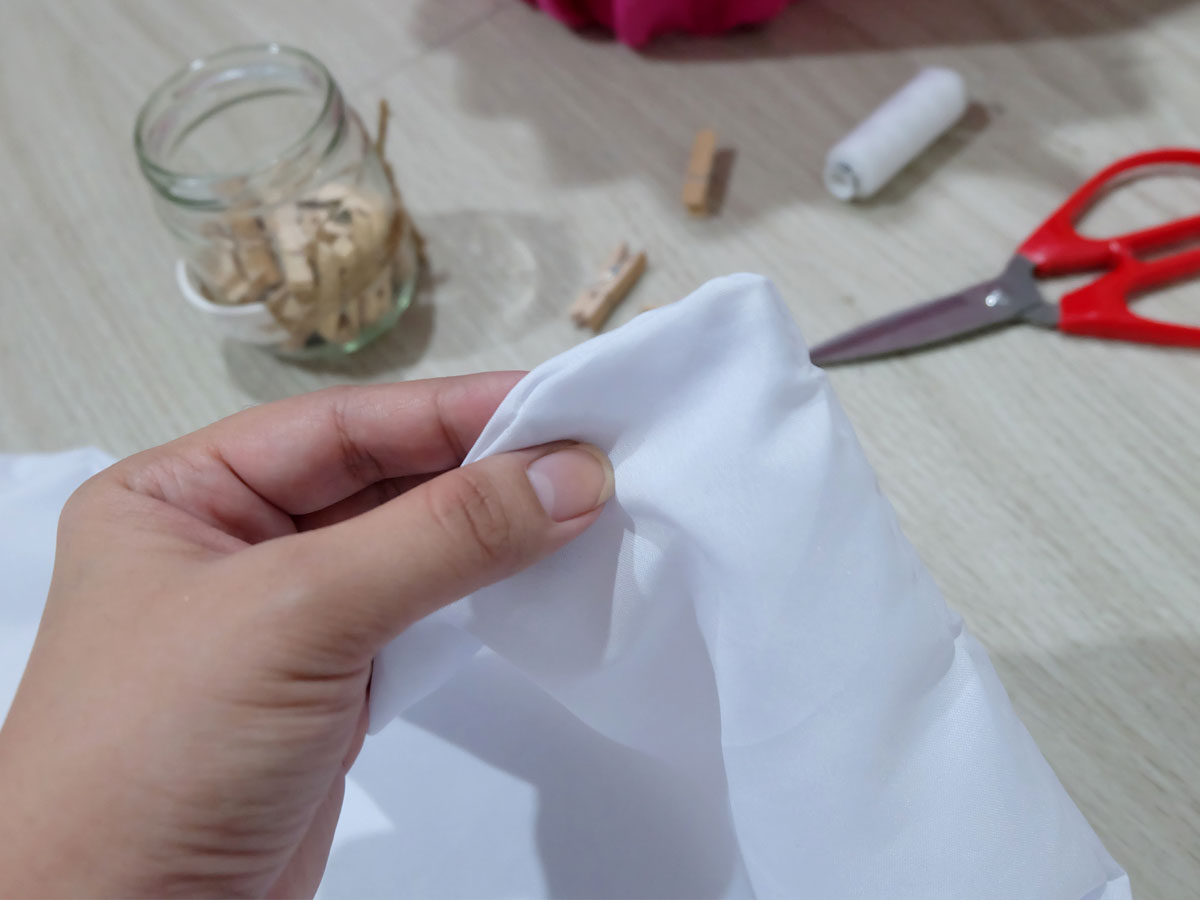
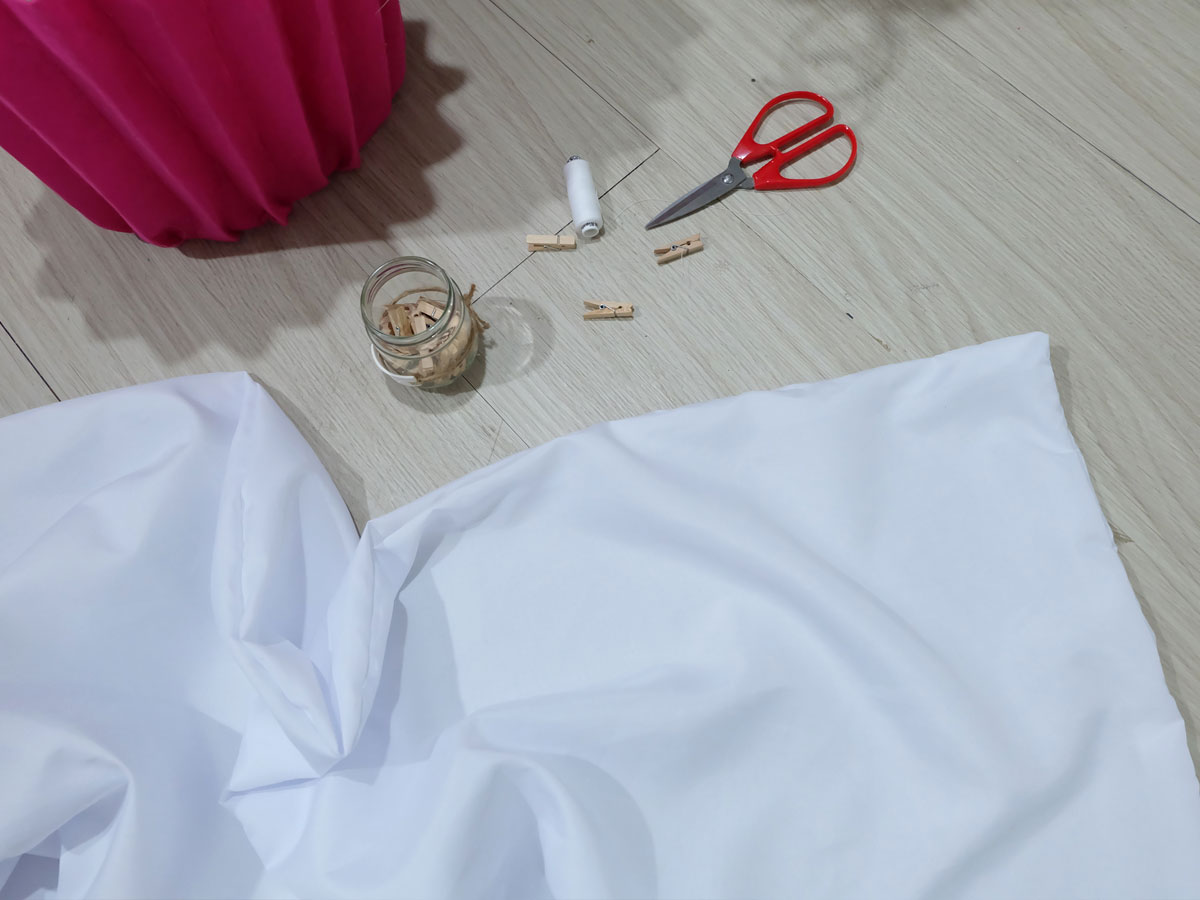
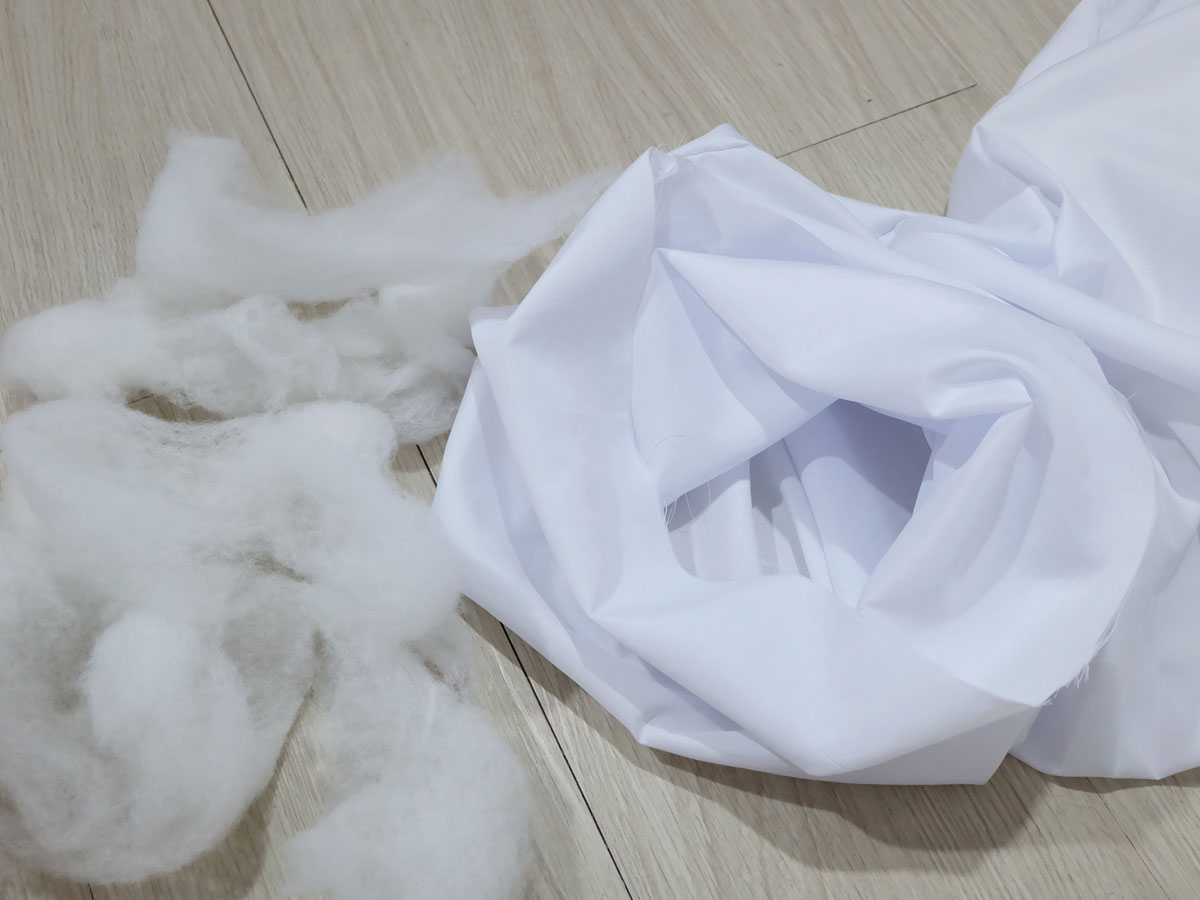 Once edges were stitched, I flipped it right-side out, then stuffed it with lots of fiber fill. I made sure to try it around Zoë’s chest, adding just enough filling for it too look fluffy. You want it to be full, but not too stuffed. Once I had enough filling to my liking, I stitched the opening close.
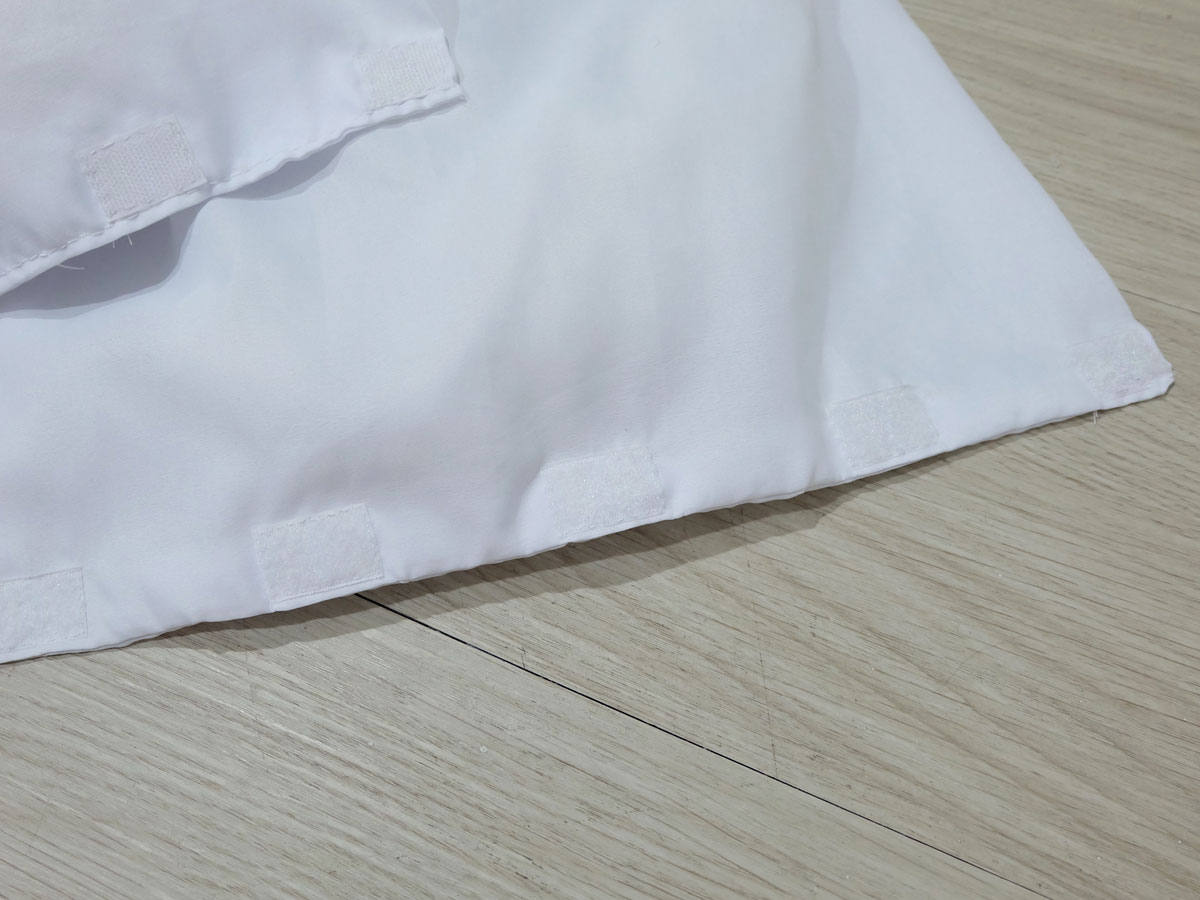 To be able to wear and fasten the frosting, I stitched velcro at the ends.
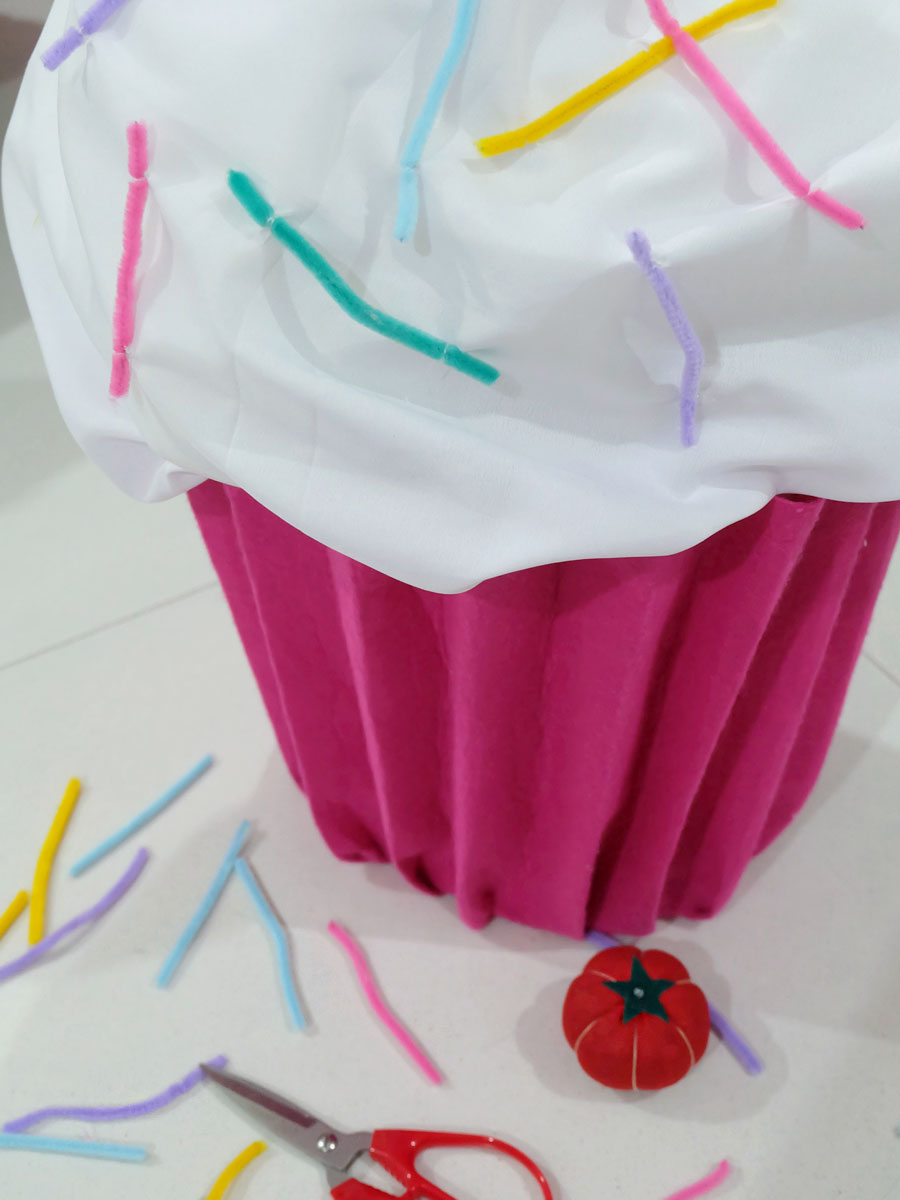 To make candy sprinkles, I cut colored pipe cleaners down to 4 inches and stitched them randomly at different angles on the frosting.
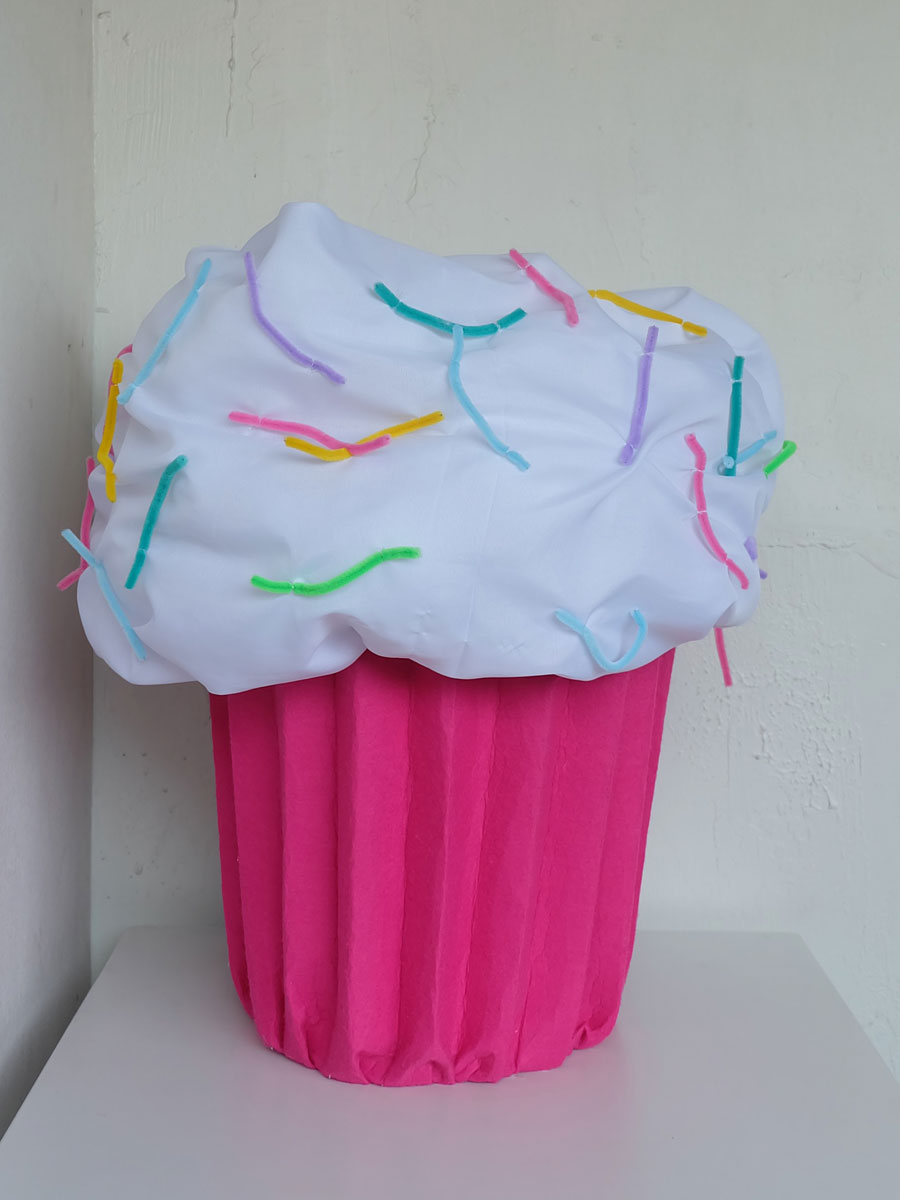
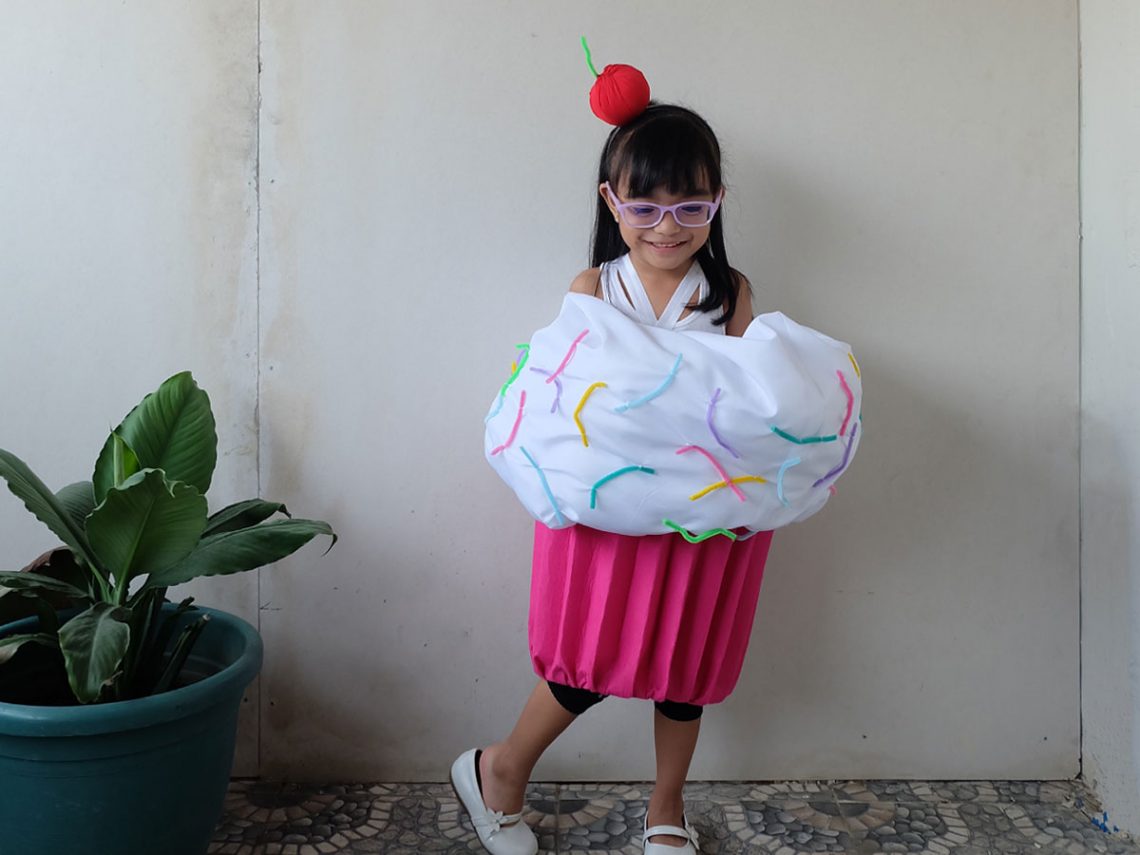
The finished cupcake with the frosting should look like this.
To Make the Cherry Headband:
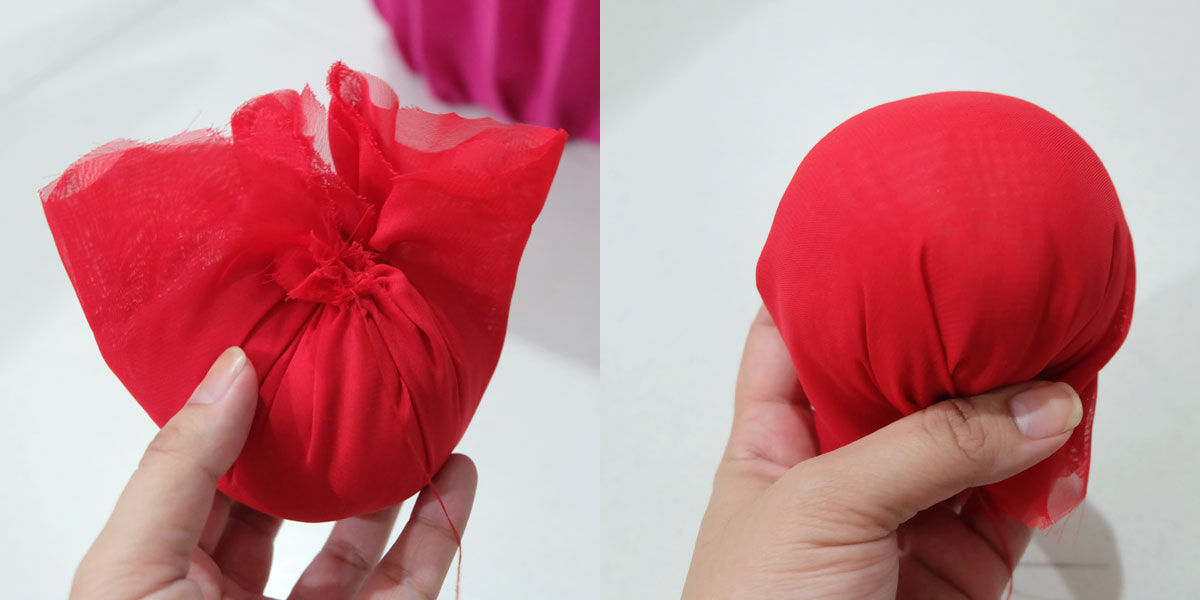
To complete the look, I made a cherry headband by balling up some leftover fiber fill and covering it in red fabric. I then added a green pipe cleaner for the stem, before stitching it up and attaching it to the plastic headband.
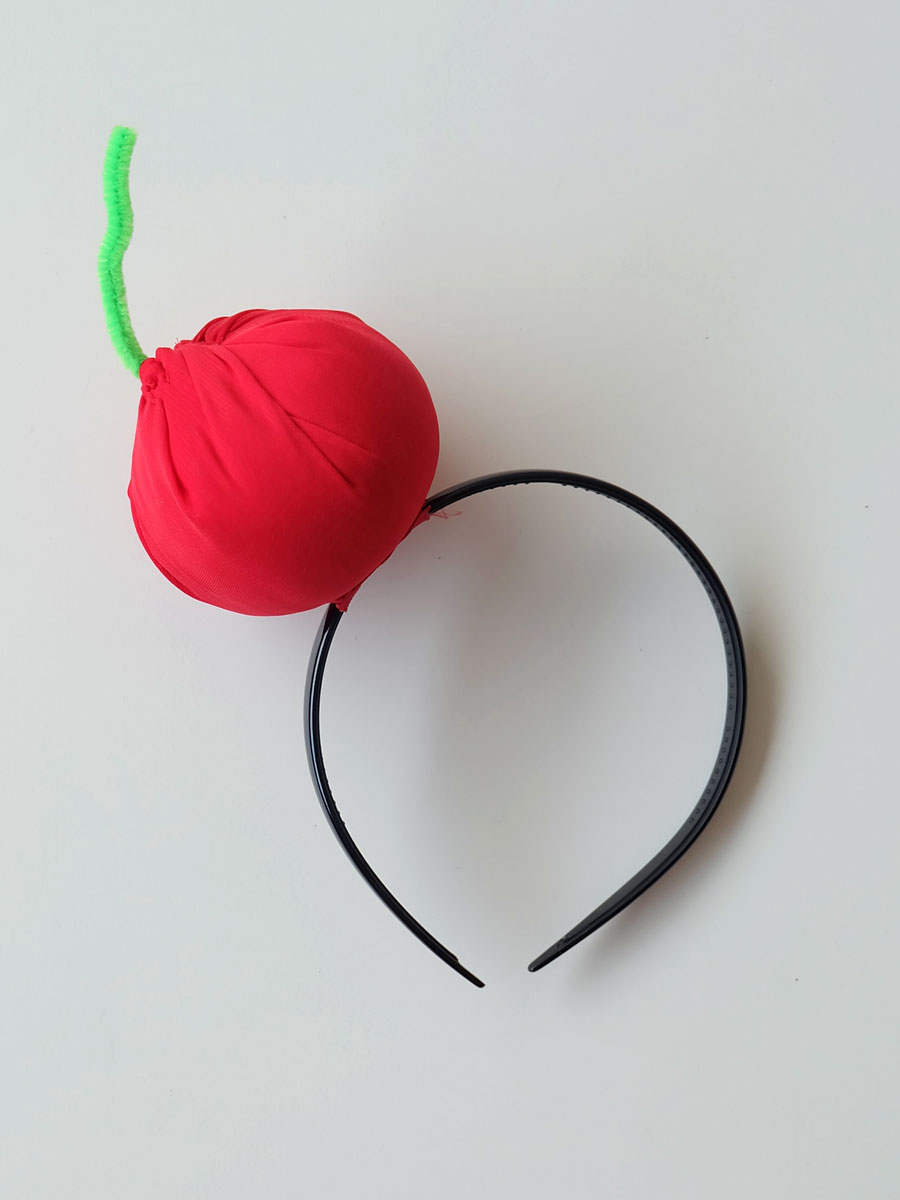
Headband done!
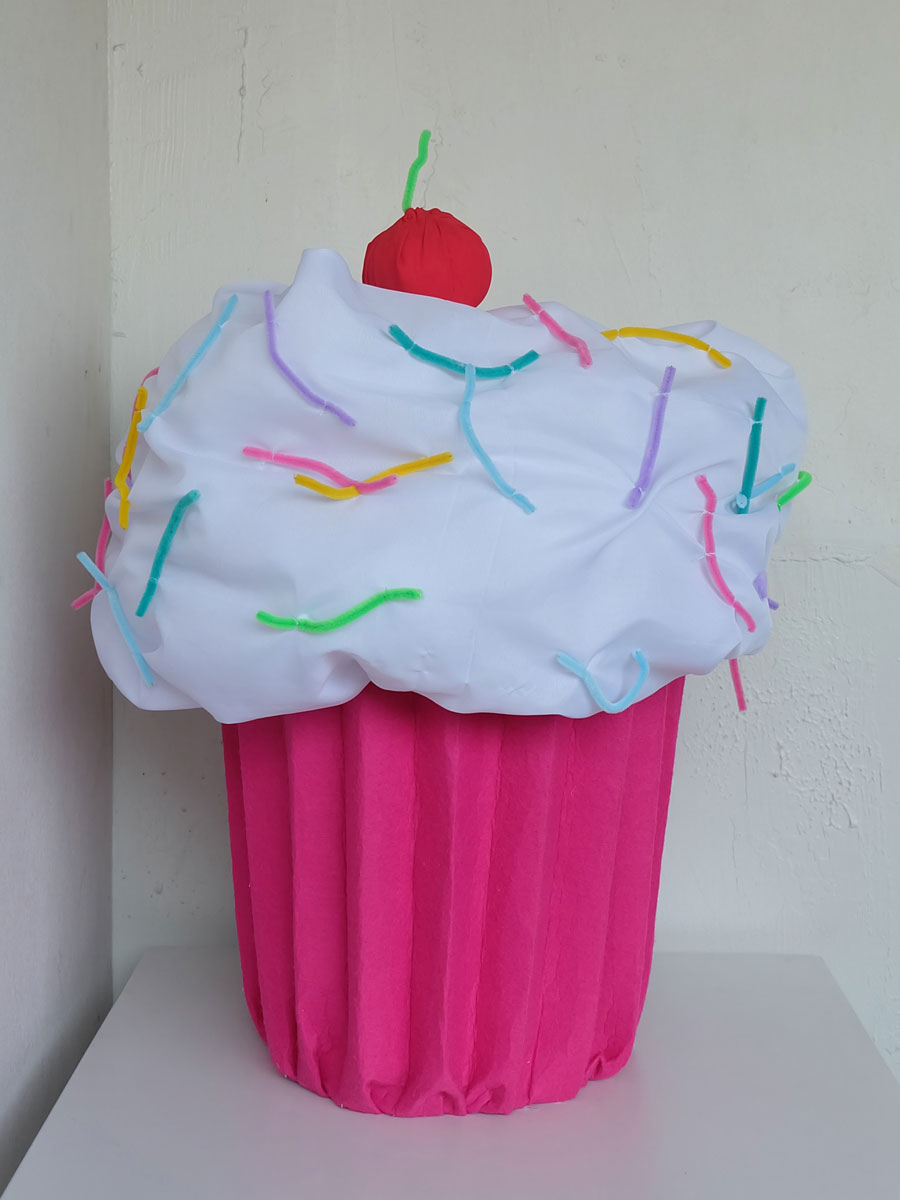
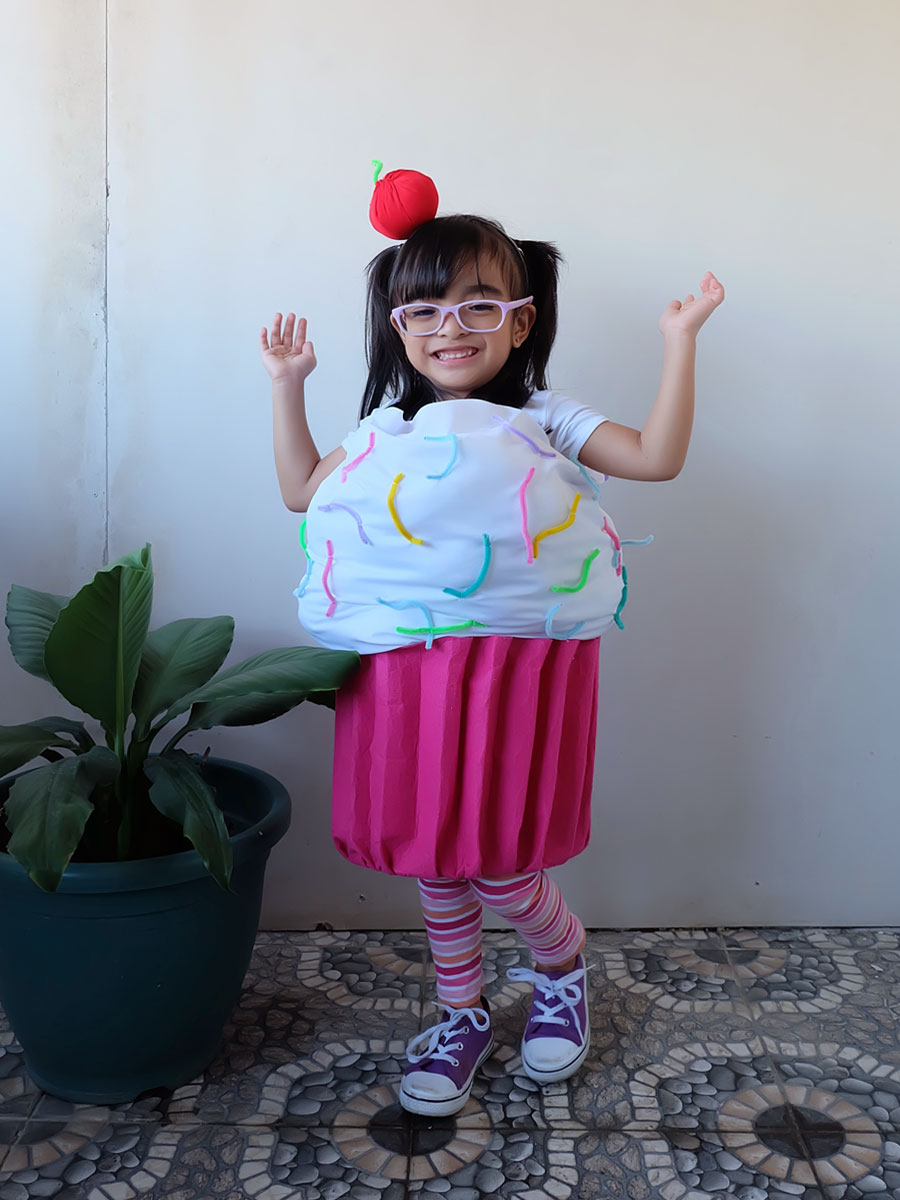
Cupcake costume done! With the perfect cherry on top, of course!
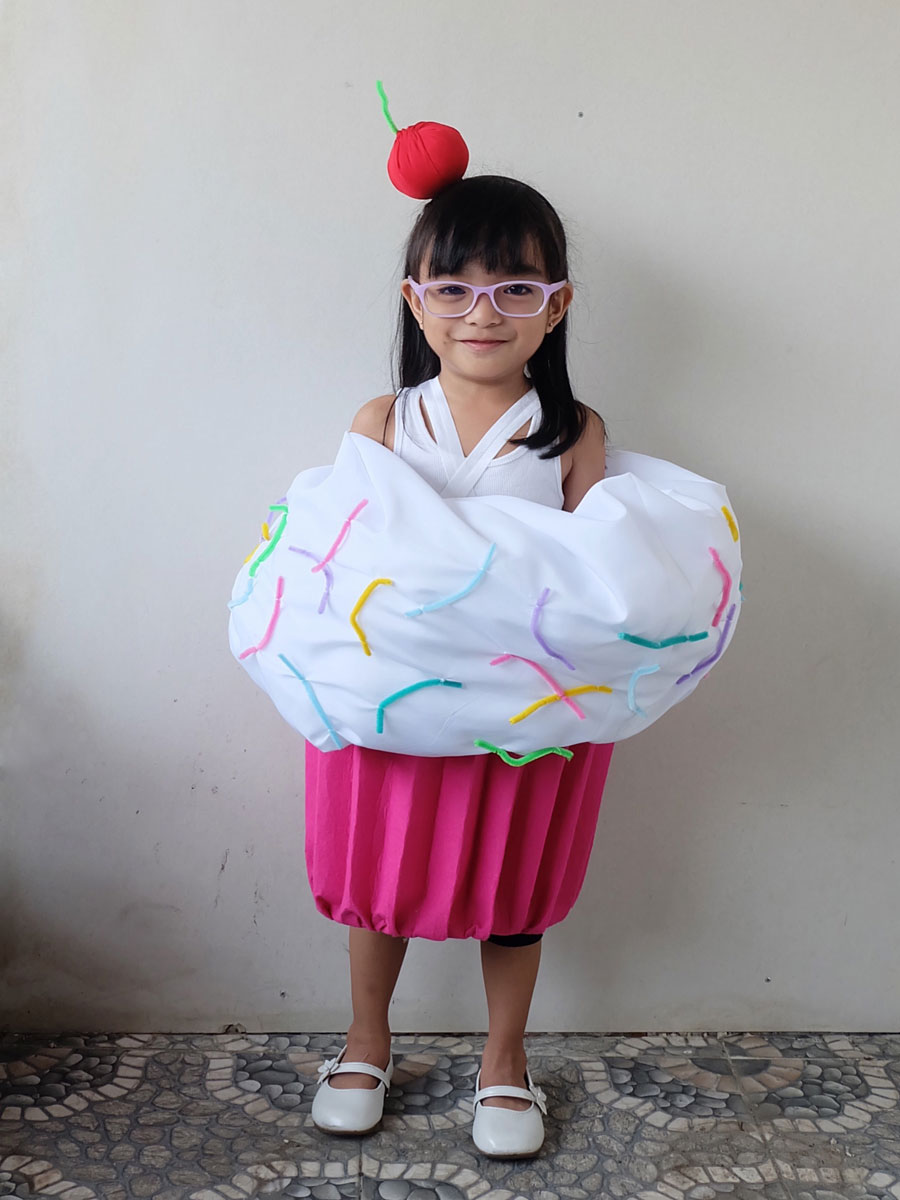
Our little cupcake loved her costume! She has already worn it to two Halloween parties, a dress-up fair at school, and at a costume Christmas party, too!
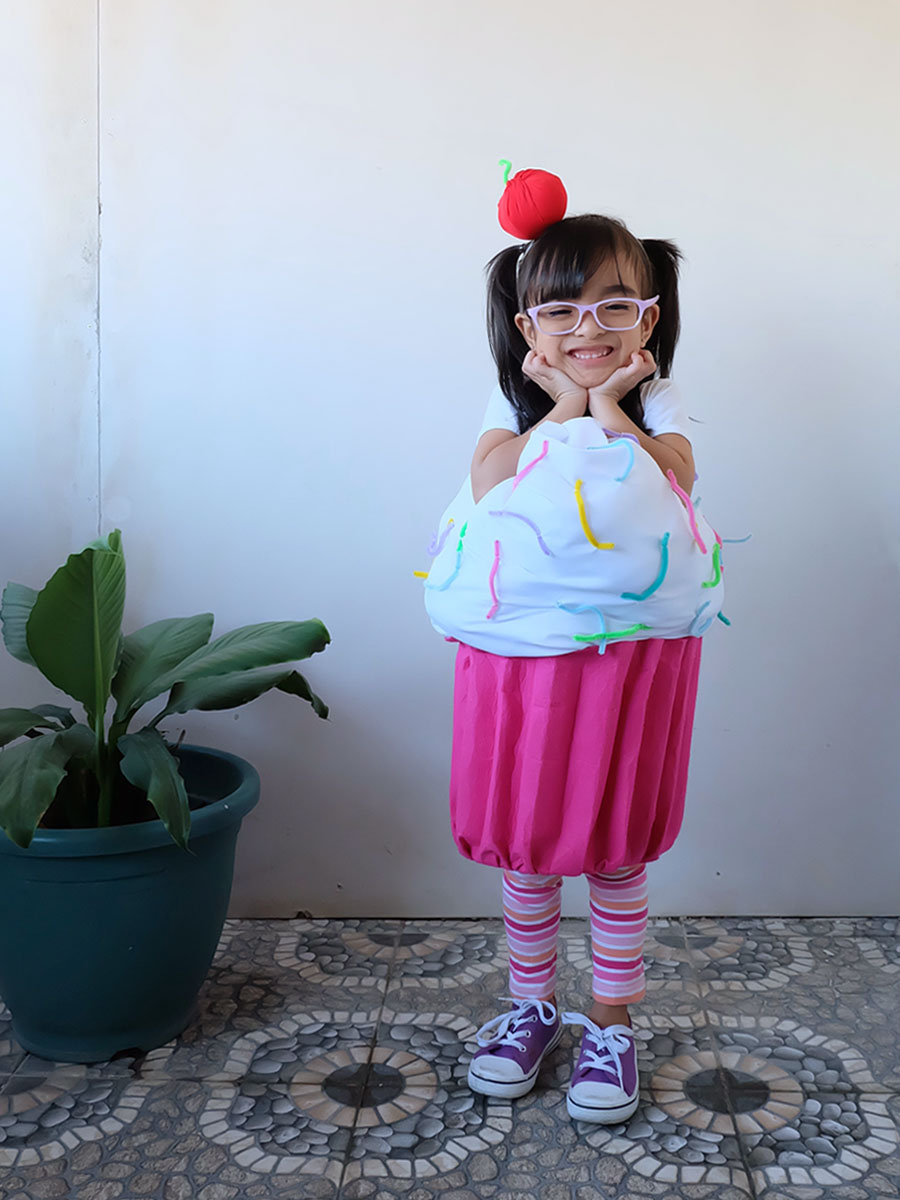 Go on, try your hand at this cupcake costume and dress your cuties in the most deliciously adorable outfit! Pair it with a white shirt and some colorful leggings, and you’ll have the sweetest Halloween treat in town!

1 Comment
DIY: Claw Machine Costume – A Crafted Lifestyle
November 2, 2019 at 1:16 pm[…] unique every year (she was an ice cream cone last year, a gumball machine the previous year, and a cupcake the year prior), you can bet she will request for another DIY […]