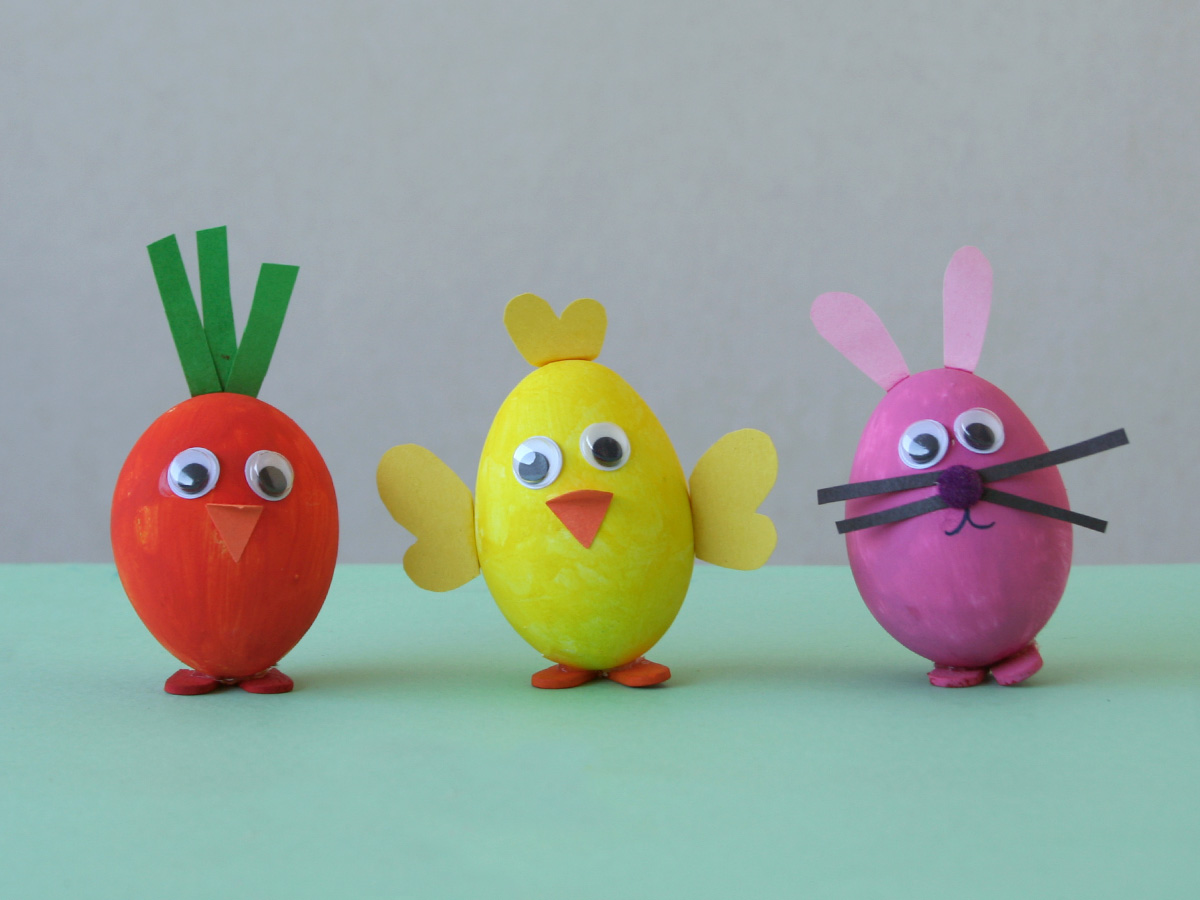
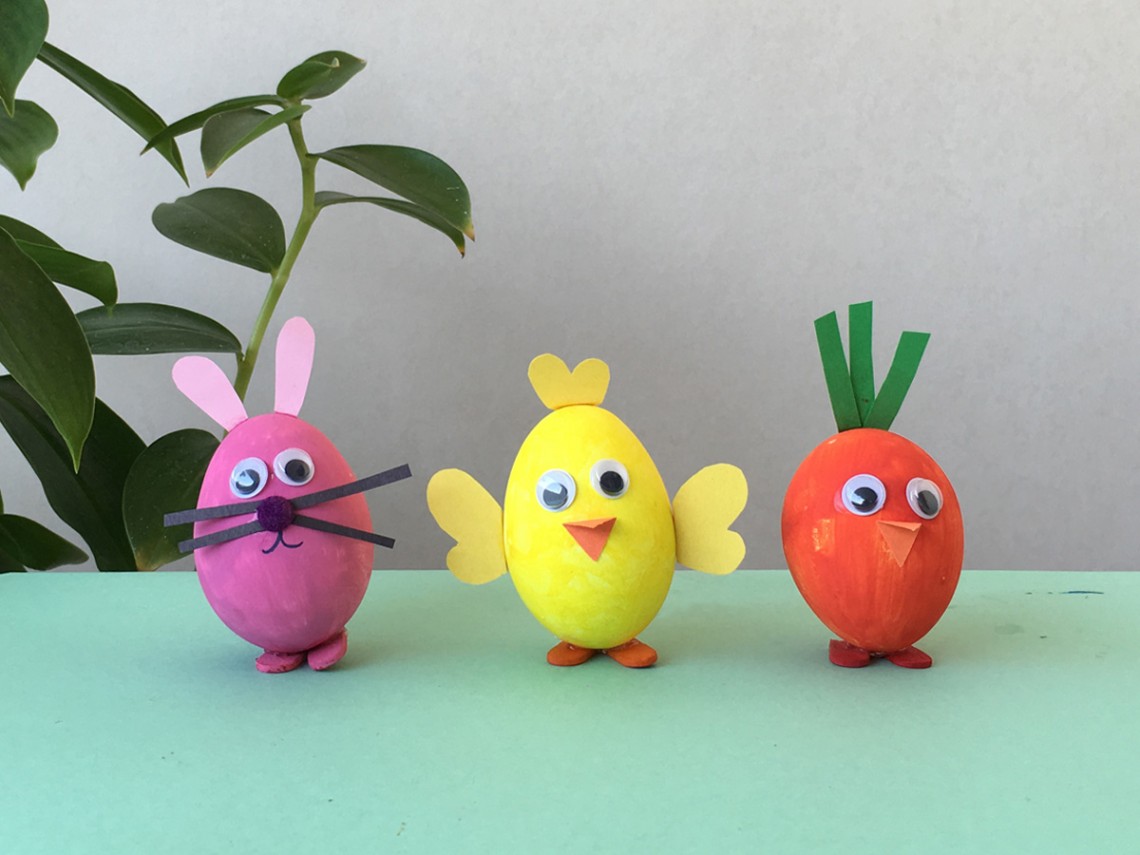
A little egg-cited for Easter, we made this bunny, chick and carrot Easter Egg Trio the other day.
Bored from being holed up at home almost the entire week, this project was the perfect distraction for my little four-year-old artist. Not only did it keep her happily preoccupied for a while, the finished products also encouraged some imaginative play.
With some simple materials and a little bit of patience preparing the small details, learn how to make these bright and happy easter eggs that stand!
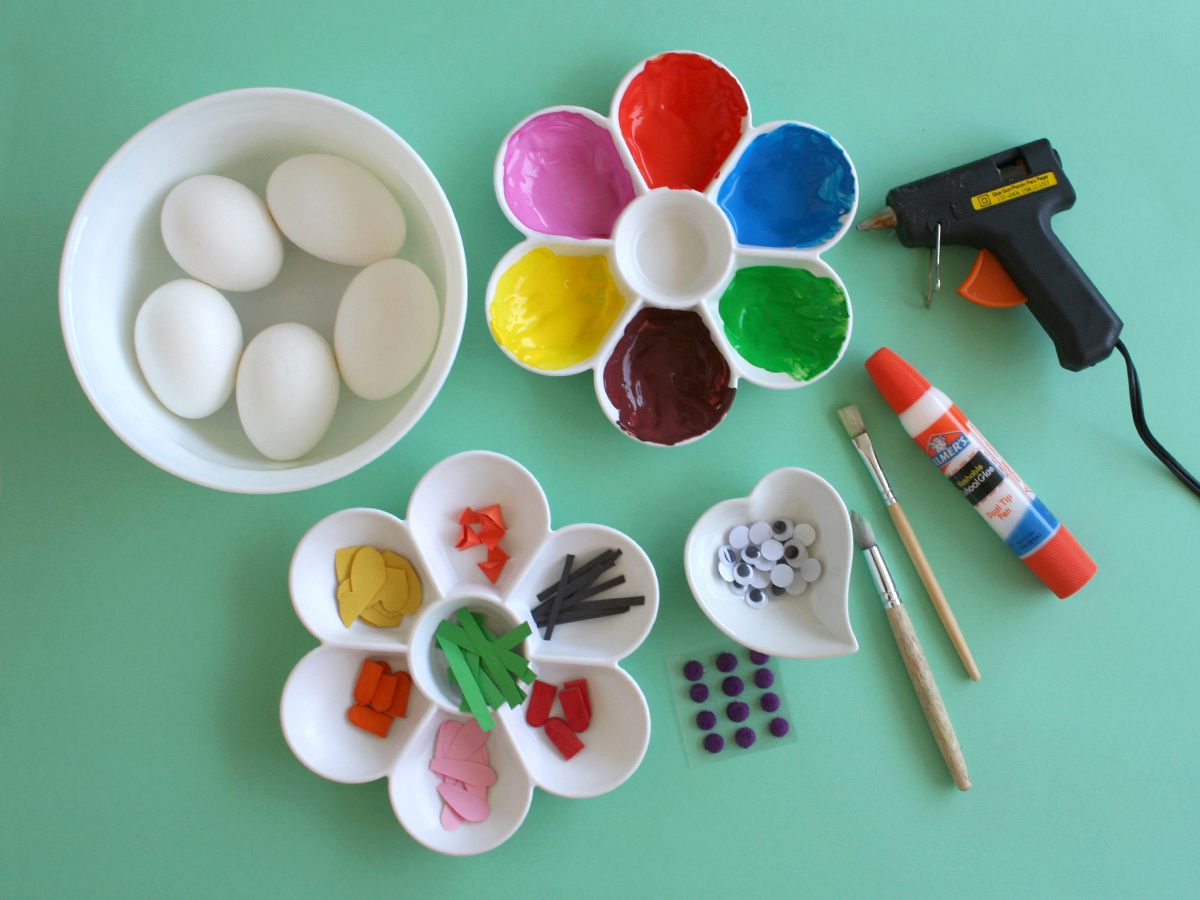
Materials Needed:
- Hard boiled eggs
- Acrylic paints
- Paintbrush
- Hot Glue Gun
- Glue
- Googly eyes
- Pom pom stickers (optional)
- Colored construction papers (for the details)
- Popsicle sticks (for the details)
- Black marker
To Make The Details:
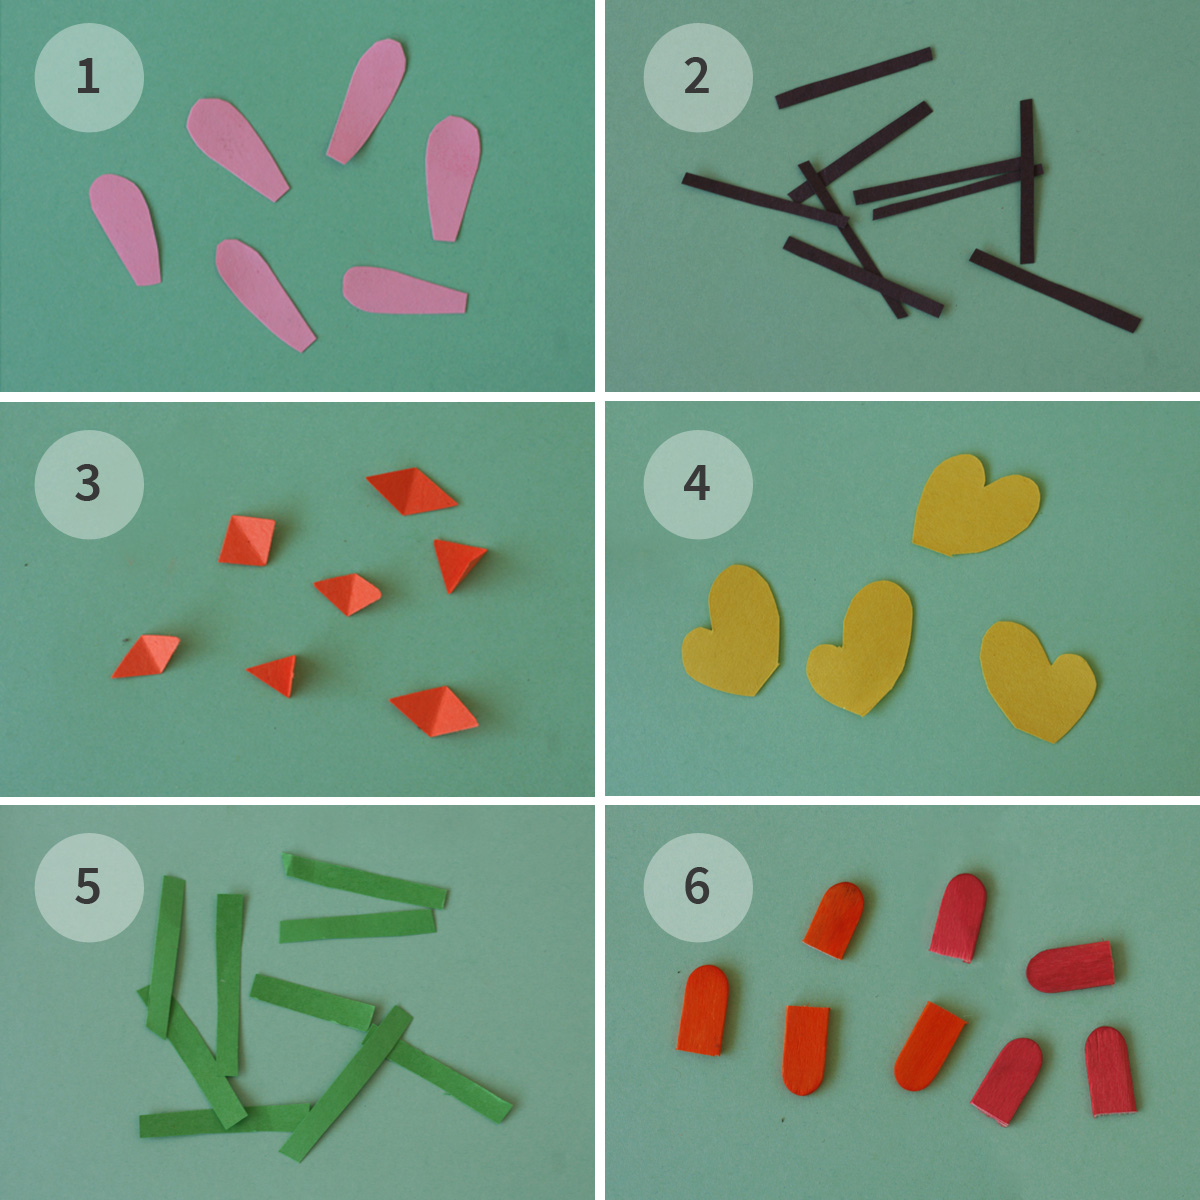
- Cut out bunny ear shapes using pink construction paper.
- Cut out thin strips of black construction paper for the bunny’s whiskers.
- For the chick’s beak and the carrot’s mouth, cut out small diamond shapes on orange construction paper, then fold them in half to make them 3D.
- Cut out the chick’s feathers using yellow construction paper.
- Cut out thin strips of green construction paper for the carrot stems.
- Paint a couple of popsicle sticks orange and pink, then trim off about an inch off the curved ends. We will use these for the feet.
After preparing all the details for the bunny, chick and carrot, it’s time to paint the eggs!
To avoid getting paint on your hands, place the eggs on small cups. Apply paint thinly and evenly using your paintbrush. Paint half of the egg first, then allow it to dry before turning it over to paint the other half.
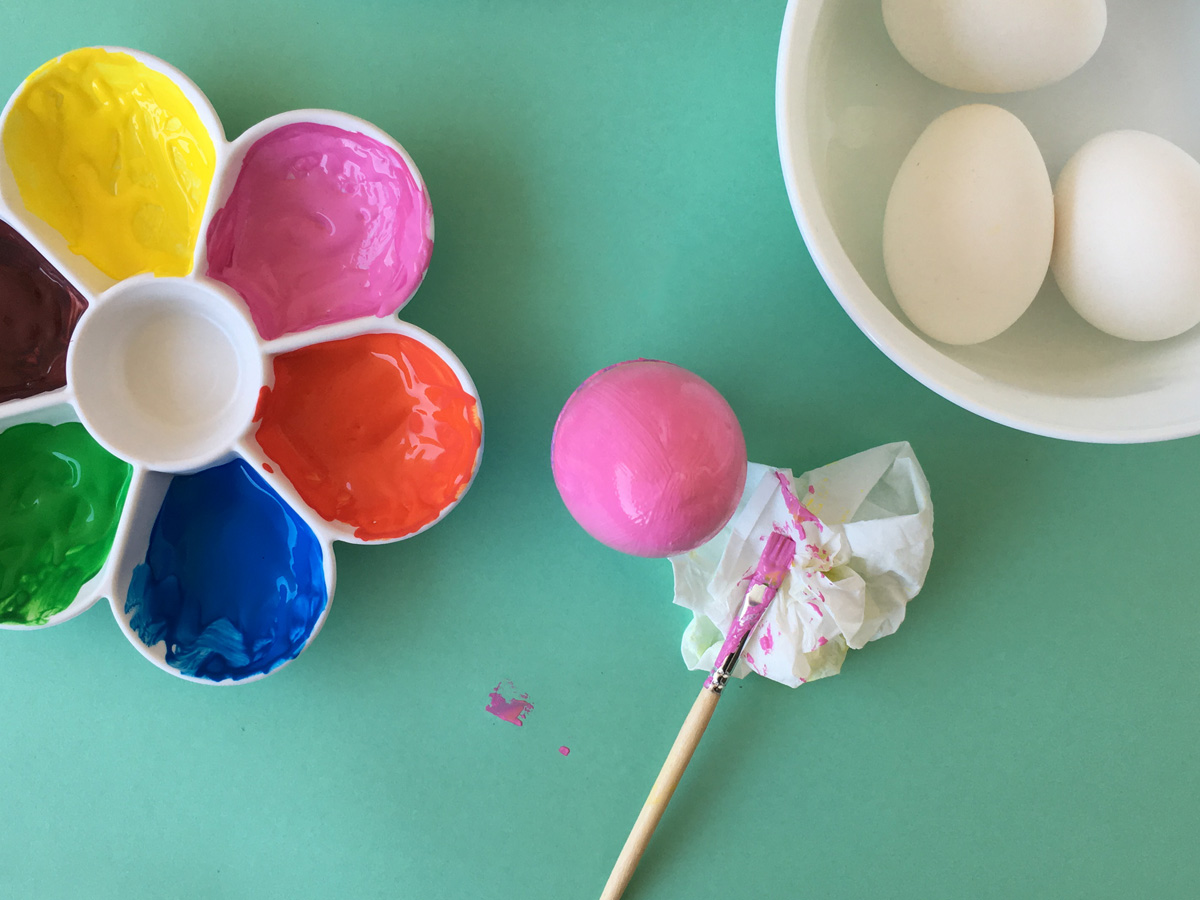 Use pink paint for the bunny.
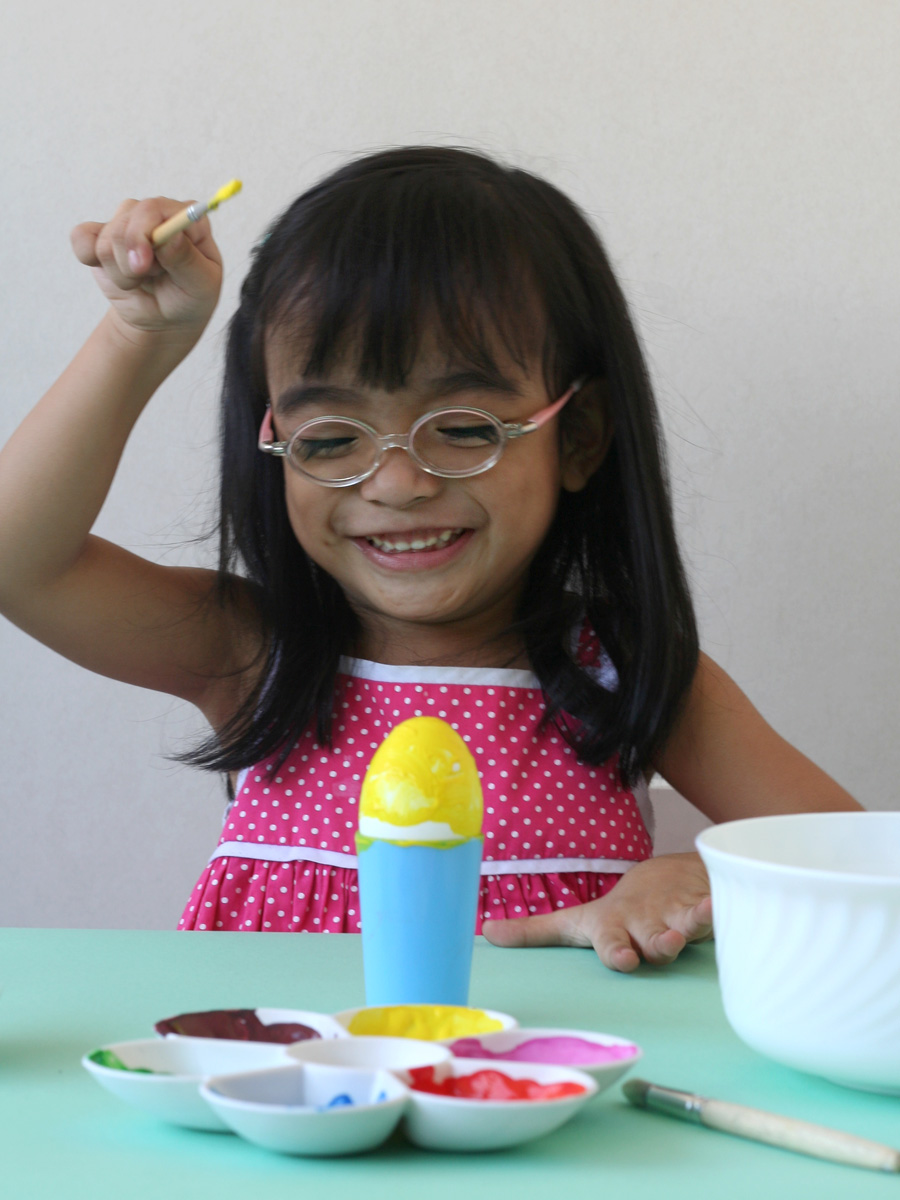 Yellow for the chick.
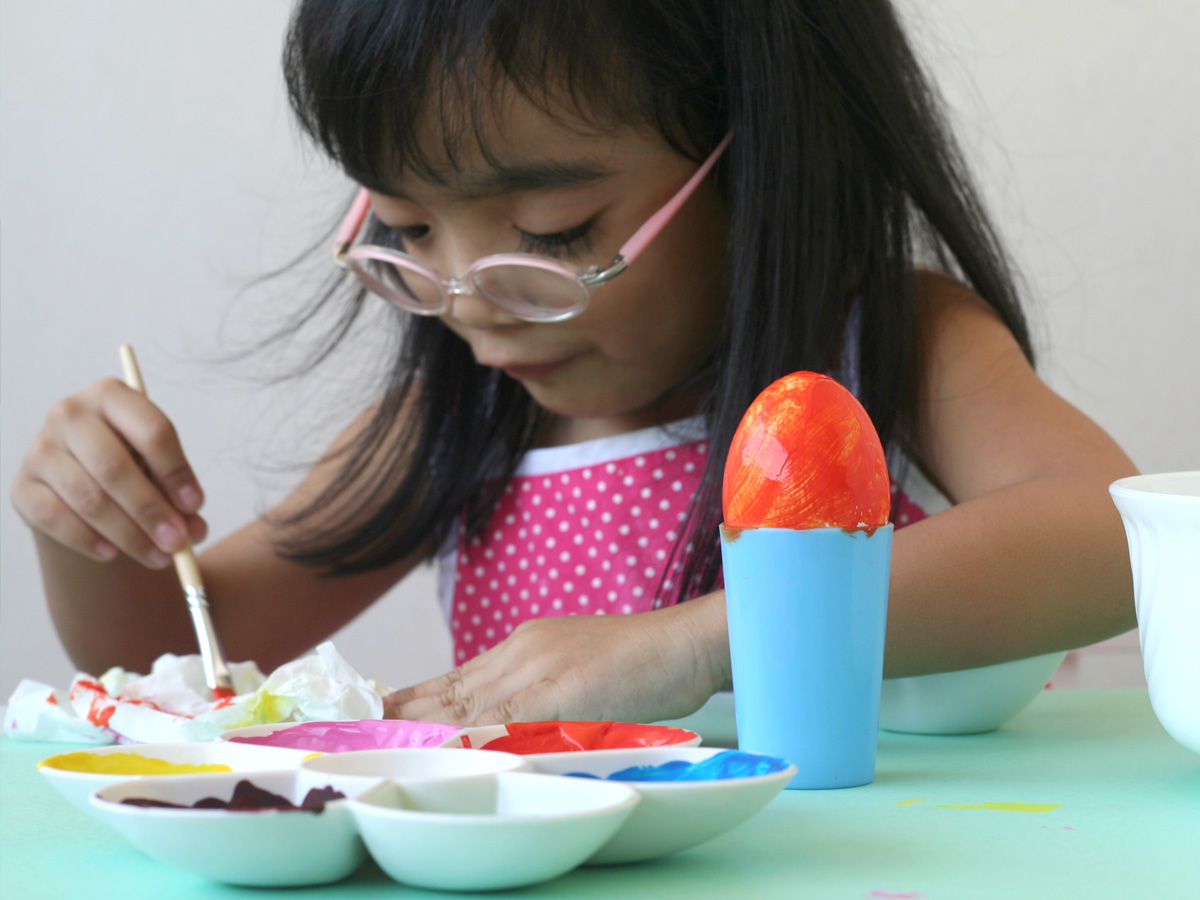 And orange for the carrot. Allow them to dry.
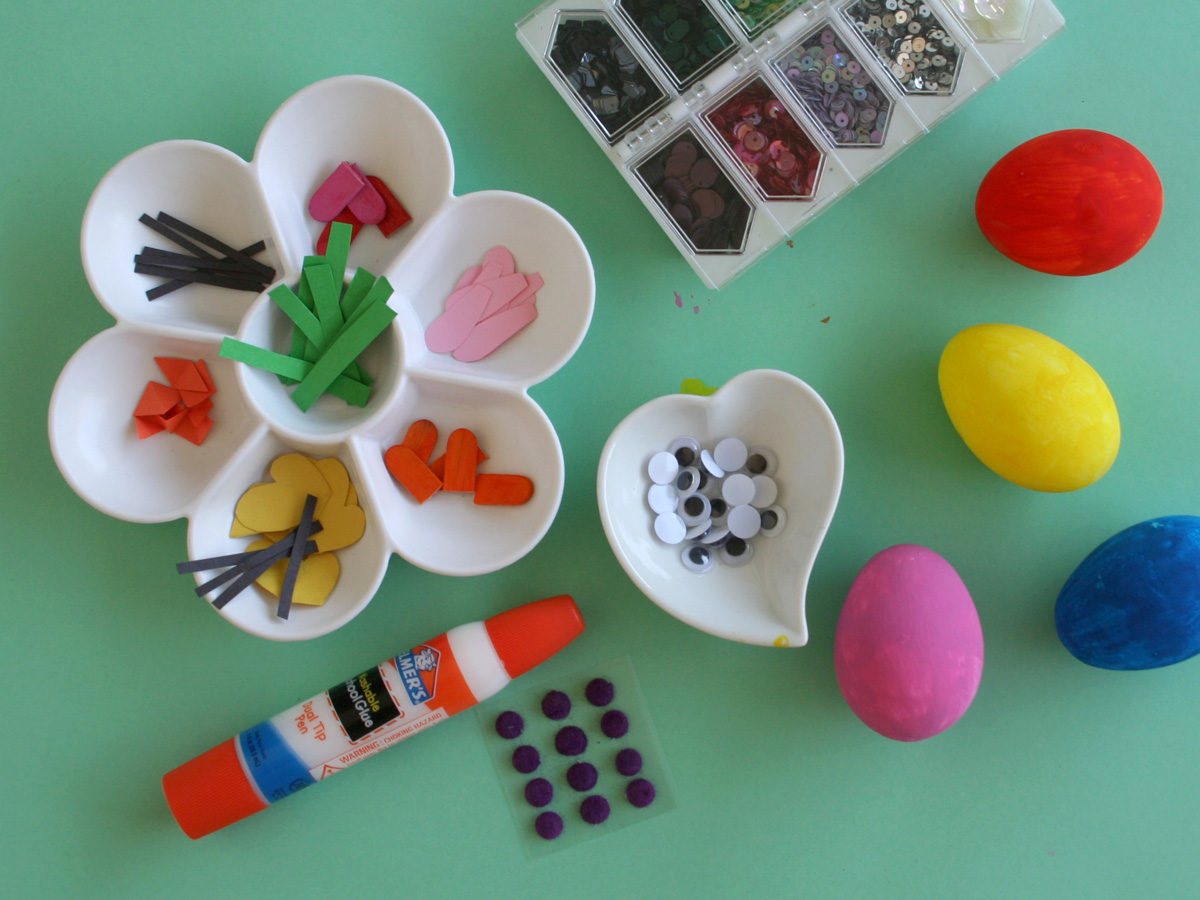 Once the paints have completely dried, it’s time to decorate!
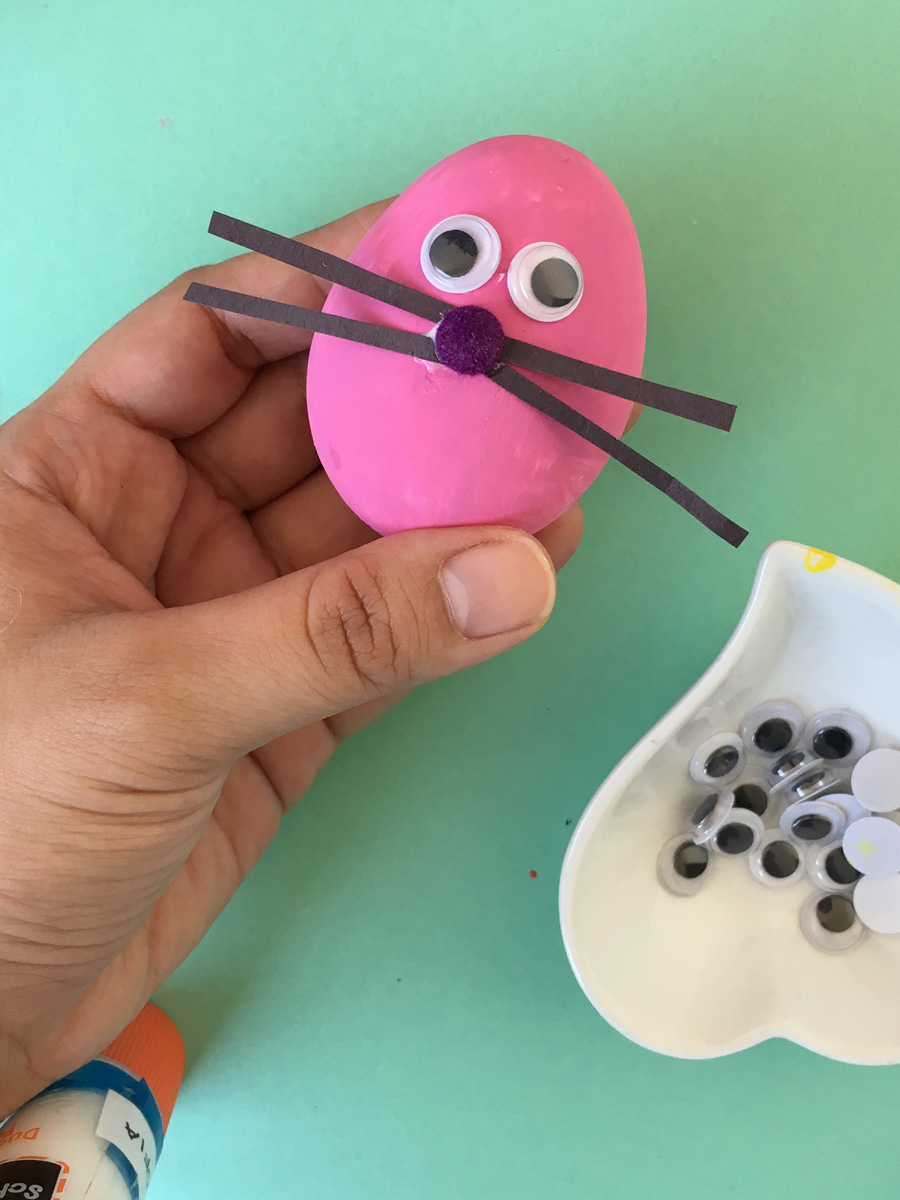
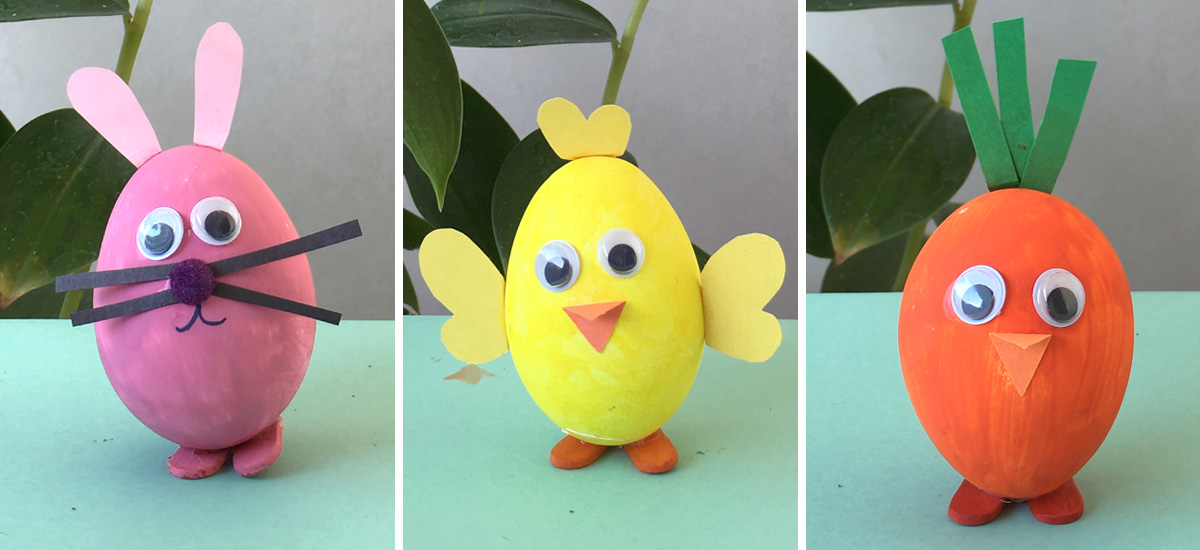 For the Bunny: Glue on the googly eyes and the whiskers, followed by the pompom sticker for the nose. Add glue to the tips of the bunny ears, then stick them on the top of the egg. Fold them back a little so the ears face upwards. Finish off the face by drawing the bunny’s mouth with black marker.
For the Chick: Glue the googly eyes and orange beak in place. Add glue to the tips of the paper feathers, then stick one on each side of the egg. Fold them back so they face front. Add another small paper feather on top of the chick’s head.
For the Carrot: Glue the googly eyes and orange beak in place. Take three pieces of the green paper stems, and glue them to the back of the carrot’s head.
Finish the eggs off by adding feet: Place two of the popsicle stick ends side by side on the table, then squeeze on some hot glue on top. Quickly place the egg on top, making sure the popsicle feet sticks to the bottom of the egg. The popsicle feet will help the eggs stand on their own.
And there you have it, three crafty egg cuties that are not only fun to decorate, but are also great for an endless session of imaginative play!
Additional Tips and Info:
- Encourage your little ones to get in on the decorating fun! My daughter Zoë, enjoyed glueing down all the little details. Decorating and handling the small details in this Easter project will surely help boost their fine motor development.
- If you have an impatient kid like I do, place the painted eggs in front of a blowing fan to speed up the drying process.
- Remember: eggs painted with acrylic paint are not safe for eating. Dye your eggs instead, if you plan on eating them after.

No Comments