When I was younger, I always dreamed of being married with children. When other kids my age dreamed of being big in careers like medicine, architecture, or law, I was on the side, just secretly wishing for a good husband and a little one I could care for. Yes, I did want to become a teacher at one point, then a nurse for a brief period, and I eventually worked hard to graduate with a degree in Interior Design, but at the back of my mind, I really just hoped to be a wife and a mother. I always pictured myself spending the day crafting and organizing art activities with my little ones.
Years down the road, I have to say, I am living the dream. Although married life and motherhood doesn’t come easy, I am happy to be doing things I pictured myself doing when I was little. Set aside all the chores, disciplining and home management, motherhood for me is a beautiful thing. I get to teach and care for my daughter everyday. We get to do craft activities that not only spark her creativity and imagination, but teach her simple lessons on the daily.
Over the weekend, we immersed ourselves in art and color by making our own puffy paint at home. From mixing the ingredients, making our own colors, painting our masterpieces and watching them “cook” in the microwave, it was an activity that not only encouraged concentration, but one that made room for lots of fun and creativity too.
Enjoy an afternoon of fun with your little ones with this easy homemade paint recipe. Using everyday kitchen ingredients, mix up your own colorful paint that puffs once microwaved!
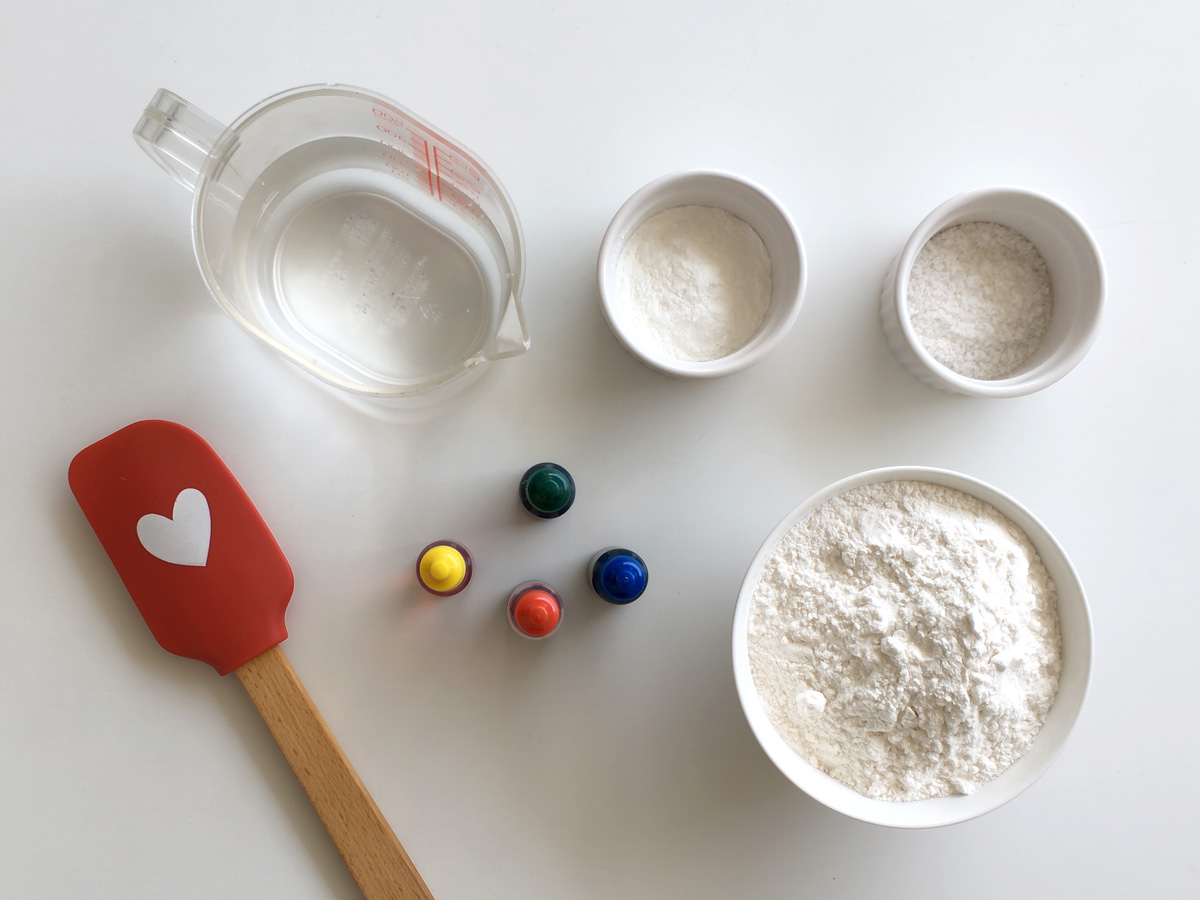
Materials Needed:
- 1 cup plain flour
- 3 tsp baking powder
- 2 tsp salt
- About 1 1/4 cup water
- Food coloring
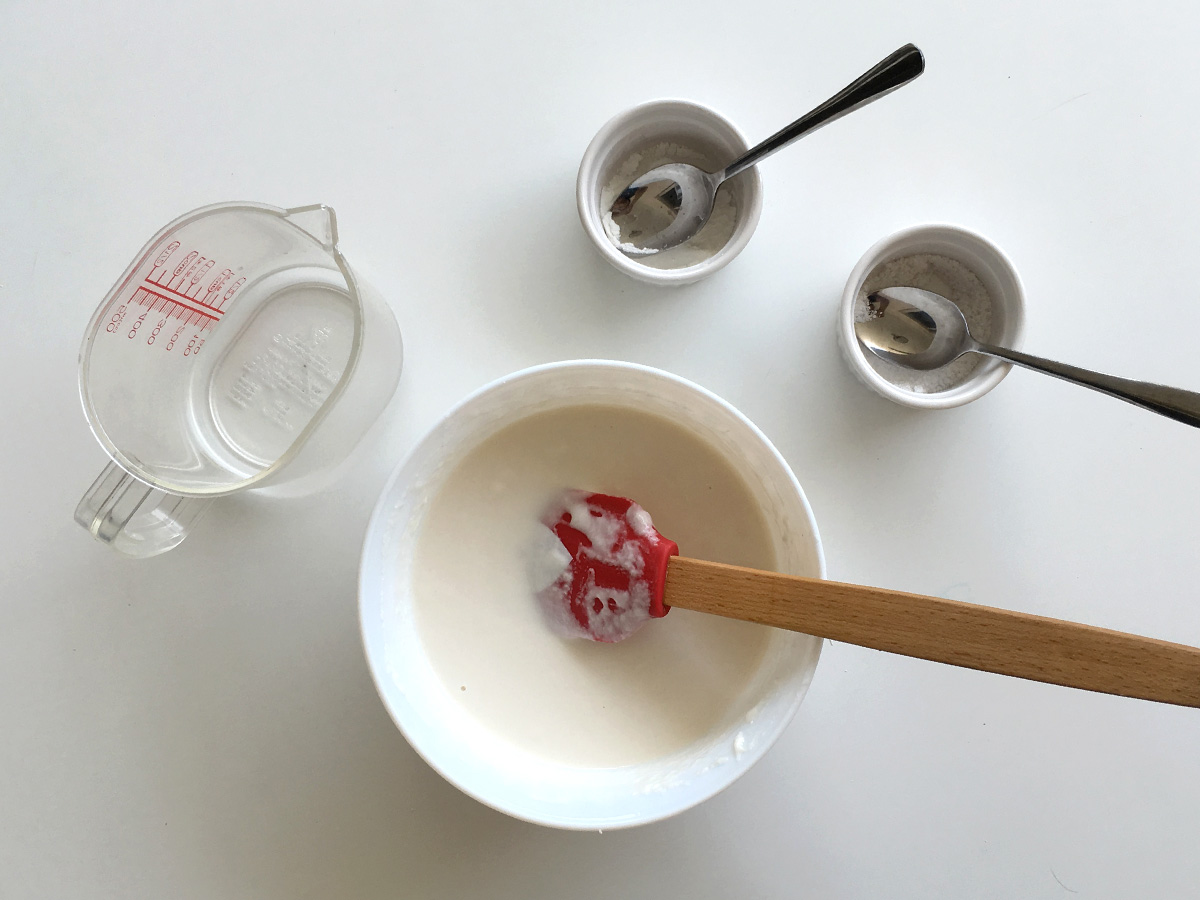
Mix, Mix, Mix
Start off by mixing the flour, baking powder and salt, then gradually add water. We used about a 1 1/4 cups of water, but you may add a little more or a little less. It should look and feel like plain yogurt / pancake batter, so adjust the volume of your water until you get the desired consistency.
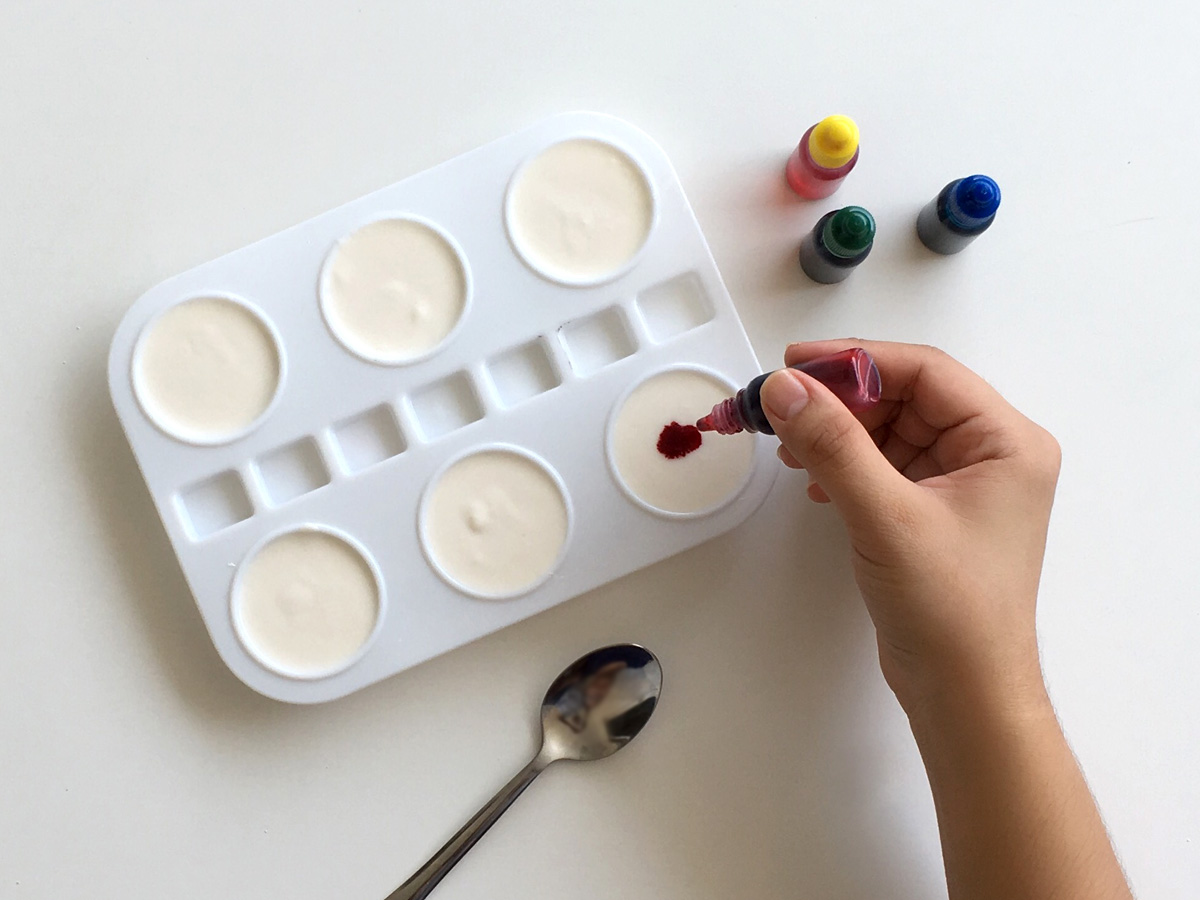
Transfer the batter to several small containers. Add a few drops of food coloring to each one and mix to get your desired shades. We used liquid food coloring for ours, but you may use whatever you have in your kitchen.
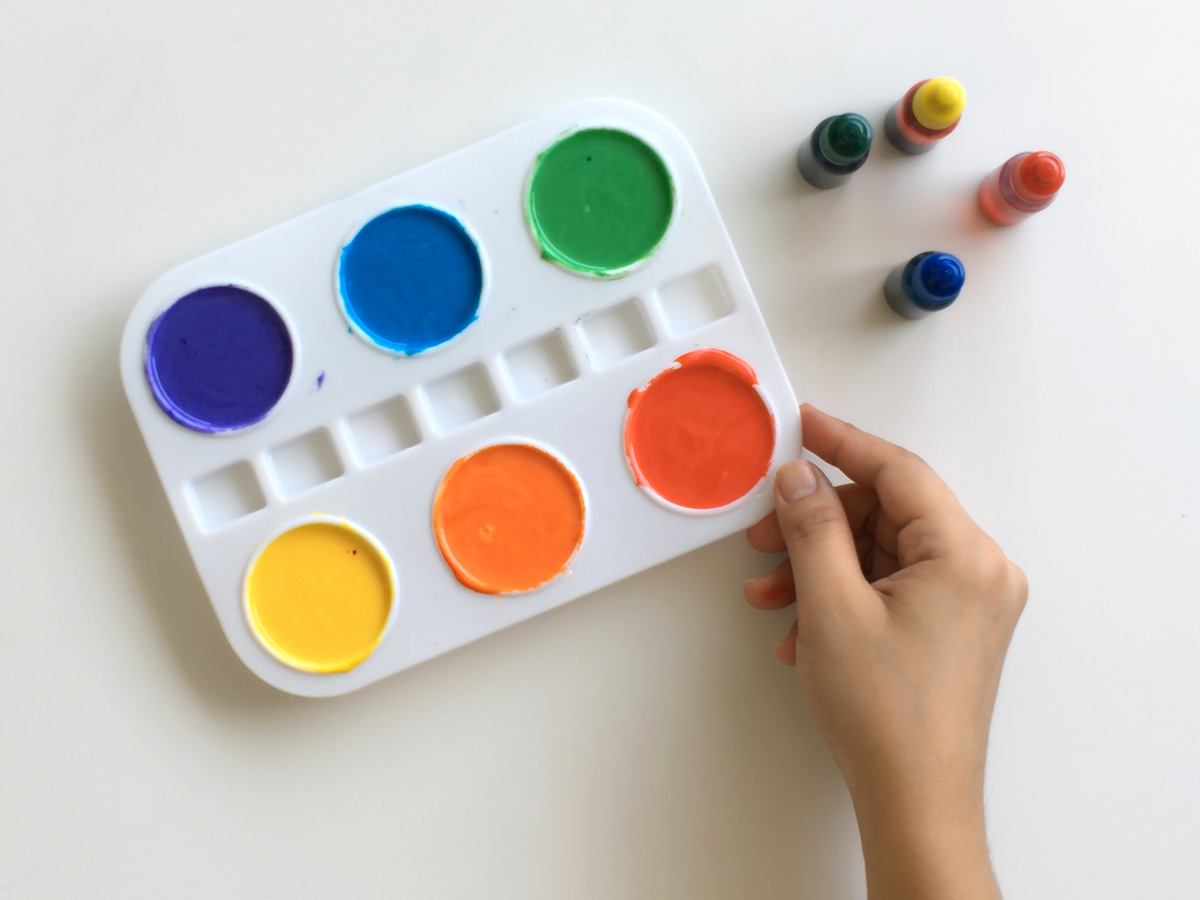 We used a regular paint palette, and mixed the general colors of the rainbow. No indigo for our rainbow, though. Little Miss Zoë was getting a little impatient and wanted to paint already.
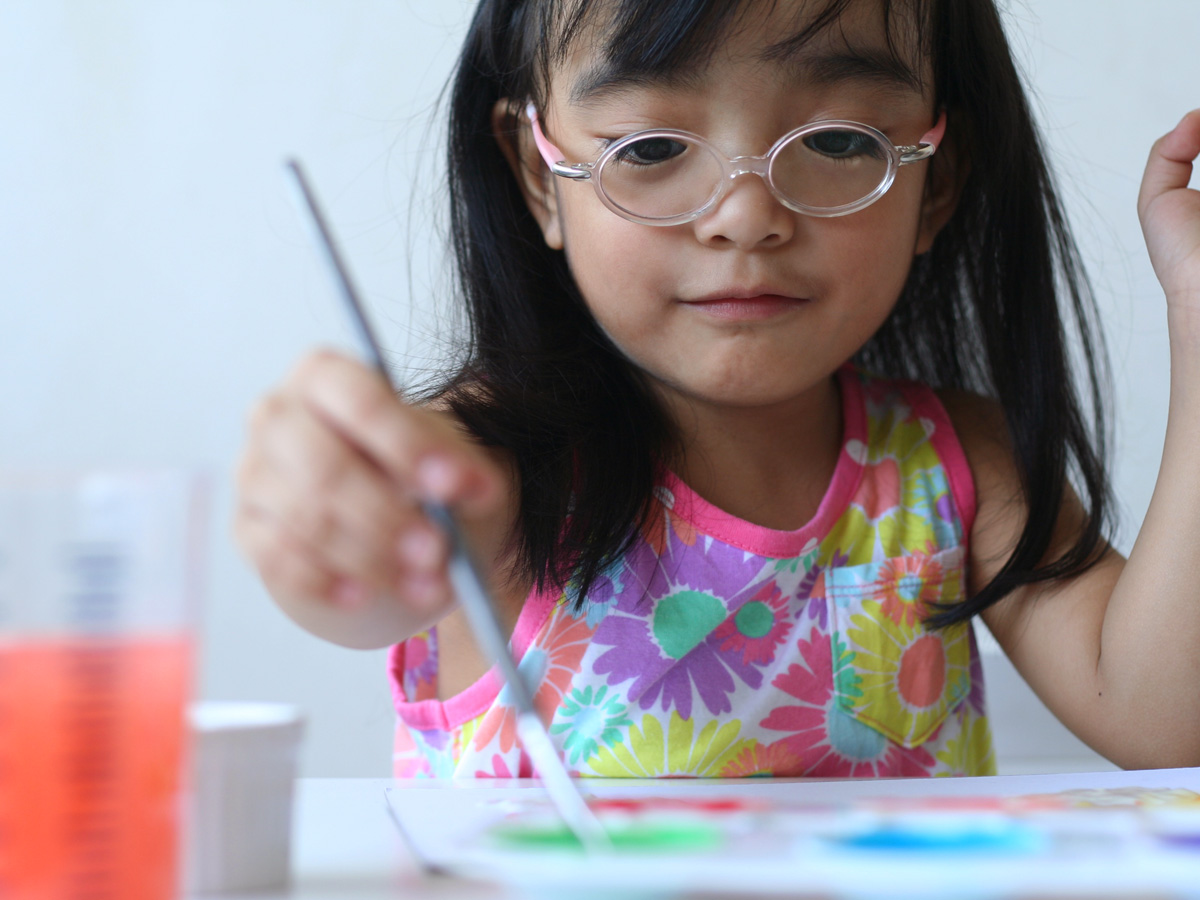
Once you’ve mixed all the colors that you want, it’s time to paint!
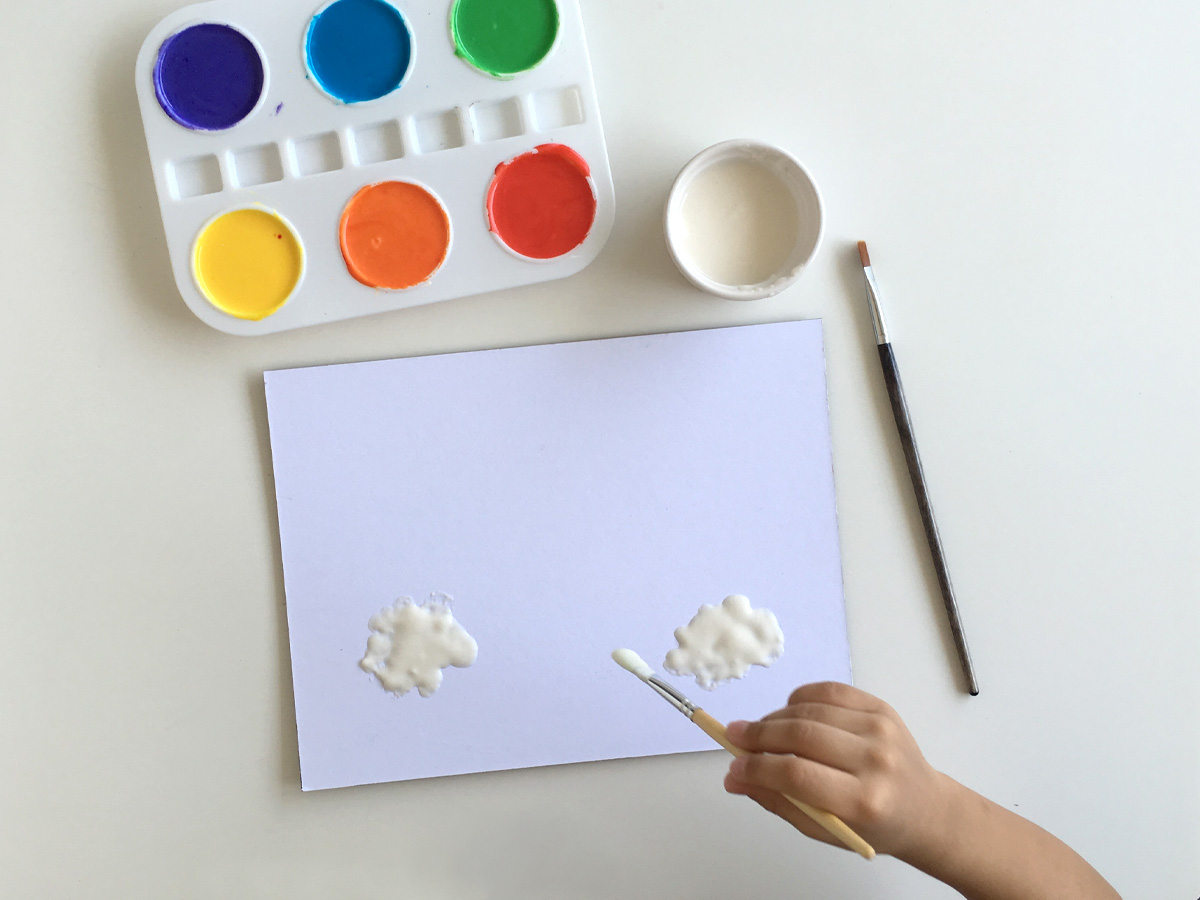 Painting Time!
Instead of using plain paper, we used illustration board for our paintings. Cardboard or any sturdy paper makes for a good base, as they will not curl inside the microwave.
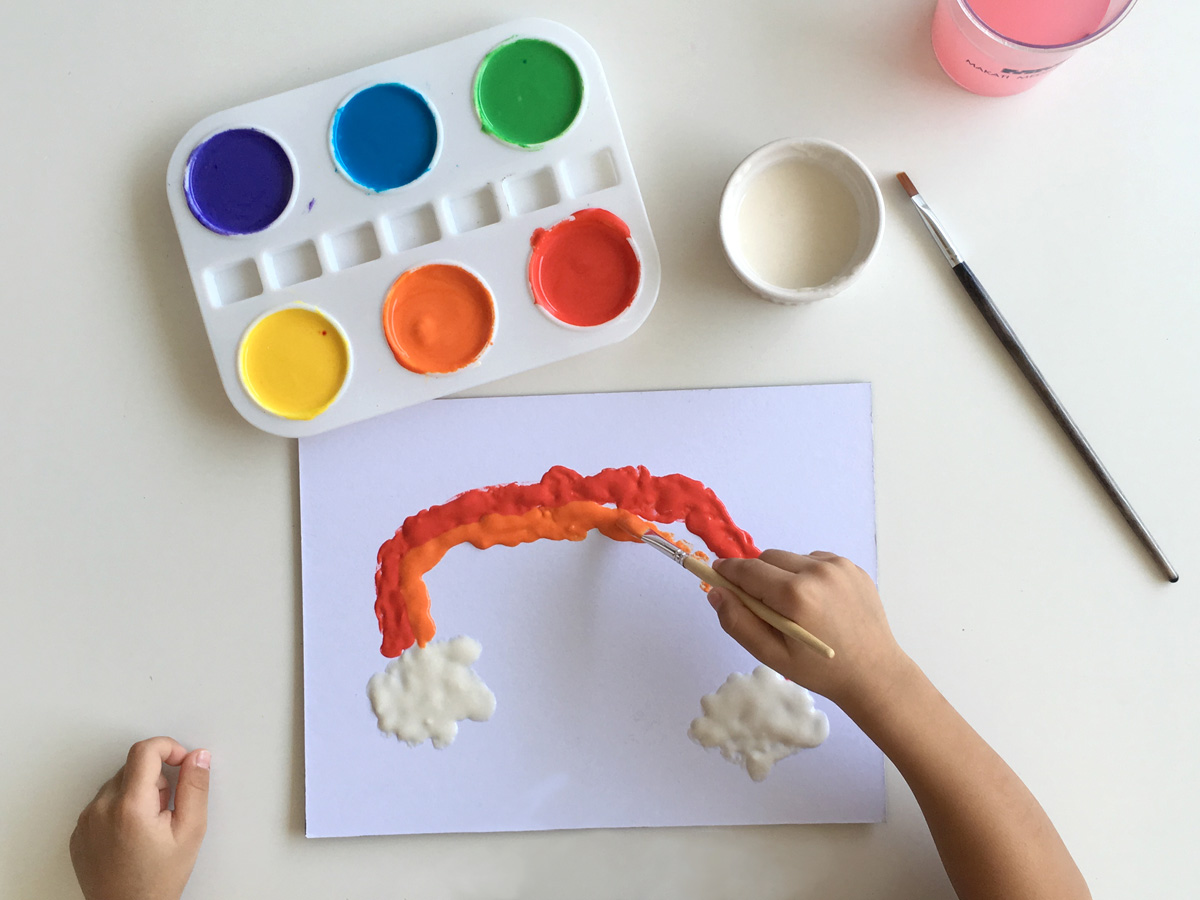
Apply paint thickly on the board. The thicker the paint, the puffier they become once microwaved. We found that dabbing the paint in blobs worked really well.
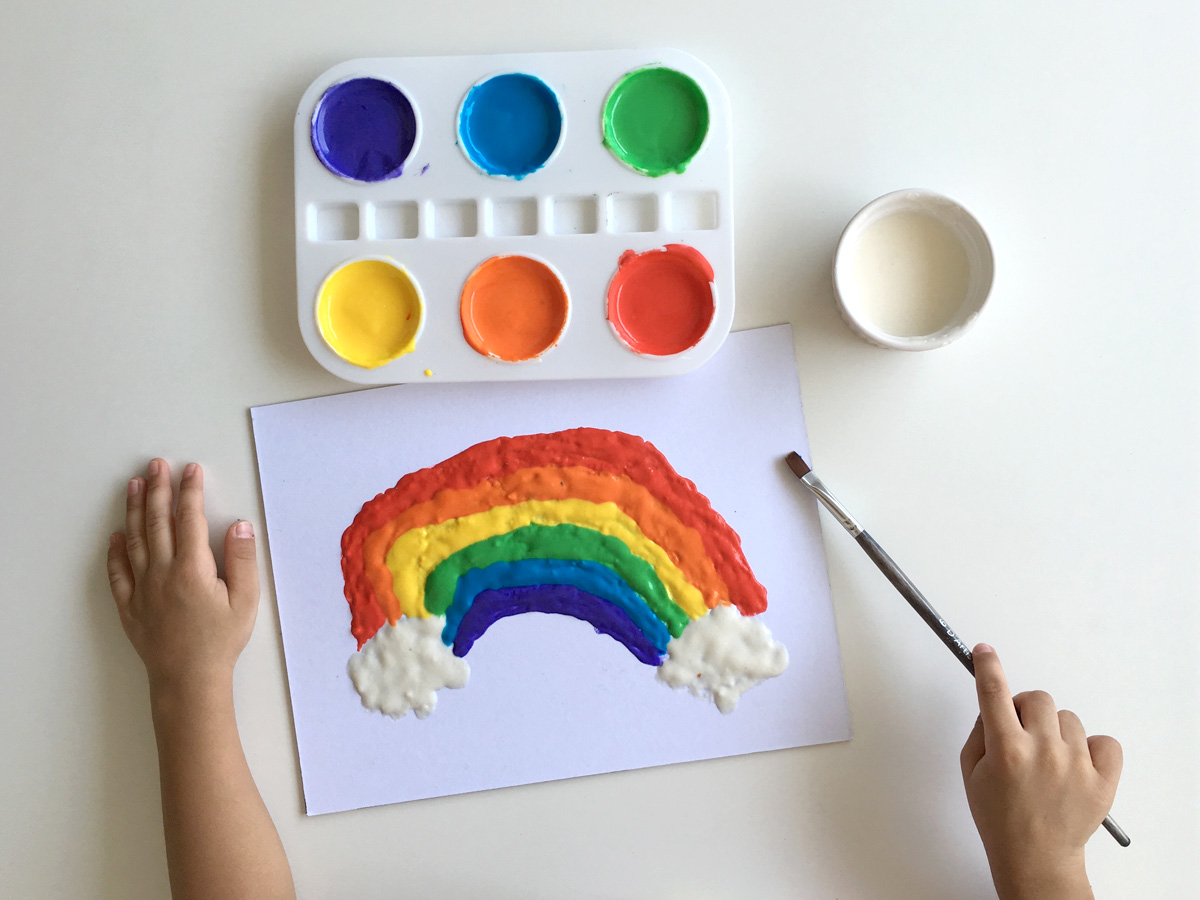 Cook and Puff!
Once the art work is finished, pop it in the microwave for 30-45 seconds and watch the paint dry out and puff up! Thicker paint applications may need to microwave a little longer.
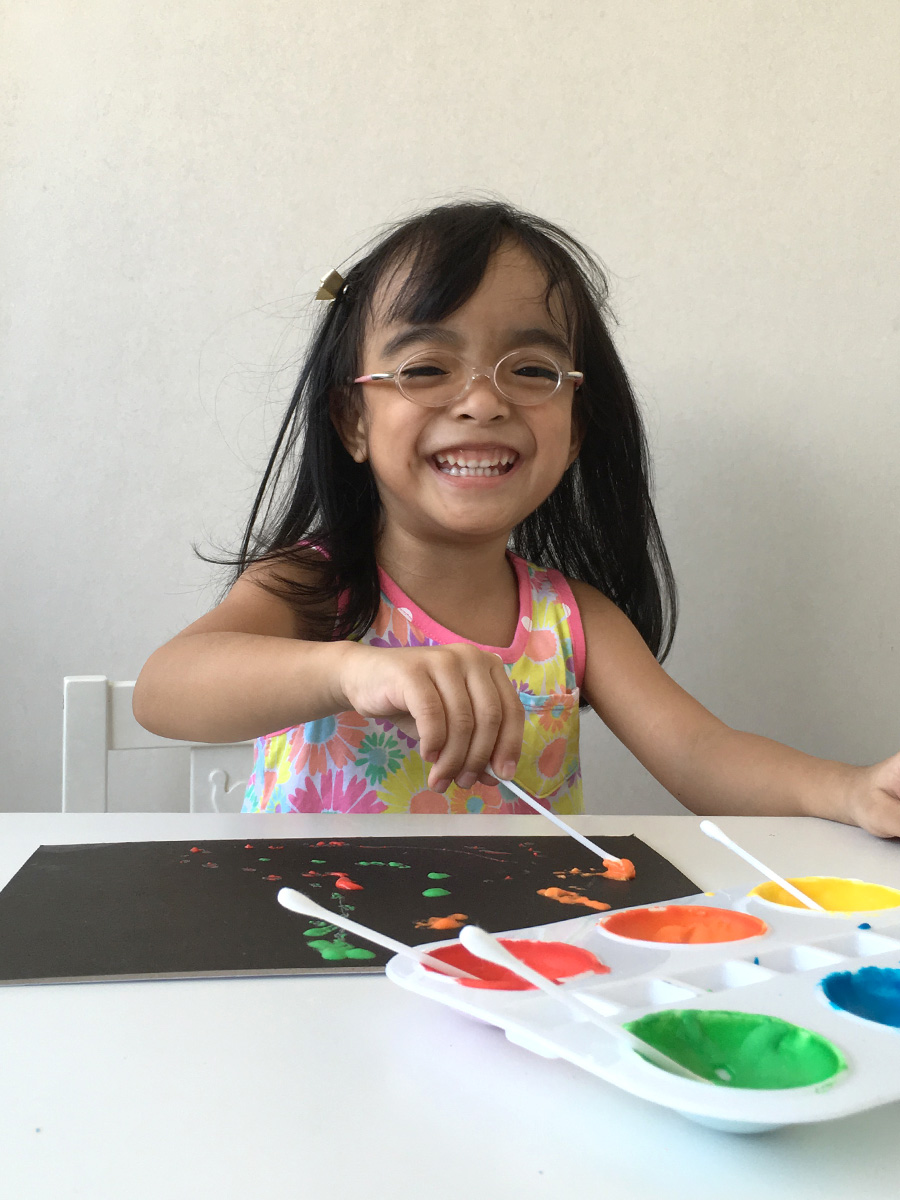
We also tried painting on the black side of the illustration board using cotton buds, and the results were even better! See, even Zoë agreed!
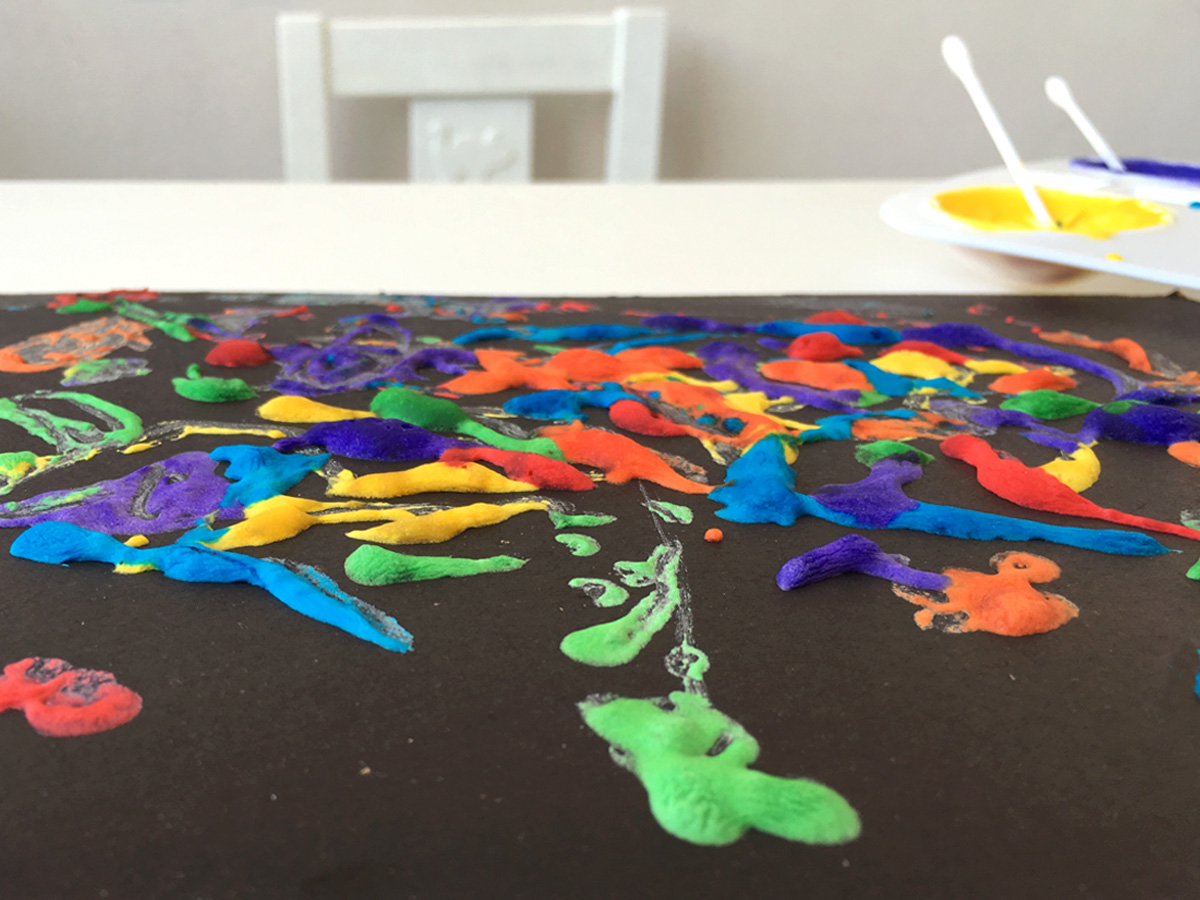
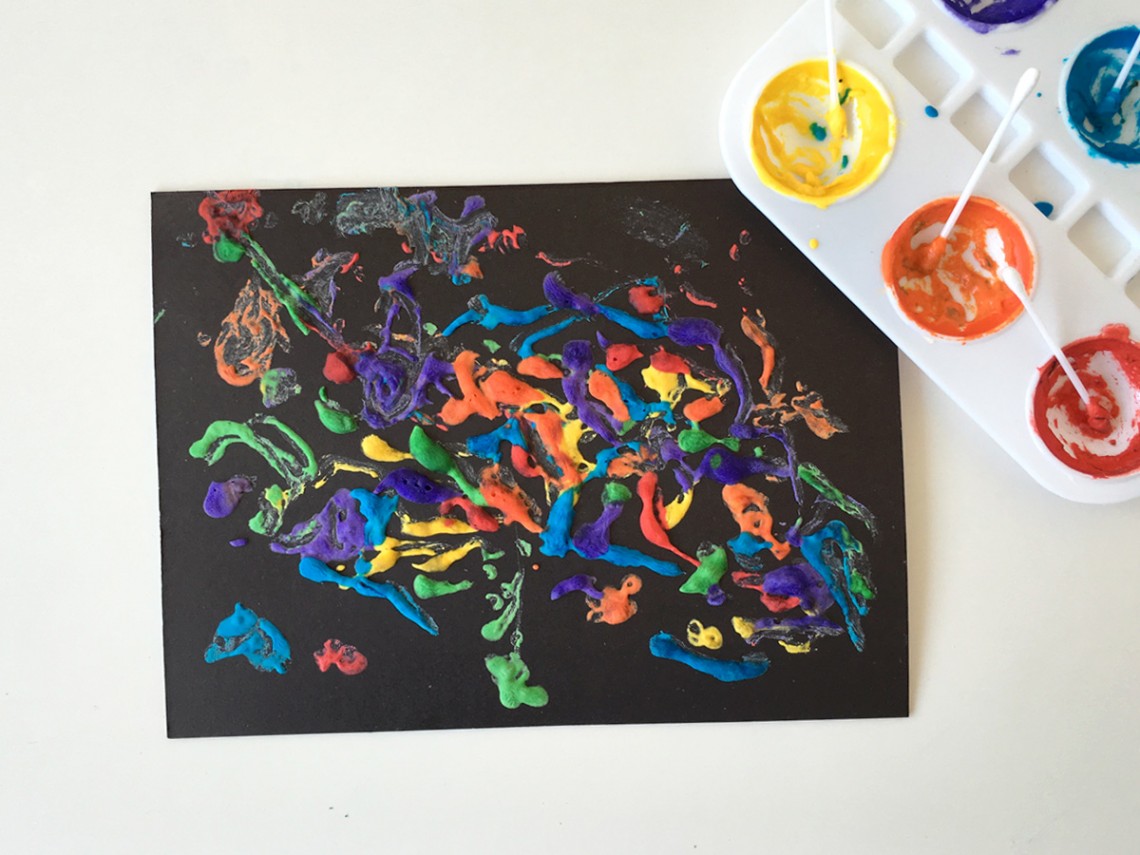
Check out how puffy the paint became! I also love how the colors popped out against the black background. The result turned into a colorful abstract painting with lots of depth and texture!
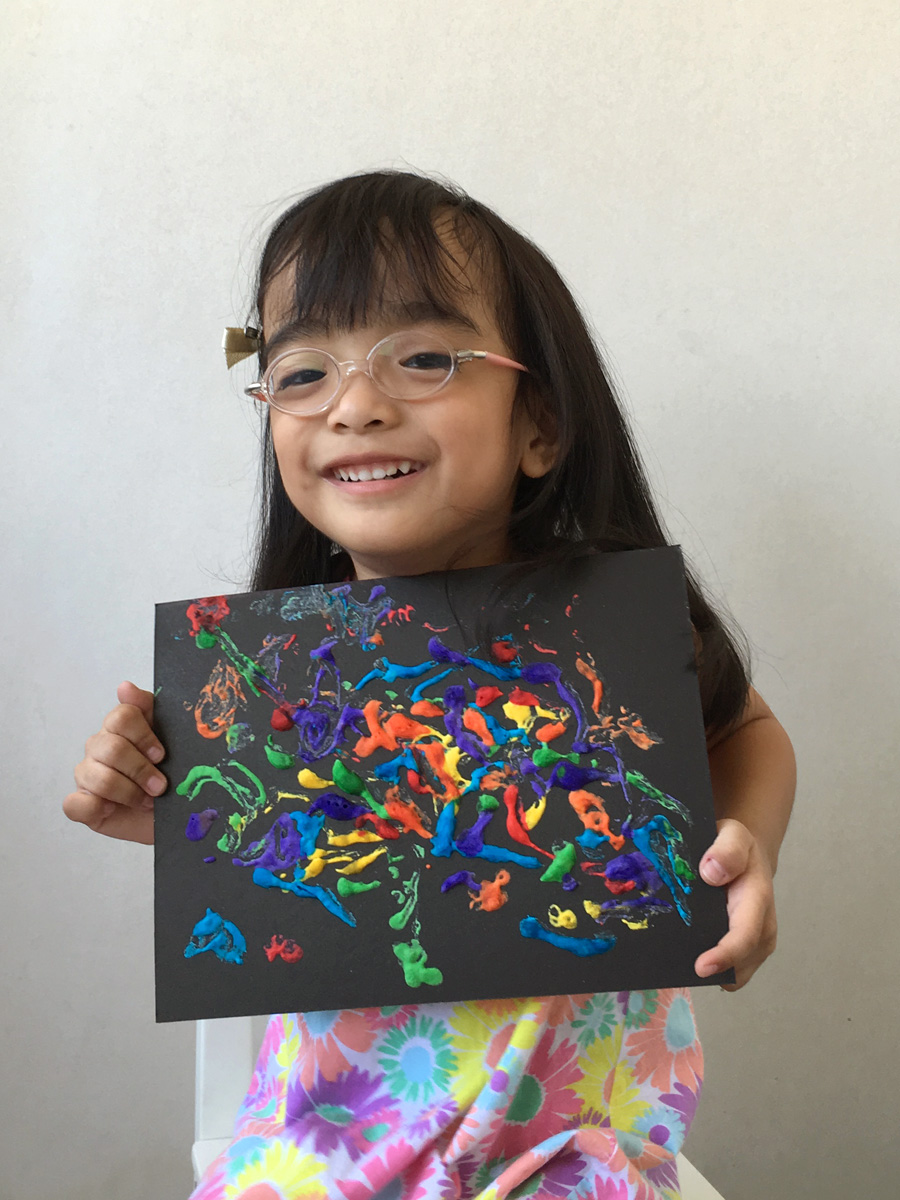
We love how this activity tackles math, science and art, all at the same time. Math from measuring all the ingredients, science from mixing the batter and making colors, and art for all the creative masterpieces that you could come up with.
Go on, try it with your little ones. With only a few simple ingredients, you can create a whole afternoon of learning fun!
Additional Tips:
- This recipe makes a considerable amount of paint. We only used up about 1/3 of the batter in one sitting. That’s for 4 paintings, plus some random testing on paper. Divide the recipe, should you wish to make a smaller batch.
- Another option is to put all the different colored paints in individual squeeze bottles. Paint away by squeezing paint directly from the bottles onto paper.

No Comments