Hello, my name is Anna and I’m a craft and office supplies hoarder. It’s not much of a secret, really. I am one of those people whose trip to the mall isn’t complete without dropping by the craft store or the office supplies store. And I never leave empty-handed. With craft supplies, I’m like a kid in a candy store — it’s hard for me to resist and say no.
Sometimes I pick up pretty paper or clips, other times it’s some random stationery or cute little trinkets. I bring them home and they all just pile up or get forgotten while they hide away in cluttered drawers.
Since moving back to Manila from Singapore a year ago, my new craft room has been screaming for some order and organization. I still have a gazillion things lying on the floor and most of my supplies are still tucked in boxes. Crafting has been a bit of a nightmare, because I always find myself spending more time rummaging through my things to find materials that I need, than working on the actual projects. Making and creating began feeling like a chore, so I wanted to do something about it.
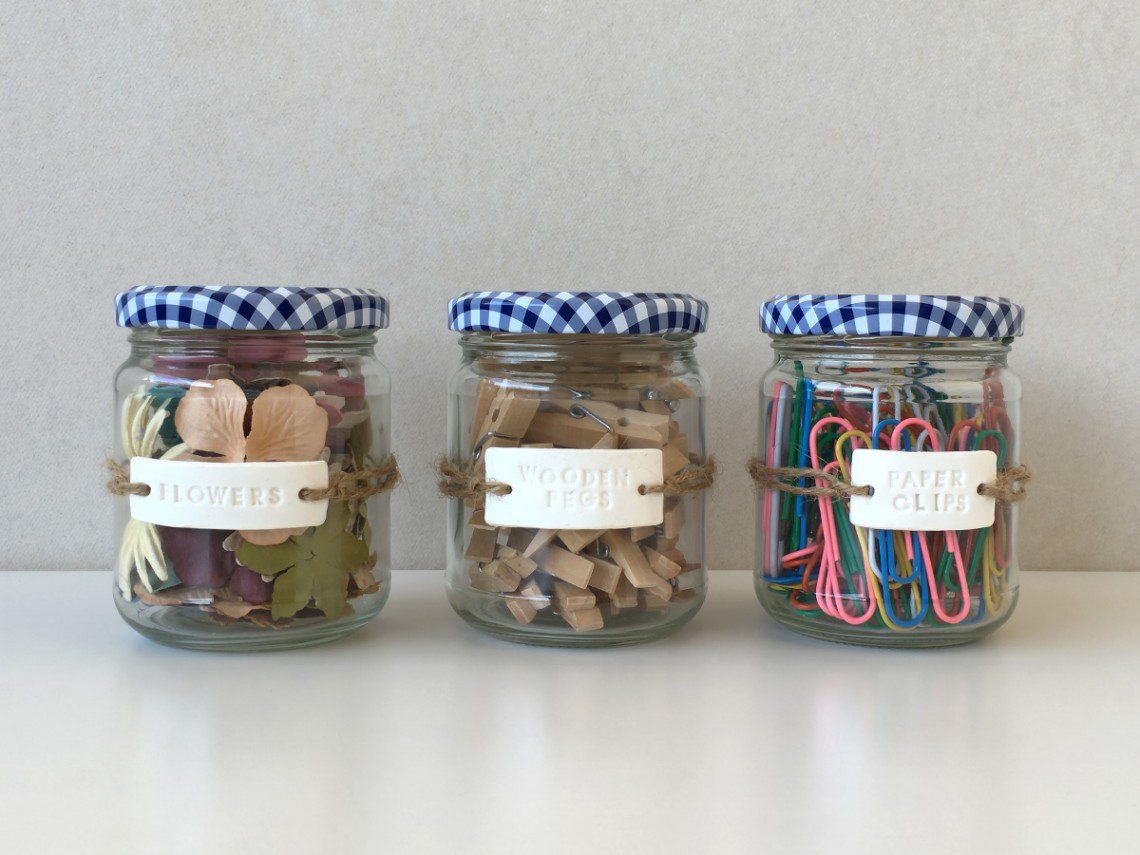
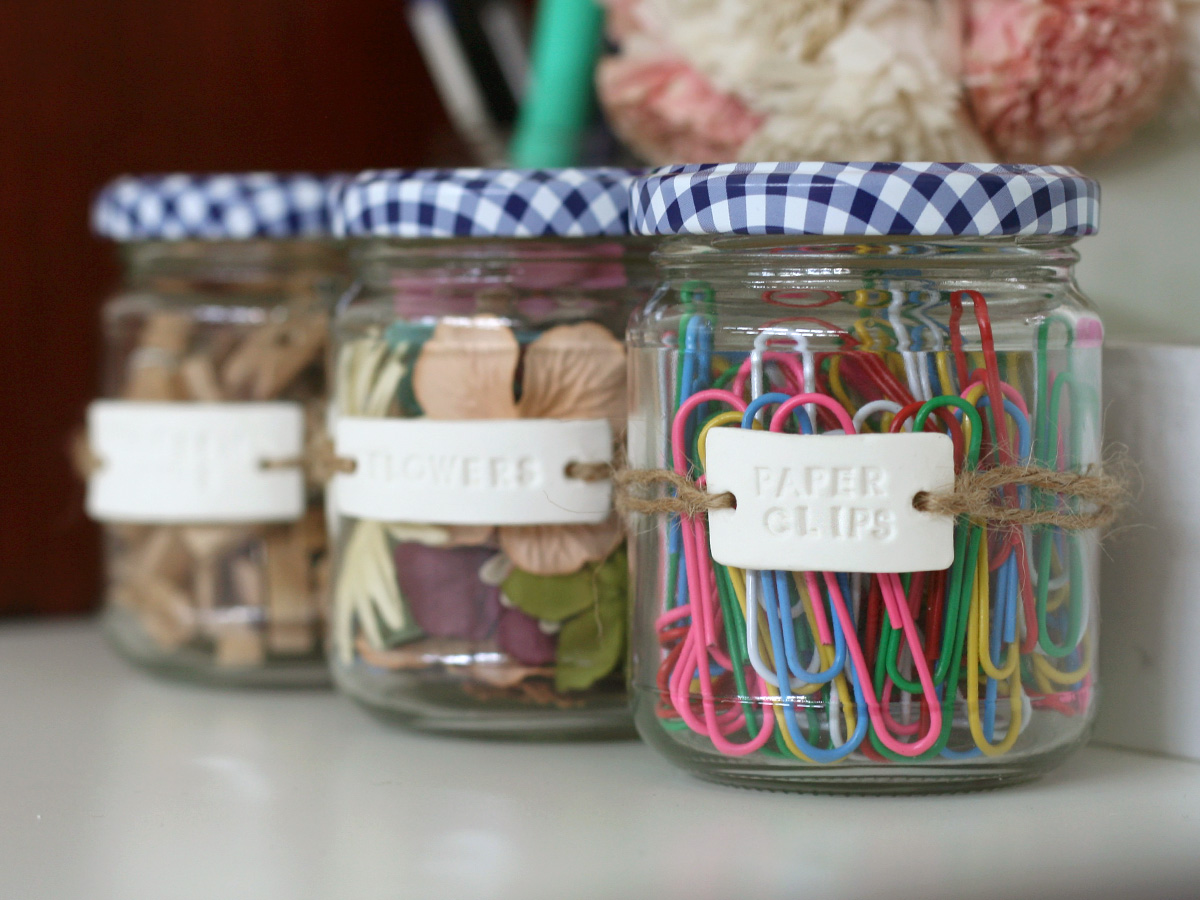 To start bringing order to my space, I brought out some empty glass jars and gave home to some of my tiny trinkets. The jars on their own looked a little bare, so I figured they needed some labels. I used that as an excuse to do a little crafting and to try and use up the air-dry clay that I had purchased last week. I worked on these air-dry clay labels to help spruce up my storage jars. They were pretty easy to make, and turned into an inexpensive little project, too.
Want to make your own air-dry clay labels for your storage jars too? Read on and fret not — they are super easy to make!
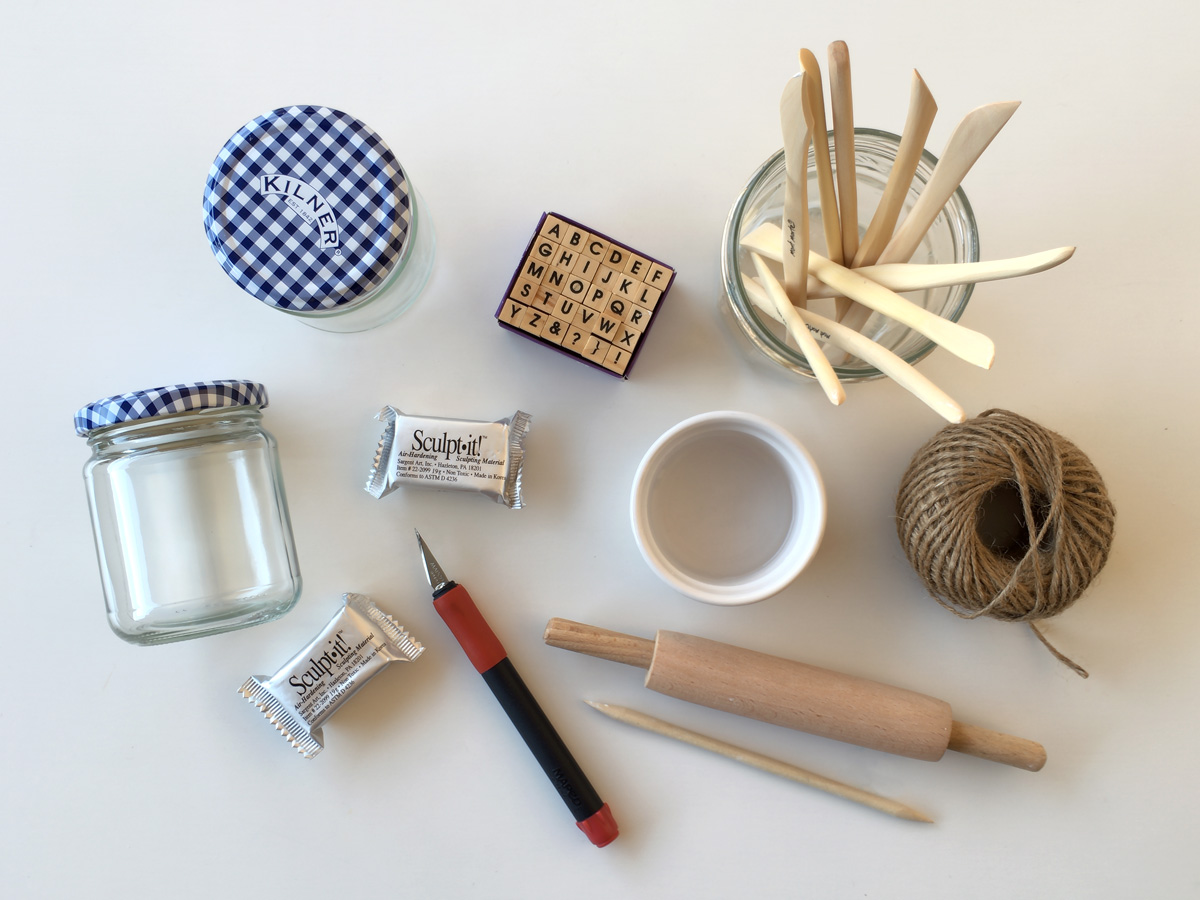
Materials Needed:
- Air-dry clay
- Storage jars
- Rolling pin
- Craft knife
- Letter stamps
- Clay modeling tools
- Bowl of water
- Twine
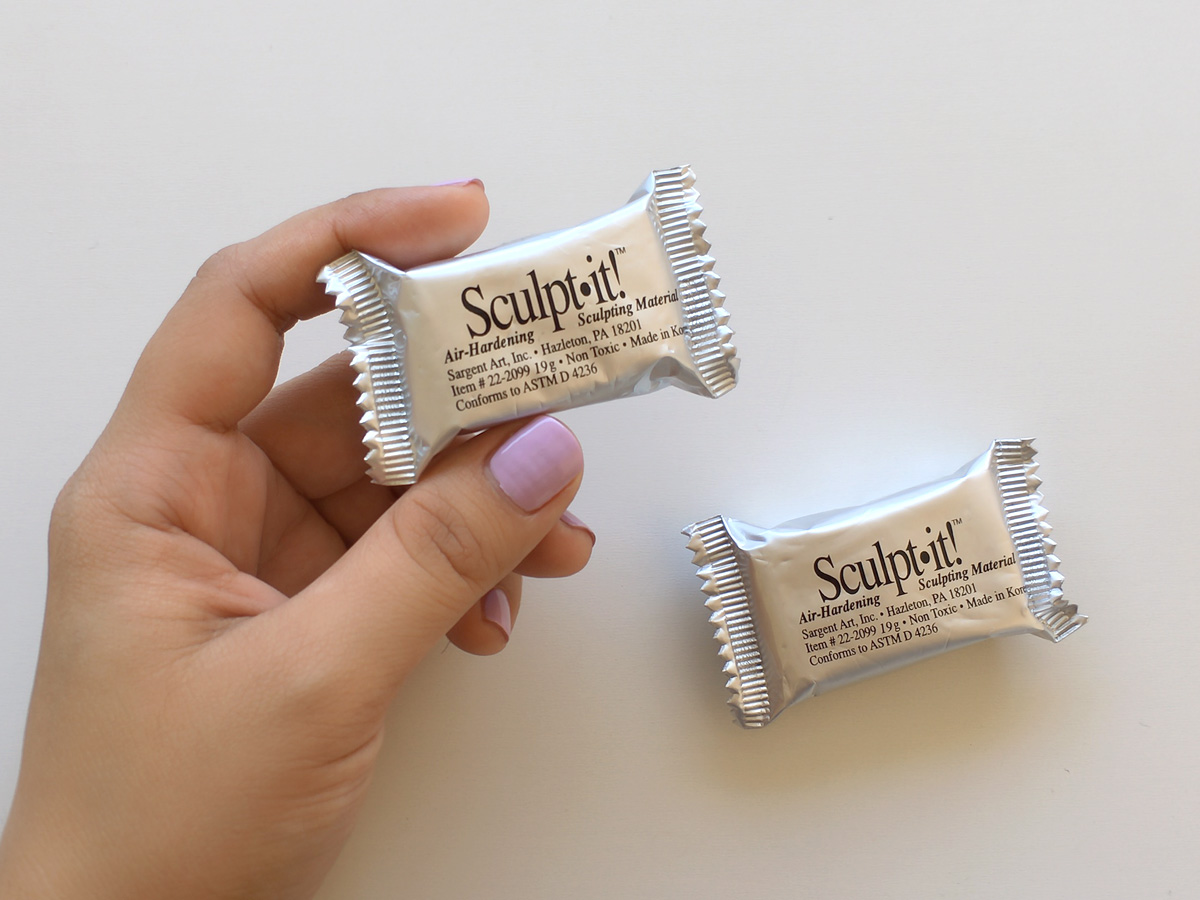
For my jar labels, I worked with Sculpt-it! Air-Hardening Sculpting Material. For those in Manila, this brand is available in National Bookstore for only P25.00 per 19g! I know, pretty awesome, right? Aside from its affordable price, I also love that it comes in this small packaging. It’s perfect for projects that don’t require too much clay. No need to worry about leftover clay drying up, because you can easily use up all the contents in one sitting!
Let’s Get Started
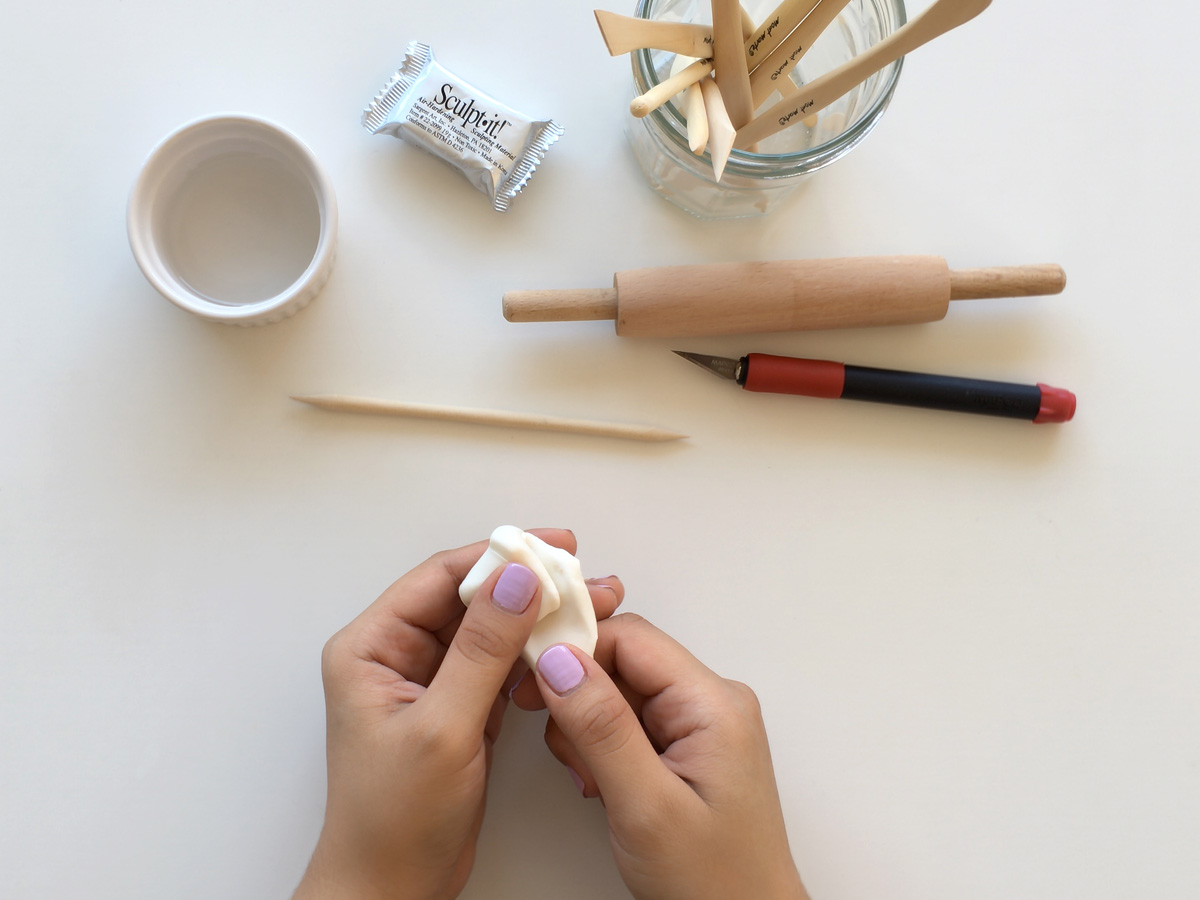
Start by kneading and conditioning the clay. Work your hands through the clay for about a minute to get it warm and soft. If you are using the same clay as me, you will only need a little kneading. Out of the packet, the Sculpt-it! clay is already pretty soft, smooth and elastic, but do make sure that you get rid of any air bubbles.
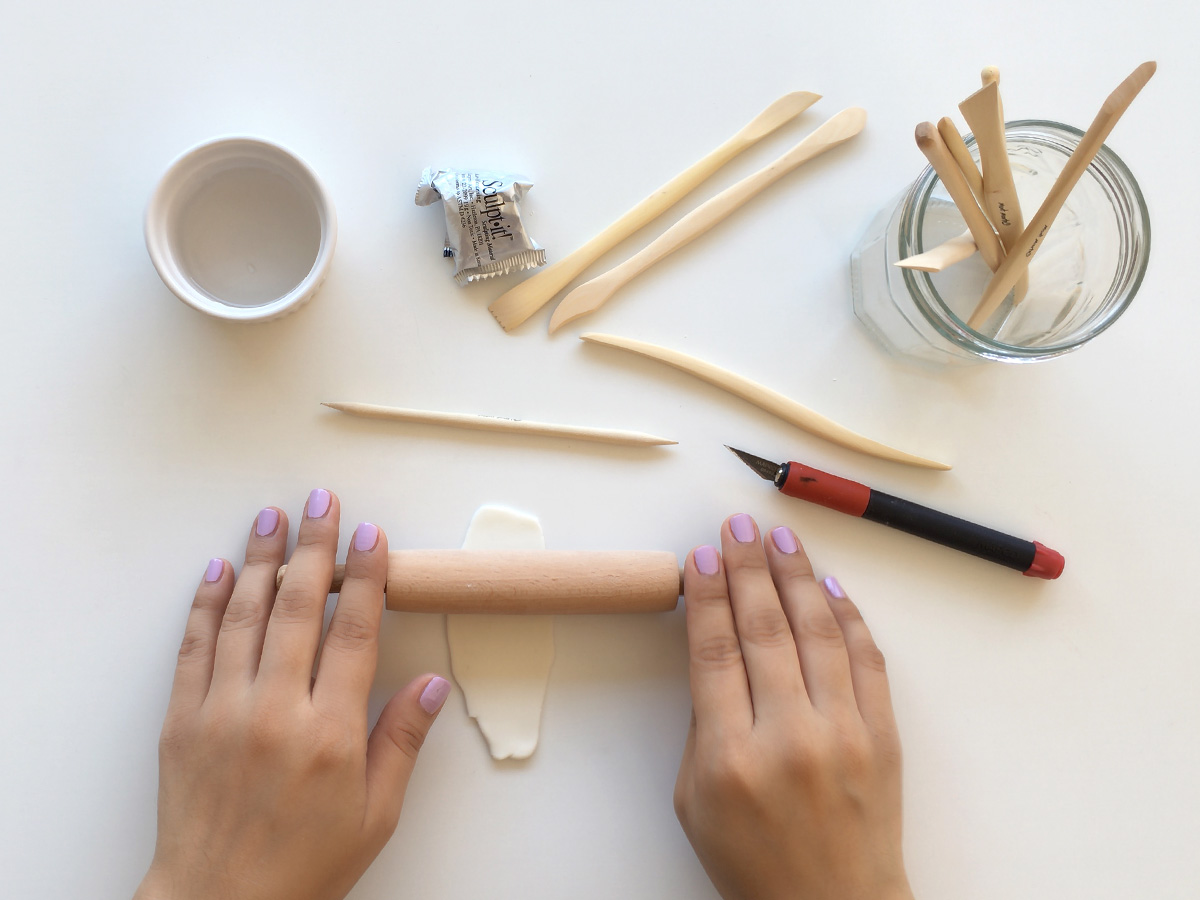
On a clean and dry surface, carefully roll out the clay using a rolling pin. Roll it lengthwise, down to about an even 2mm thickness.
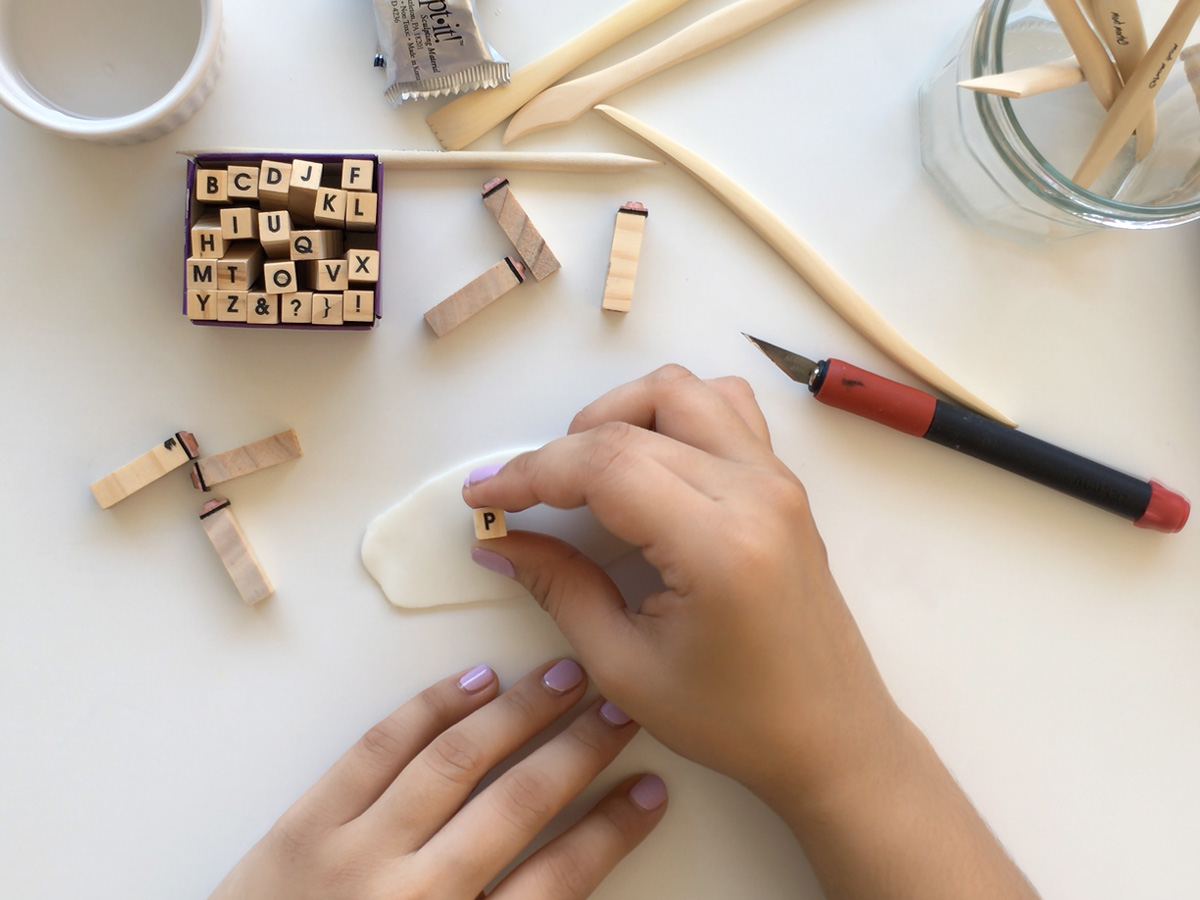
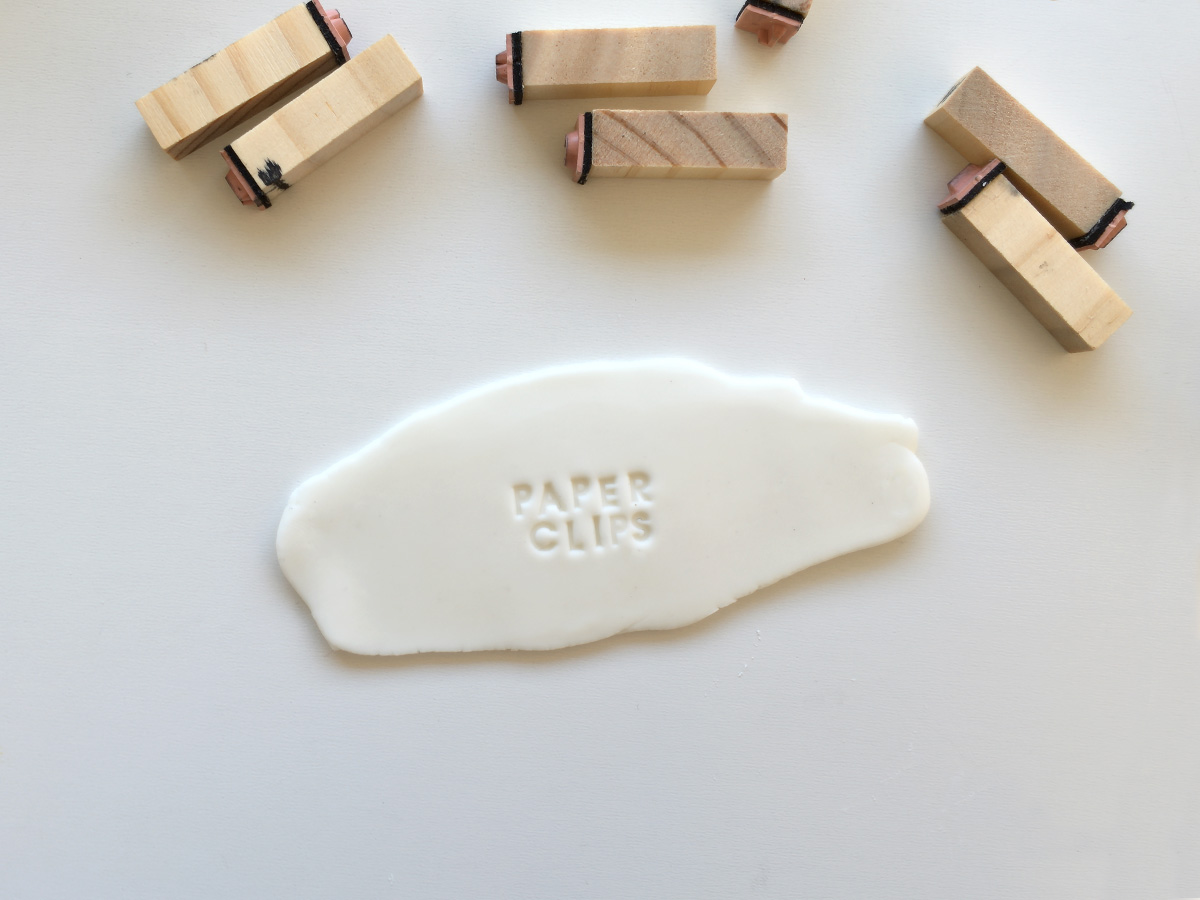
Using letter stamps, stamp your label directly on the clay. Press down hard enough to allow the letters to make clear impressions, but not too deep that they’ll go all the way through the clay.
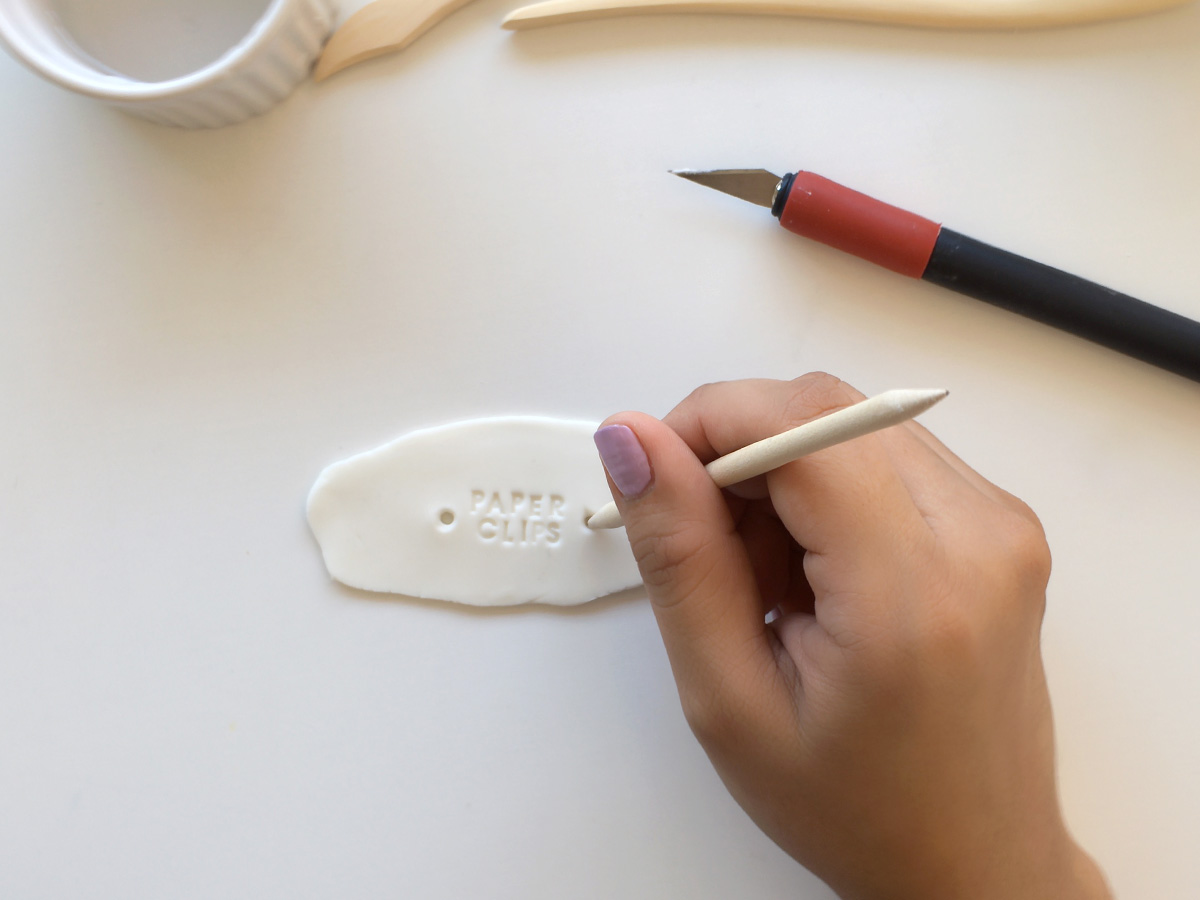 Then, using a pointed modelling tool (or skewers), make holes on both sides of the label. Make sure that it goes all the way through the clay, and the holes are big enough for twine to go through.
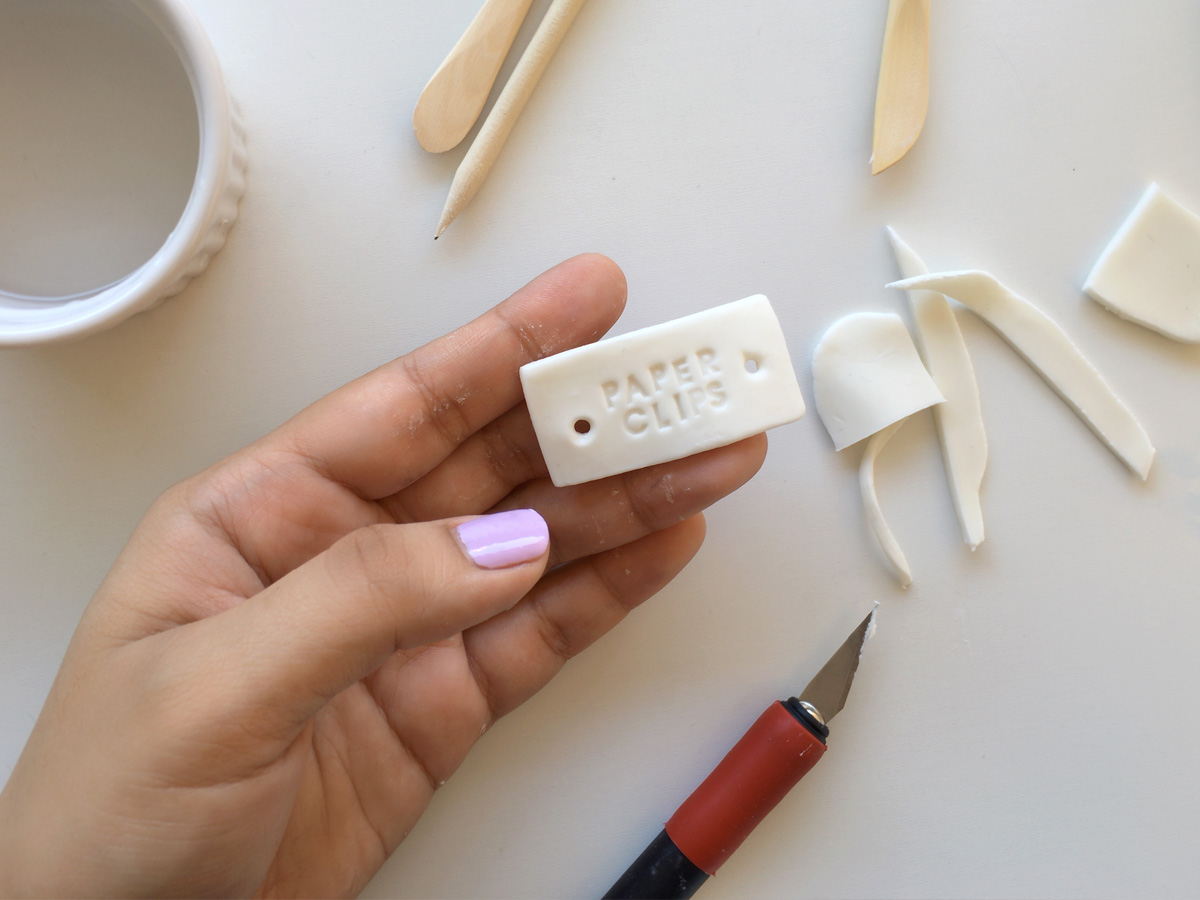
With a craft knife, carefully cut around the label to make a rectangle. Smoothen out the edges using modelling tools (or your fingers if you don’t have any), moistening it with some water if it starts getting hard.
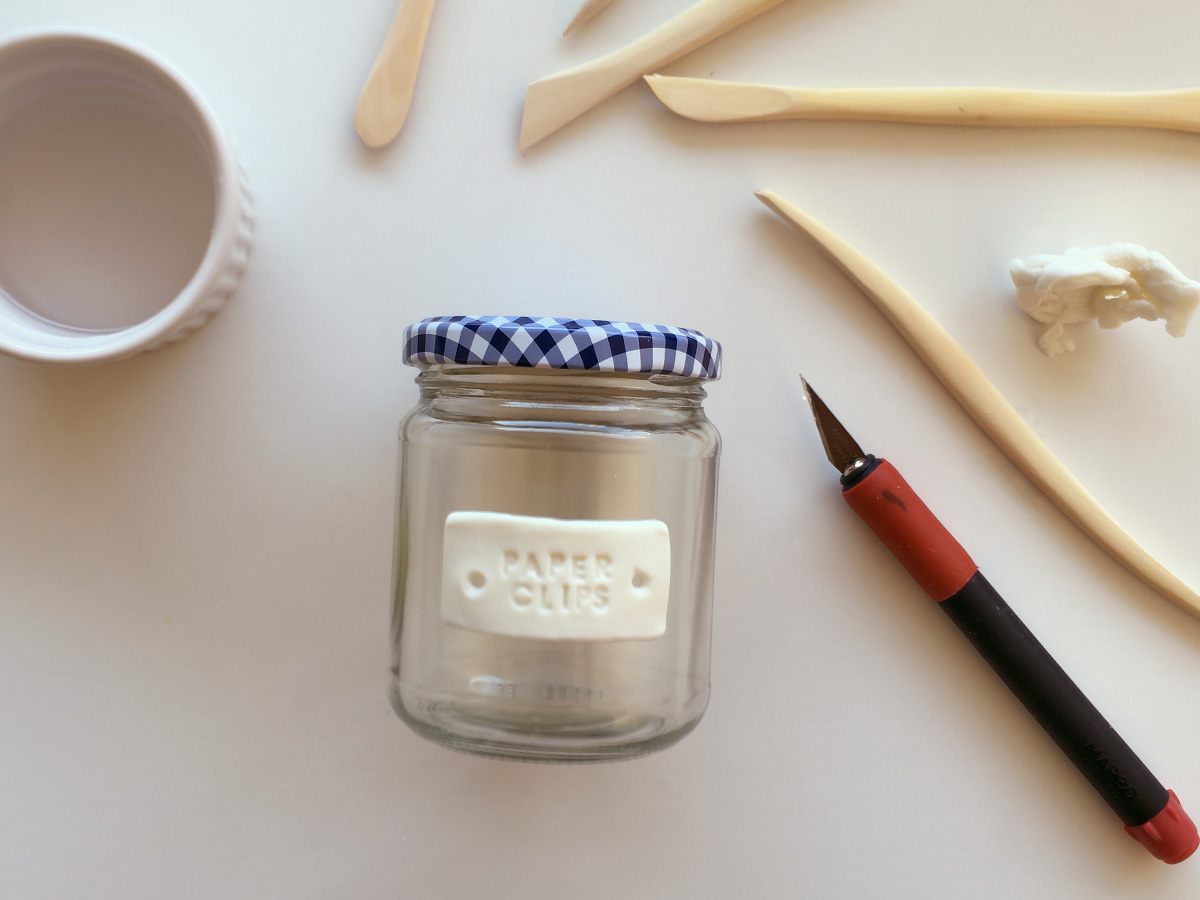
Position your label on your glass jar, curving it, so that it follows the shape of the jar. Leave it there to dry for an hour or two.
At this point, you can start making more labels.
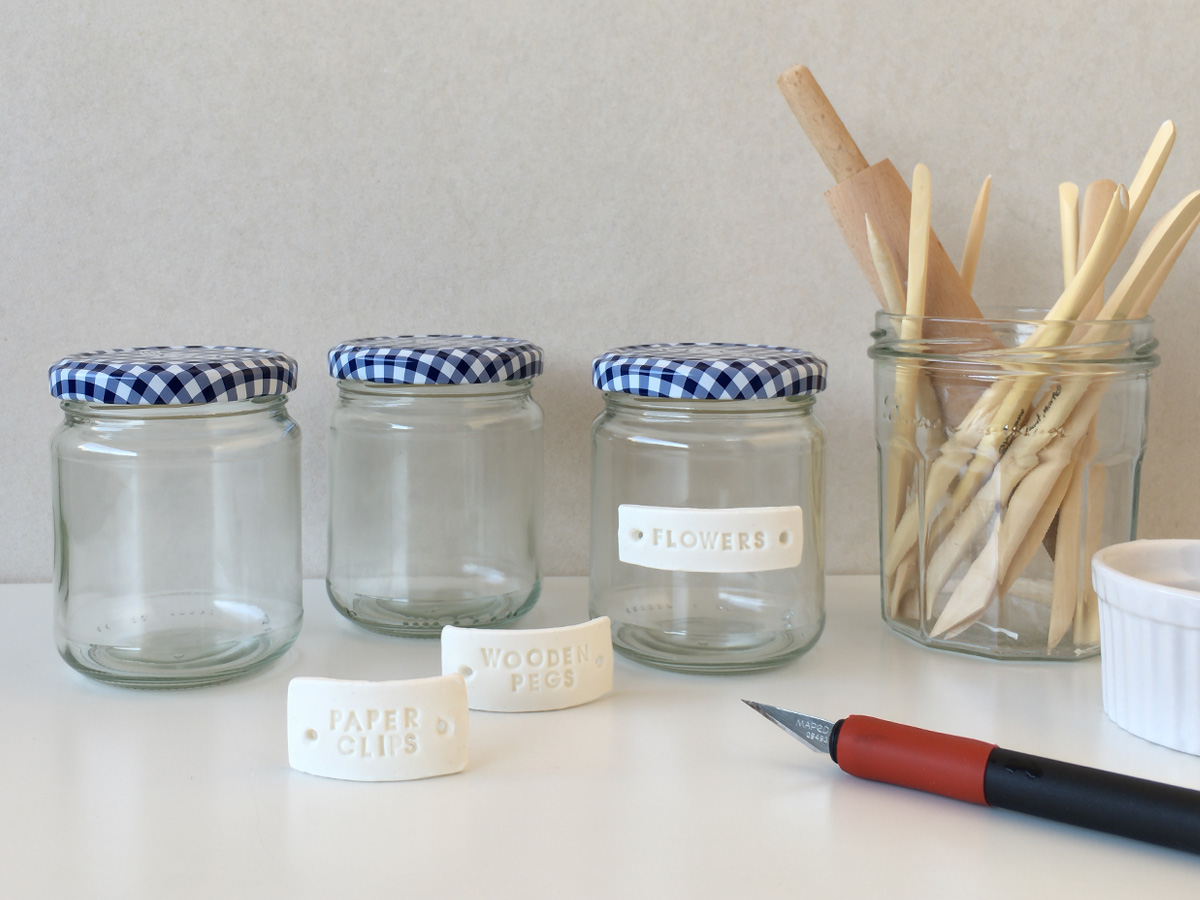
Once the top part of the labels have started hardening, check that they aren’t sticking to the glass. Carefully pull them off, and clean away any clay residue if they are.
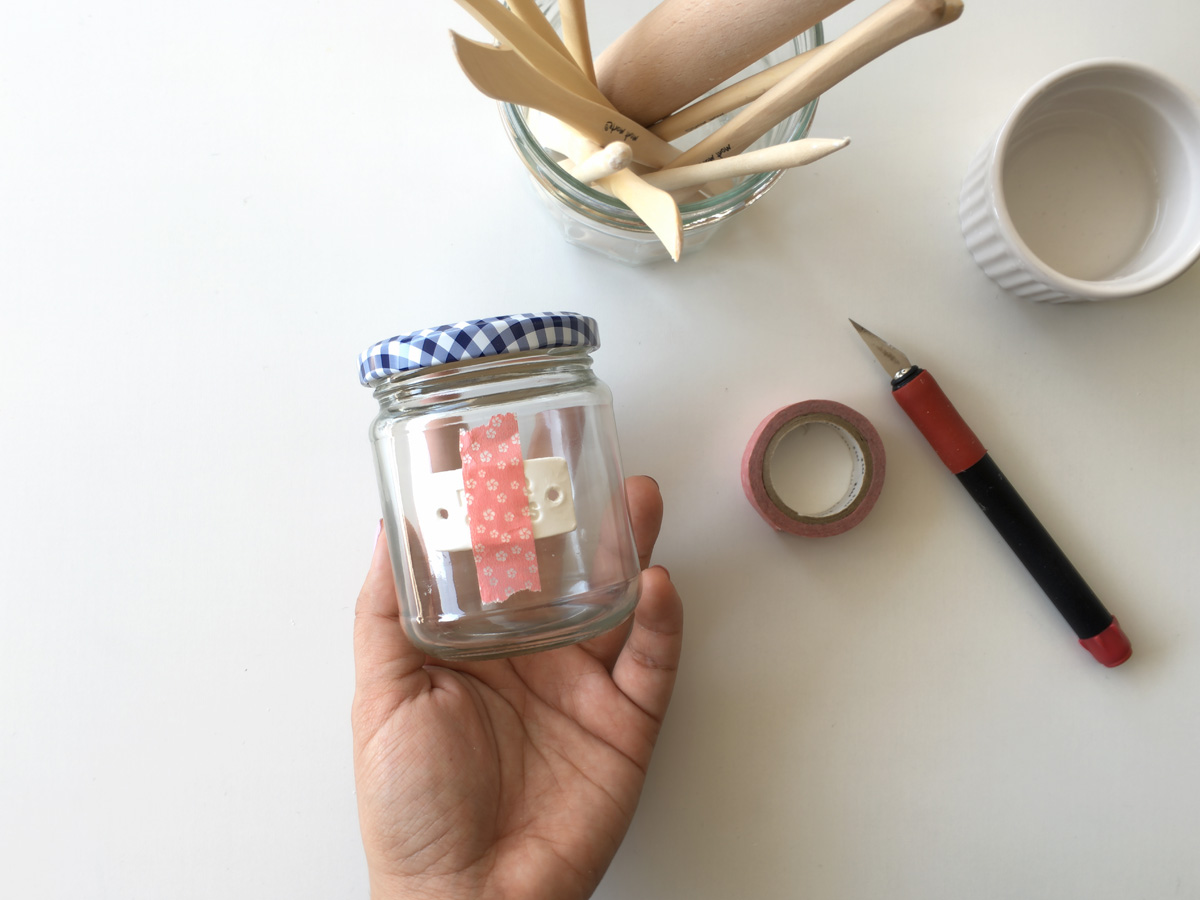
To make sure that the labels don’t curl while they dry, place them back on the jars and tape them down with washi tape. This will ensure that they retain their shape. Allow the clay to dry completely for a day or two. My labels were completely dry after about a day and a half.
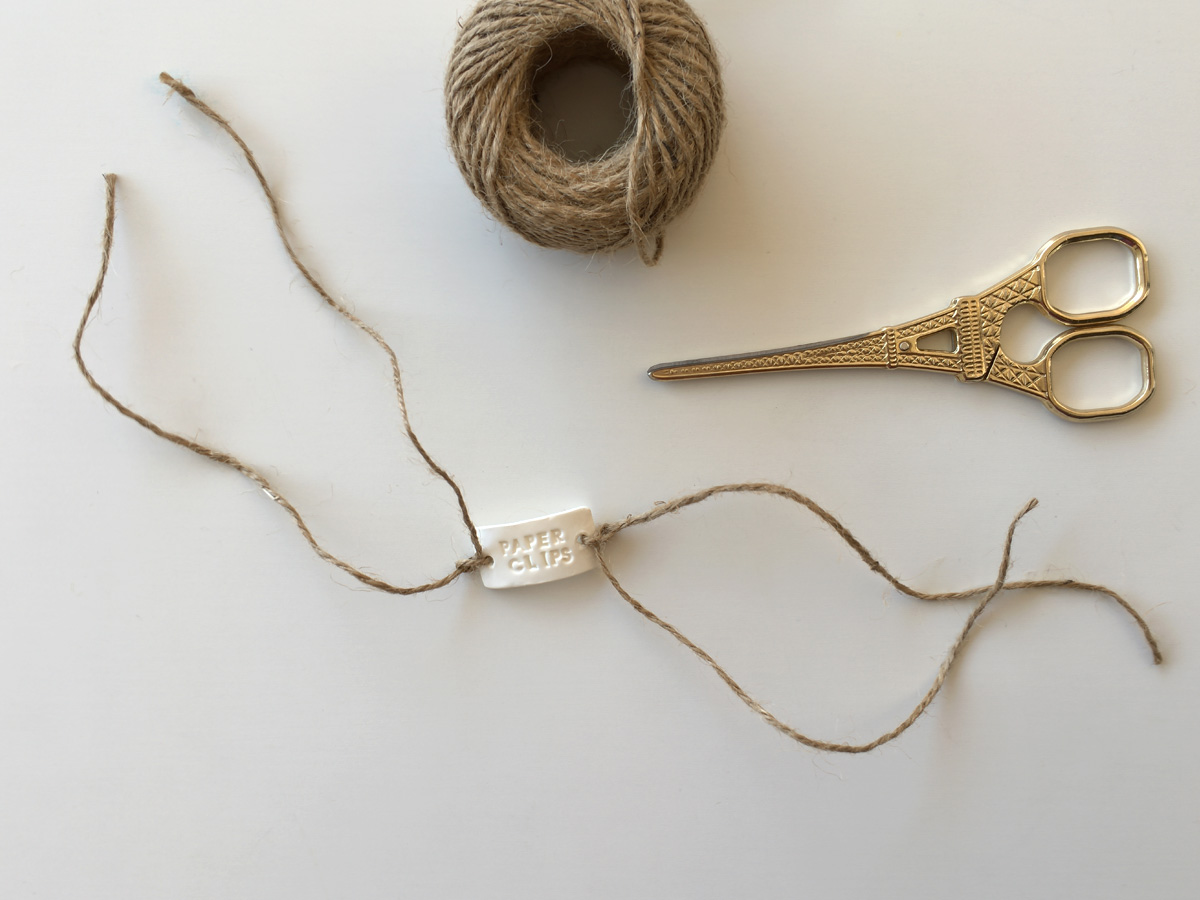
When the clay is completely dry, thread twine through the holes and knot them at the ends of the labels. Finish off by tying them around your storage jars.
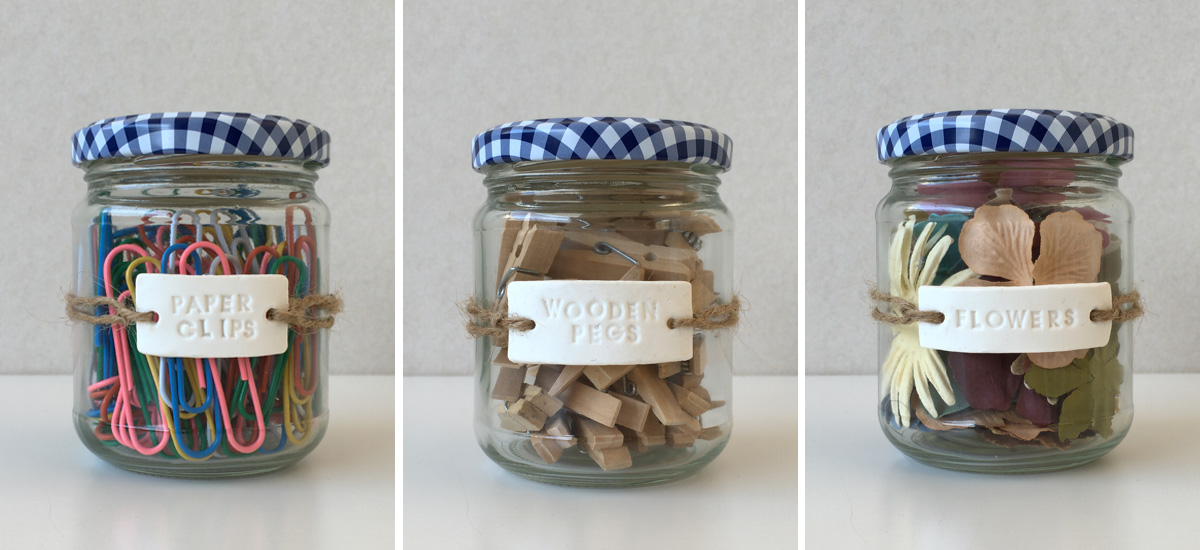
Fill the jars with your trinkets, and you’re done!
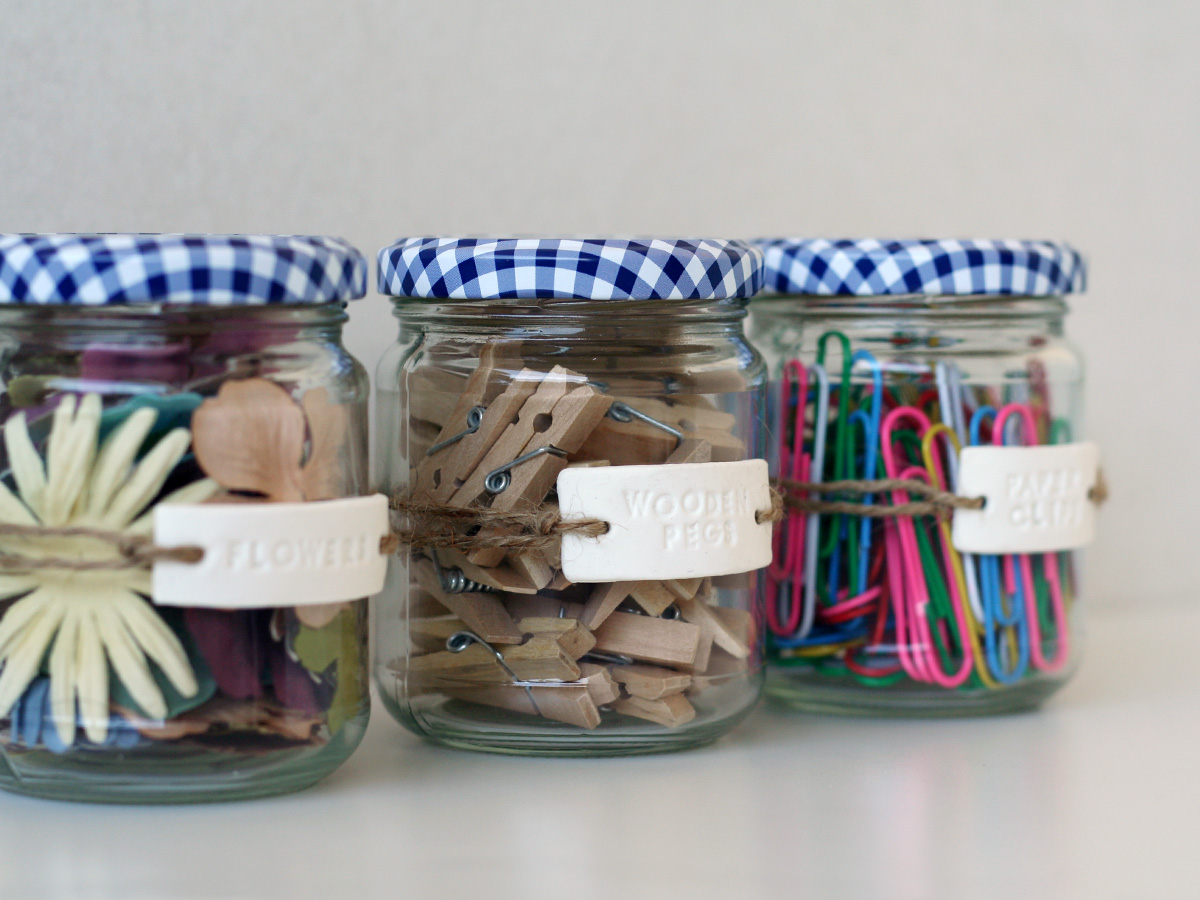
I have to say that the labels added a nice touch to my boring old jars. They were so easy to make, and the whole project didn’t cost much either. I was able to make these 3 labels using one 19g Sculpt-it! pack, and I even had some leftovers.
Go on, try making your own clay labels. Use them to customize and spruce up anything from storage jars, spice jars and bottles, to even your plant pots. Have fun!
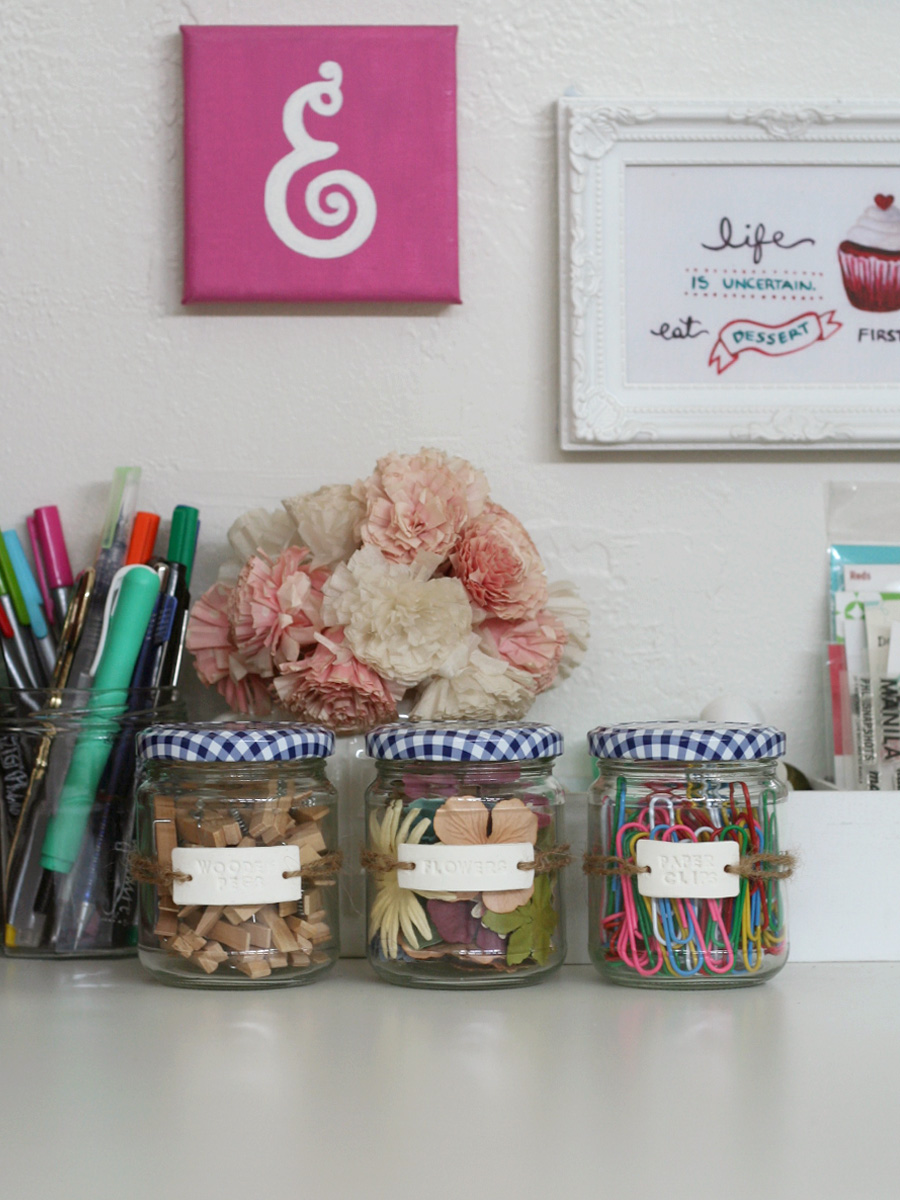
Additional Tips:
- The clay is air-hardening, so you won’t need to bake it afterwards, but since it starts drying once it’s exposed to air, you really have to work fast. Moisten the clay with a dab of water if it starts getting tough to work with.
- Make sure to keep clay that you aren’t using in cling wrap, until they are needed.
- If your clay is sticking to your work surface, you may roll your clay on a baking sheet or parchment paper.

5 Comments
Philip Yohan
April 13, 2016 at 1:15 pmHi Annings! I enjoyed this and will soon try it out. Can you apply color to the clay?
Anna
April 13, 2016 at 7:36 pmHi Kuya Philip! Yes, you can paint the clay once they’re dry. Acrylic paint or even spray paint will work. 🙂
robellejoyce
July 14, 2016 at 8:41 amHi. I tried this last night (read your blog the other day!), hmmm I’m not sure what happened with what I did but I still can say that I enjoyed doing it. hahahaha. Maybe we are not using the same brand of air-dry clay (out of stock sa NBS e).
Then, I have a question, how did you do it that the sides of the stamps were not imprinted to the clay?
thanks thanks for sharing this.
Anna
August 6, 2016 at 2:02 pmHi Robellejoyce! 🙂 Glad to hear that you had fun trying it. 🙂 I realized recently that the “clay” I used for my labels aren’t the usual air-dry clays. The packaging says it’s an “air-hardening sculpting material” so I guess its consistency is closer to polymer clays. But, I have tried making these labels using another brand of clay, and although it was a tad bit more difficult to handle, it worked naman. I guess a little trial and error, plus lots of patience will help. Hehe!
Regarding stamping on clay, I just made sure not to press the stamps too hard. I practiced on scrap clay first to get the right pressure, before stamping on the actual labels.
Good luck! And enjoy! 🙂
robellejoyce
September 5, 2016 at 3:22 pmhaven’t got a change to try this again, although I already bought the clay you mentioned above. hehehe.
I am also 10eight79 in instagram, I tagged you (to say thanks) in my post showing what I did. I’ll try this again soon. I just busy crocheting lately.
again, thanks! 🙂